Congrats and Butterflies
Hi there,
The card design we are sharing today is an elegant wedding card. Of course, it can be used for many occasions by just changing the sentiment but this one is for my nephew who gets married tomorrow. This is a long slender card, I thought the butterflies needed room to fly!
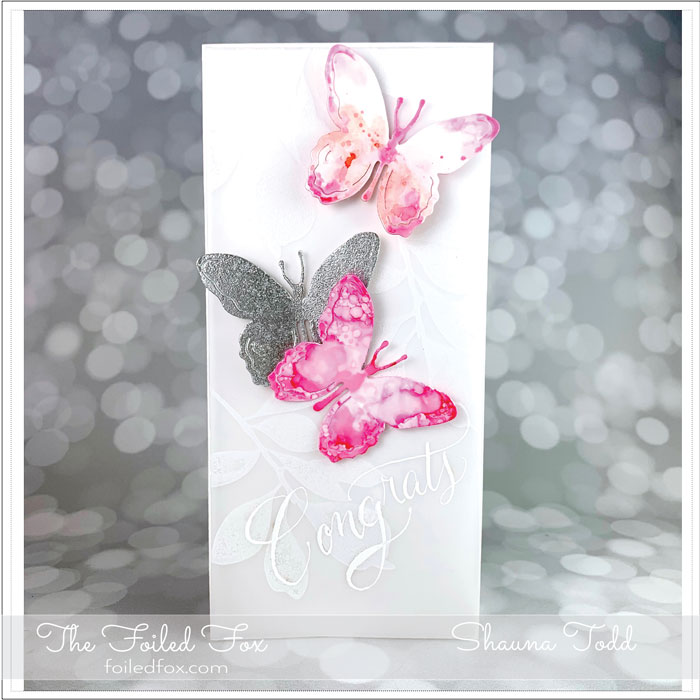
The card has a simple construction. It starts with a long, slender white card base and a matching white panel that is slightly shorter and narrower than the card front. With those done, they were set aside while I created the main vellum panel. I made the vellum the same width as the white panel previously cut but left it a little long so I could fold over the top later.
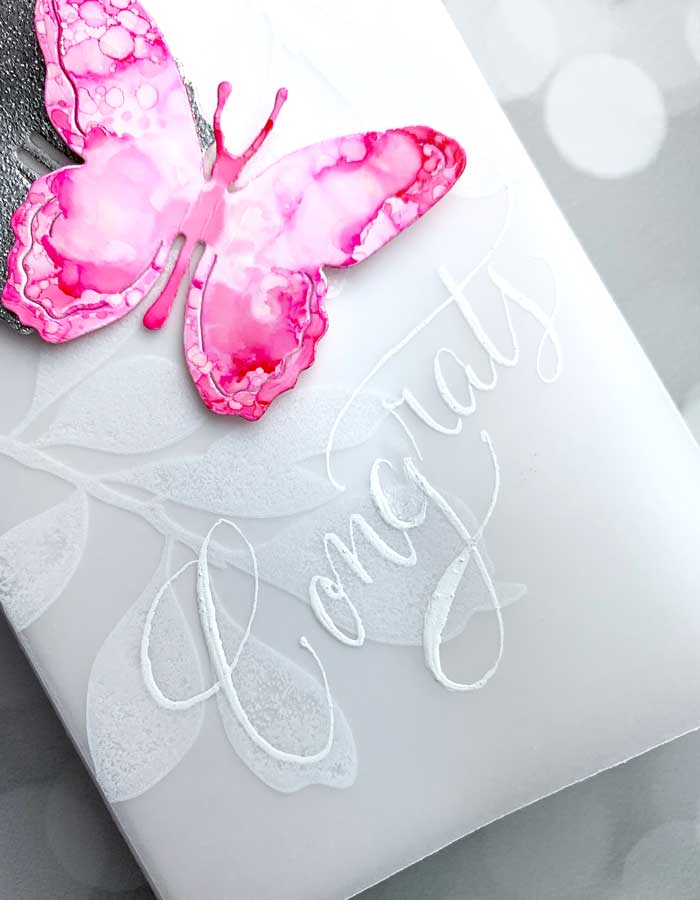
Using the large leaf stamp from Big Botanicals stamp set by The Stamp Market and the Lawn Fawn Yeti White Ink, I started near the top and stamped the cluster of leaves a few times, working my way down the panel. This ink takes a little time to dry otherwise it will smear, so I set it aside to dry.
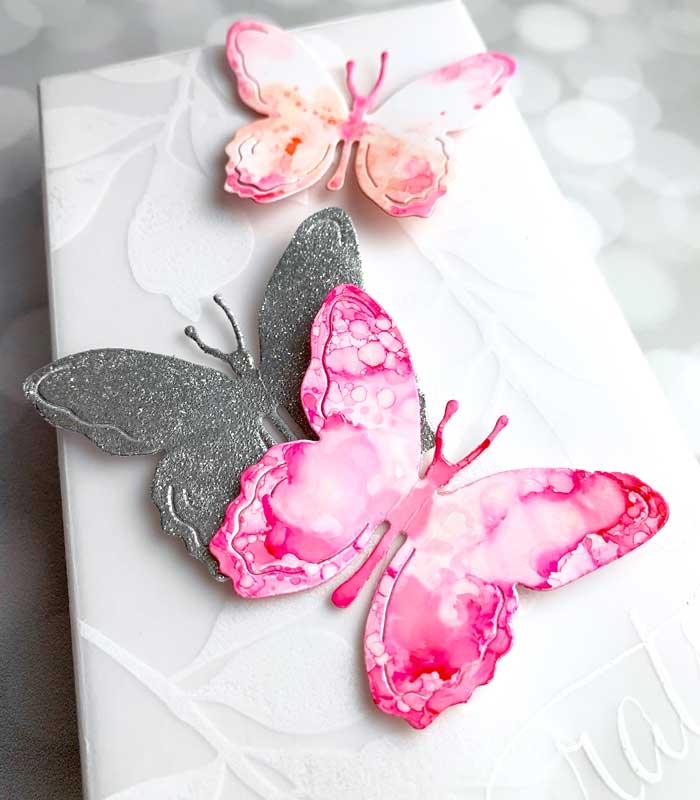
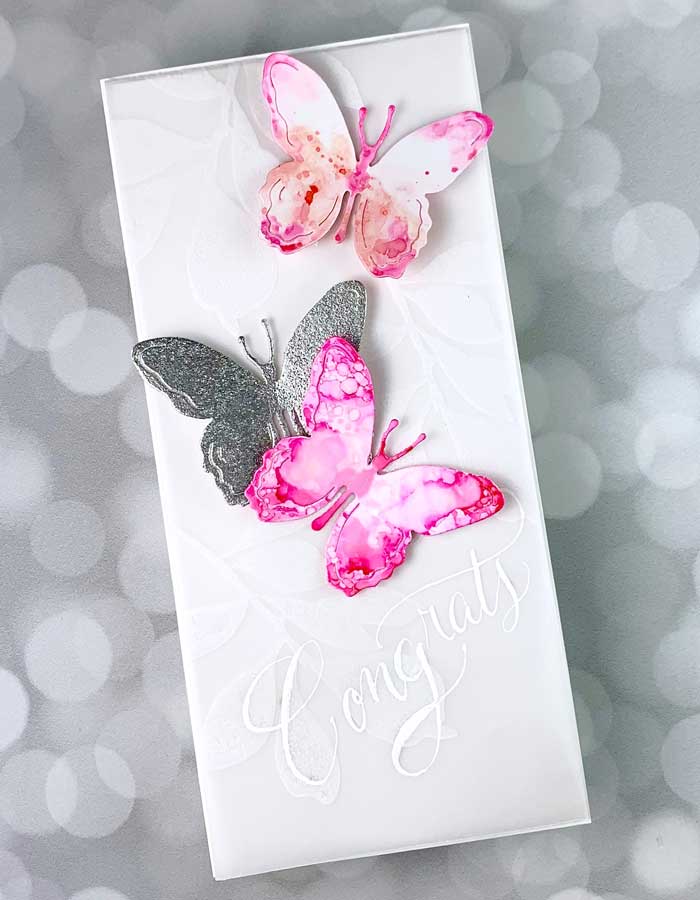
In the meantime, I created the butterflies. I used the Alexandra Renke Magic Butterfly die. This butterfly has AWESOME detail and it has a special elegance to it so it is always a pleasure to use. I cut three butterflies with this die, one in white card stock and two from Yupo paper.
The white card stock butterfly was then coated with Versamark ink by smearing a good heavy coat of Versamark ink, sprinkling it with WOW! Metallic Silver embossing powder and then heat embossing it. To make a clean embossing of it, I mounted the butterfly onto a dowel. You can check out the technique in this video.
With the one butterfly already done, I laid out one of the two Yupo paper butterflies out on my glass mat and slathered it with alcohol blending solution. Next, I dropped a large drop of Shell Pink alcohol ink at the bottom of the wings and feathered the ink out by blowing air on it with my handy Super Blower (see supplies list). Then, I added a bit of Flamingo alcohol ink on the edges and feathered it out with the blower. To add texture, I flicked tiny droplets of ink.
(By the way, the two secrets to getting the wispy, light look of the alcohol inks is the blower (or blow through a straw) and lots of alcohol blending solution in the beginning before the ink is applied)
I followed the same steps with the second butterfly but used mostly Flamingo alcohol ink with small drops of Wild Plum alcohol ink on the edges and flicked tiny droplets of ink.
With the pieces complete, the only two things left to do was to letter the sentiment and assemble. I used a Brause Steno nib and oblique holder with Dr. Ph. Martin Bleedproof ink and lettered “Congrats”. If you don’t like to letter, you can easily stamp your favorite sentiment with the same Yeti white ink.
To assemble, I placed the vellum panel over the white panel, making sure the sides and bottom were even. The extra length of the vellum panel was folded to the back, creating a flap which was adhered to the back of the white panel. This way there isn’t any glue showing from the front – YAY!
Next, I adhered the butterflies with glue dots and VIOLA! the card is done! ♥
Goodies Used: