A Frightfully Sweet Halloween by Rosali
Hi Everyone,
Woohoo!! Rosali of I Love Stamping is back, sharing one of her fabulous Halloween designs. Rosali has oodles of creativity, just take a look at this one. Then, after you have soaked up all her super mojo juice here, pop over to her blog for more!
Hi there, it’s Rosali! I am excited to be back on The Foiled Fox’s blog after a little summer break.
Today I have a Halloween card to show you featuring My Favorite Things “Frightfully Sweet” stamp set! Since I started cardmaking 4 years ago I have come to love making Halloween cards more and more. Halloween is not even a very big deal here in Germany but making cards for this special occasion just have something to it … Maybe it’s the colors – lots of black, violet, orange … I don’t use these colors super often on my cards all year round! So it’s fun to create something different for Halloween! And of course, the spooky scenes are so adorable … and then, ohh: critters dressed up in costumes. I just can’t say no to those, lol! Sooo cute!! 😀
But enough rambling and let’s get to my card, shall we? 🙂
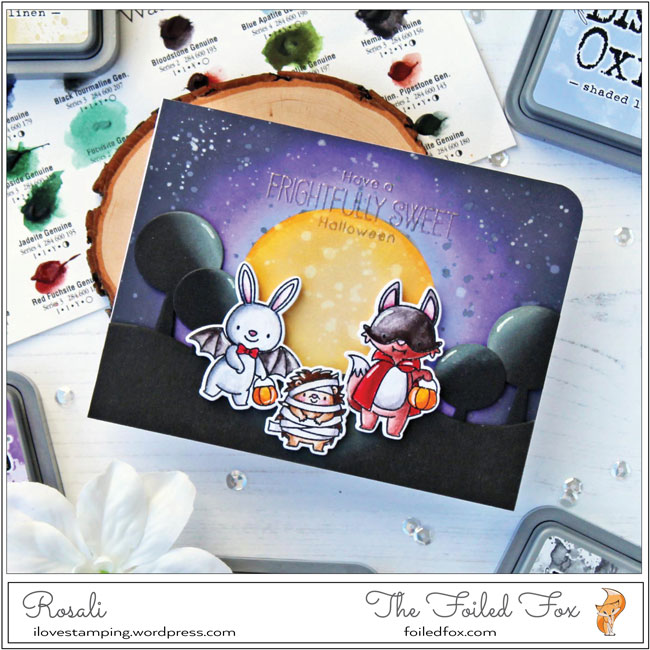
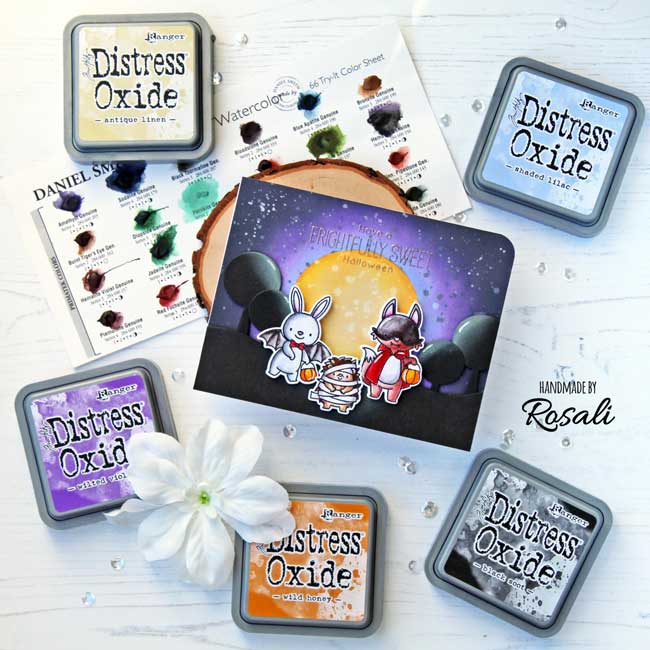
I started by making my background with Distress Oxide Inks on a piece of Neenah 80lb cardstock. I had this idea in mind to create a moon and night sky in typical Halloween colors: orange, purple and black. First, I die-cut a circle into a piece of masking paper and stuck the negative part down to my panel. For the moon, I applied Antique Linen and Wild Honey Oxide Inks. For some ‘moon texture’ I splattered water over it and blotted it dry with a paper towel. Then I removed the mask and stuck the positive circle mask onto the moon. For the night sky, I used Shaded Lilac, Wilted Violet and Black Soot. With the circle mask still on I splattered some Black Soot ink onto the sky and after that some Daniel Smith “Sugilite Genuine” watercolor (from the 66 dot chart) to create some sparkling stars. I also stamped my sentiment from MFT’s “Frightfully Sweet” onto my background using platinum embossing powder. I used this subtle color to not take away too much from the beautiful moon and my critters up front.
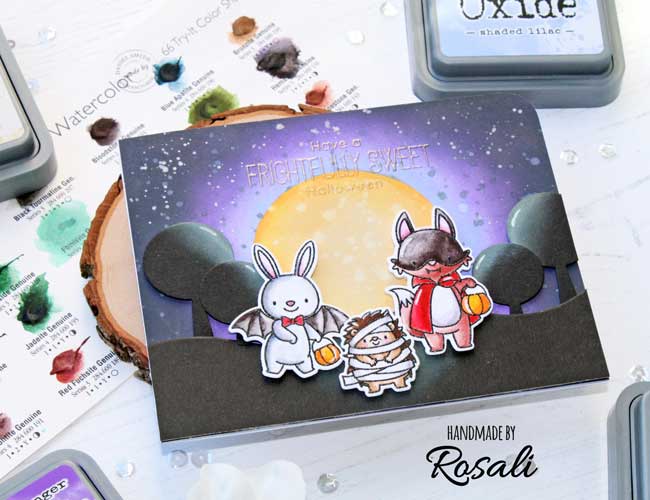
To build my scene I die-cut a hill from black cardstock and adhered it with foam tape to my background. I also die-cut a couple of trees using the coordinating dies from MFT’s “Town Bear” from the same cardstock and added some ‘moon shine’ to the trees and the middle of the hills with Twisted Citron Oxide Ink!
Hint: Go through your stamp sets with coordinating dies and look for clouds, trees, stars or other geometric shapes where you can use the matching dies alone to build your card scenes. 🙂
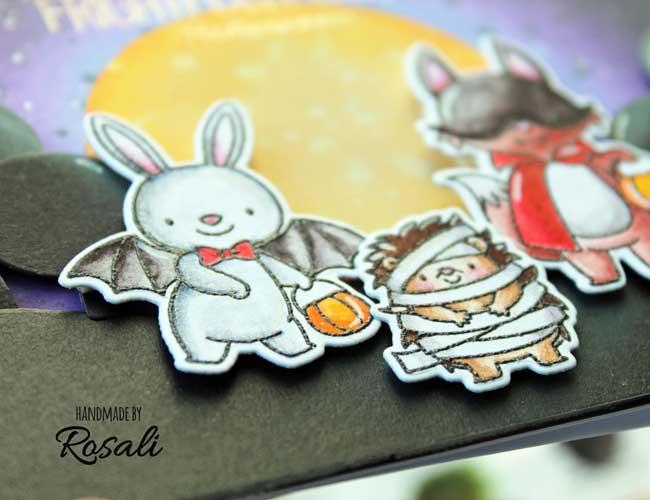
Now it was time for coloring! I stamped all the big images from the set using Versafine ink and clear embossing powder to make staying inside the lines a little easier when coloring them in with watercolor. I hadn’t used my Daniel Smith 66 color dot chart in a while so I took it out and colored the critters in two layers. The dot chart comes in a letter size, I just cut mine down into three strips to make it smaller for coloring on the go – so that’s what you see in the pictures.
I colored with the moon as my imagined light source, so I put the shadows on the left side of the bunny and on the right side of the fox.
I love how so many of the “Genuine” colors from the chart have a nice sparkle to them. I used the same “Sugilite Genuine” that I had sprinkled over the background to color in shadows on the white image parts like the bunny. The sparkle is hard to catch on camera but really beautiful in real life.
Once I foam-mounted my critters onto the little night scene my card was finished.
I hope you got some inspiration from my cards! Have an amazing day! ♥
Rosali

![]()
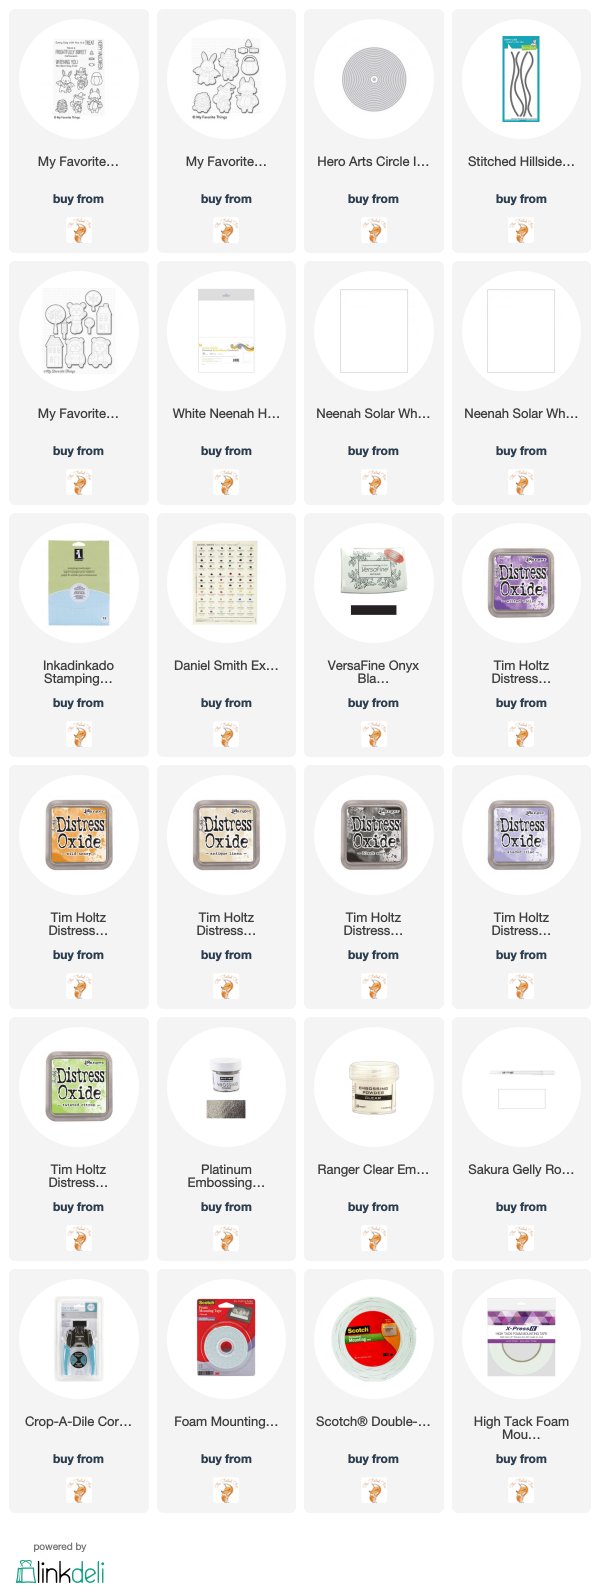
Goodies Used: