Happy Birthday Sunburst
Hi Creative Friends,
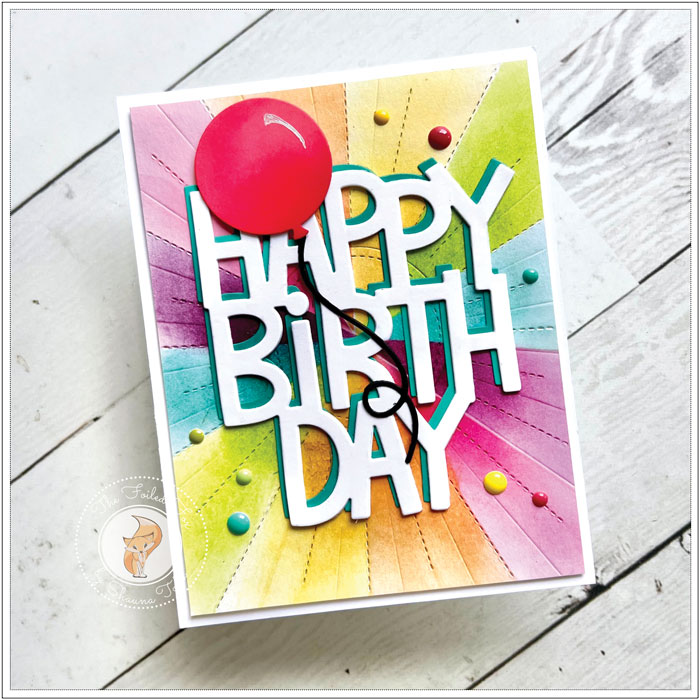
I have another Lawn Fawn favorite to share with you today. I am using the GIANT Happy Birthday die. Lawn Fawn has many giant word dies and they are all terrific! They are perfect as the centerpiece of your card, work swimmingly when making a platform pop-up card, and are great for shaker cards too. The one that I am using today is one of my all-time faves!
Also, today is the last day of our Lawn Fawn sale. We have a huge selection so grab your favorites and SAVE 15%. Use code: 15LF722 (more details at the bottom of the post).
I always try to have a few uni-sex birthday cards on hand. I can’t think of a better or faster one than this one.
I started out with a Bristol paper panel. Using the Lawn Fawn Sunburst die, I cut out the panel. This die not only cuts the panel but embosses a sunburst pattern. It so happens that the sunburst pattern is easily divided evenly into 14 sections making it perfect for two complete rainbows of color. To create crisp lines between the colors, I used two pieces of Pixie tape, one on each side of the ‘ray’, to mask off one of the 14 sections.
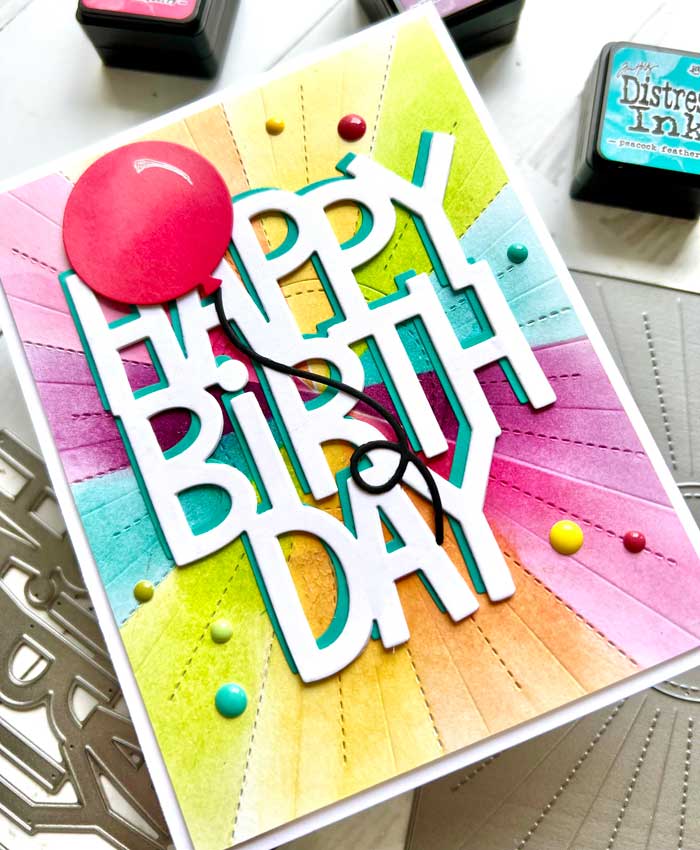
Then, using a blending tool with the dome foam, I started by blending Picked Raspberry distress ink, making the color more intense toward the center. Once that section was done, I moved the tape to mask off the next section. I choose Dried Marigold distress ink for my next rainbow color and repeated the process. I continued with the same method with the remaining rainbow of distress inks. The additional colors were Squeezed Lemonade, Twisted Citron, Peacock Feathers, and Seedless Preserves (see supply list).
With the panel now done, I trimmed off a 1/8″ off each side, mounted a foam panel on the back to pop it up, then adhered it to an A2 white card stock card base.
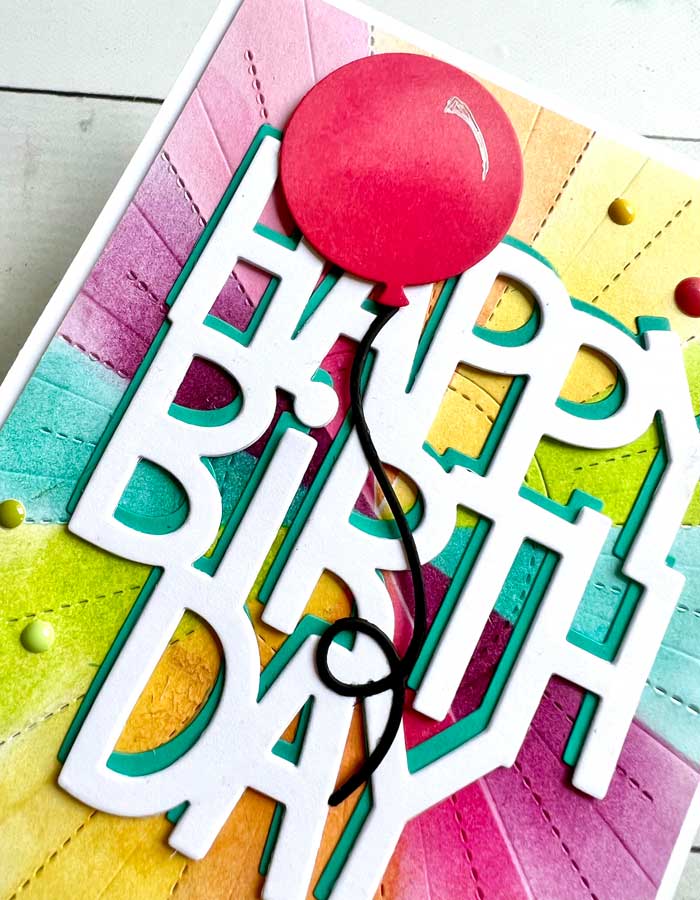
Next, using the Giant Happy Birthday die, I cut out two from white card stock, and one from Hawaiian Shores card stock. I stacked and glued the two white together, then glued the blue one on the back, slightly offset. The whole thing was mounted onto the card front.
To add a little pizazz, I added a dark pink balloon I had left over from a previous project and a few different colored enamel dots to finish!
YAY! the card was done! I just love a cheery birthday card, don’t you? ♥
SALE INFO:
Goodies Used:

