Happy Halloween with Boo, Black Cat
Hi Creative Friends,
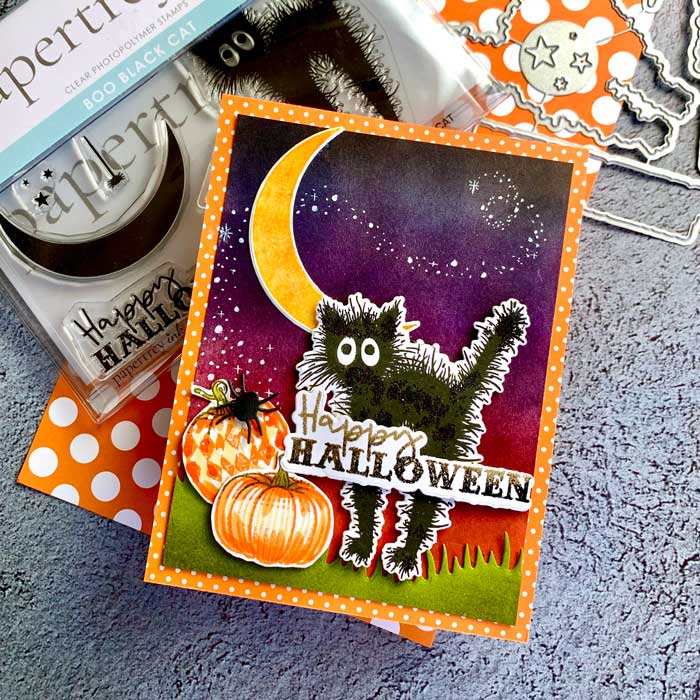
It is October and you know what that means… a frightfully Halloween. And this little cat from the Boo Black Cat stamp and die set from Papertrey Ink is just the thing to make it happen.
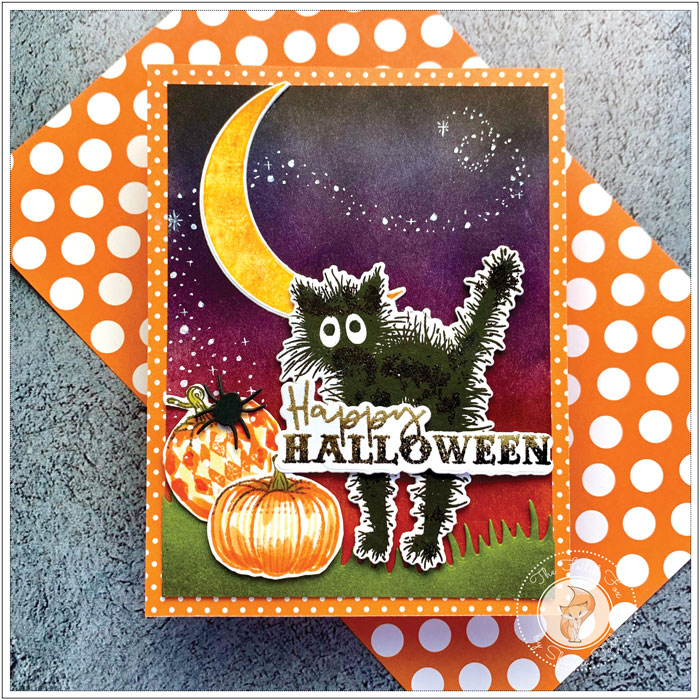
I love this little cat with all his fur standing on end so let’s start there. The cat was cut out of Neenah white card stock and stamped using True Black ink (check out all the supplies used below). I also cut out the moon and a few pumpkins from the Pumpkin Party stamp and die set using the same cardstock. The moon was then stamped with a combination of Bright Buttercup and Summer Sunrise. I stamped the pumpkins with Orange zest ink. I then colored and shaded the pumpkins with a few Copic alcohol markers. For one of the pumpkins, I stamped a harlequin pattern using one of the decorative stamps included in the Pumpkin Party set. Did I mention how awesome this set is? You can make so many different pumpkins with this set!
Anyway, to continue with completing all the elements, I cut out, then stamped with Versamark ink the ‘Happy Halloween”. I did this by first sprinkled it with black embossing powder for the bottom half. I put the black embossing powder away and then sprinkled the top half with gold sparkly embossing powder and heat set it. This gave me a nice two-tone glowy effect to my sentiment.
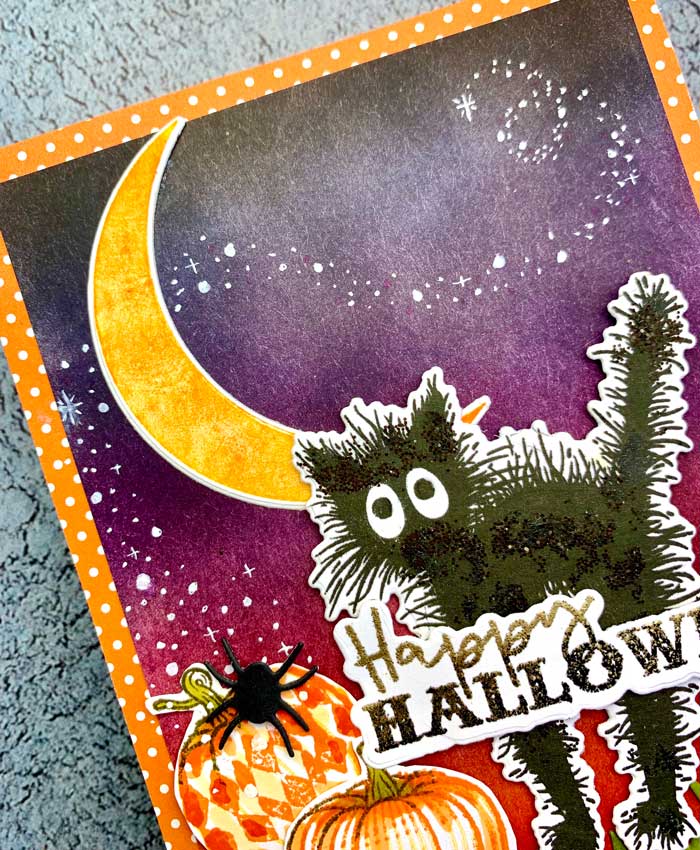
With the pieces done, I set them aside. Then, using a slightly smaller than A2-sized Bristol paper panel, I started creating the background. I did this by blending on a few distress inks. Starting at the bottom and working my way up the panel, I used Festive Berries first, then Seedless Preserves, Chipped Sapphire, and ending at the very top edges with Black Soot.
While the ink was drying, I colored a narrow piece of Bristol paper with Crushed Olive distress ink and shaded it with Forest Moss distress ink. I cut the top using the Lawn Fawn Grassy Hillsides die.
Ok, I was now ready to put everything together. Using a black cardstock card base, I covered the front with a piece of polka-dot Canyon Clay Bitty Big paper. I then mounted the grassy edge onto the ink blended background and trimmed the edges. The moon was added.
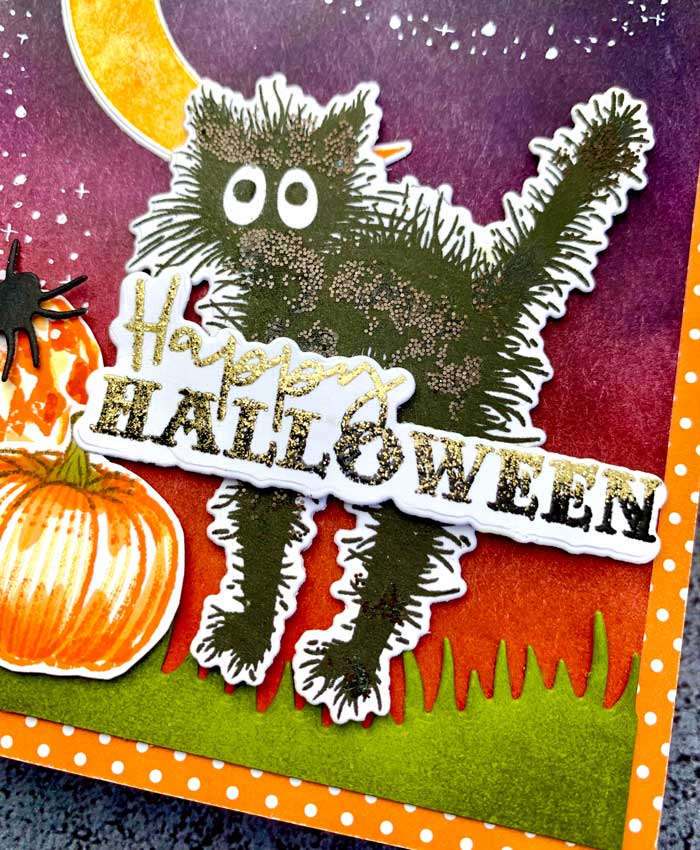
I was ready to add the cat and pumpkins but first I thought the cat needed a little sparkle so I smeared on a little glue and sprinkled black glitter and pressed it down. Now I could add the pumpkins and cat with a bit of foam tape. I also added the Happy Halloween sentiment.
I have been totally entranced by the sprinkling of a trail of stars that I have been seeing around Instagram, especially from Sandy Allnock so I decided to give it a go. I used a pen holder and nib and applied Dr. Ph. Martin’s Bleedproof ink and very carefully started adding a trail of small dots and circles and sparkly stars. Once I had the trail established, I went back and filled it in.
By the way, you would have thought I would have added the stars earlier but I really needed to see where all the pieces would be first. It was a little scary at first but I took it slow and built from there. It was very satisfying when it was done!
One last thing! You could have easily used a white gel pen (I included it in the supply list below) for the trailing stars but the Bleedproof ink is sooooo white and I wanted them to really stand out! Either way is awesome so I hope you give it a try! ♥
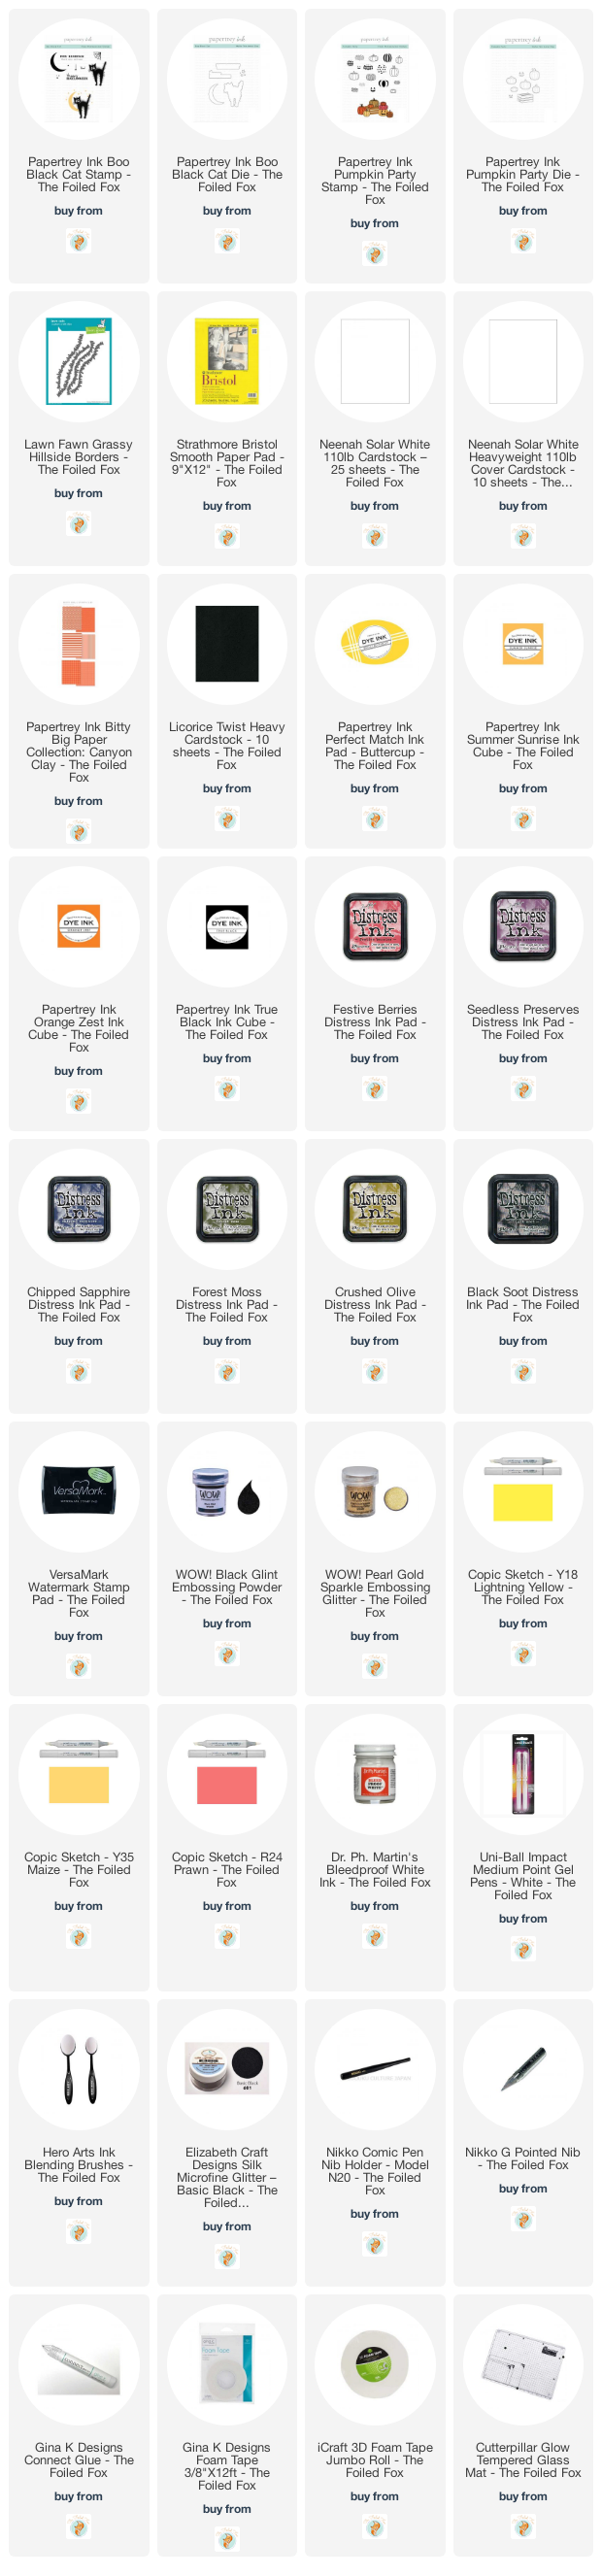
Goodies Used: