HO, HO, HO, Santa’s on his way
Hi Everyone,
First, all of us here at The Foiled Fox would like to wish all our American readers a very happy Thanksgiving! And take a minute to say how thankful we are for our dear blogger friends and customers that visit our blog and our online store. We appreciate you all so much and wish you a very lovely holiday.
To show our appreciation, keep your eyes peeled for our Black Friday through Cyper Monday sale!
Now, as everyone knows, Thanksgiving is the day the Holiday season is launched. So, with that in mind, we have a cute, quick to make Santa card for all of you that love Santa as I do!

This card begins by preparing a few elements. First, I created a white card base folded at the top. Then, I took care of basics by cutting a panel from Robins Egg cardstock using the Penny Black Antique Frame die set. This set is a favorite of mine since it is so versatile and has lots of sizes. I added falling snow with Simply White crystal drops, making some little clusters.

Next, I cut three Ho Ho Ho’s from Peppermint cardstock using the My Favorite Things Ho Ho Ho die. Cutting three from this die allowed me to stack and glue together the three layers to give the words dimension. I then added Simply White crystal drops by Nuvo for the snowy tops of the words and allowed them to dry. (By the way, all the supplies are listed below)
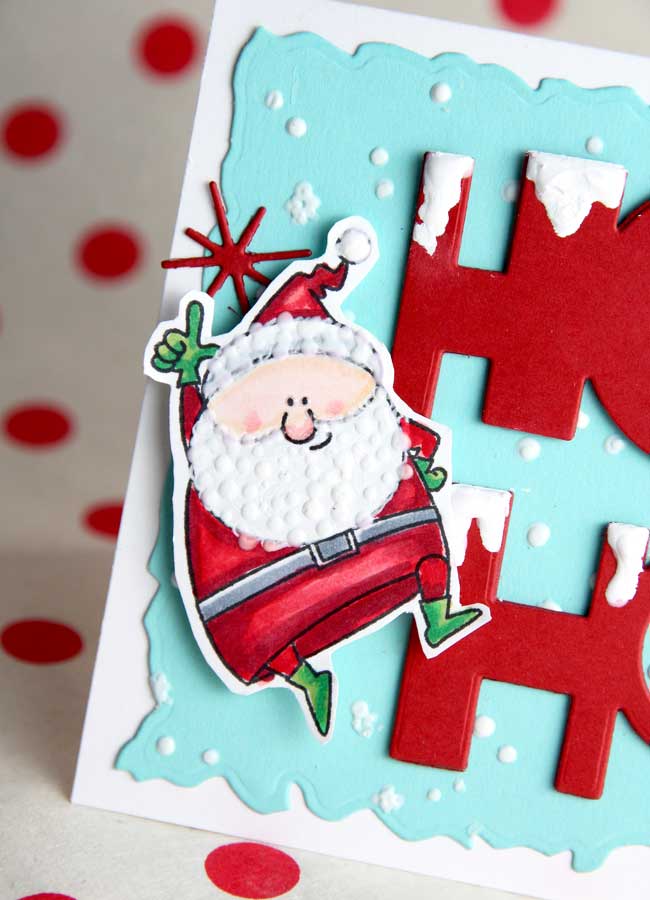
Meanwhile, I stamped and Copic colored a Santa from the My Favorite Things Jingle All The Way stamp set. I used R22, R24, R29 for his suit and hat, G43, G03 for his shoes and gloves, E50 and R01 for his face and cheeks and finally a bit of C3 and C5 for his belt. The final little embellishments were to add gold pen for his belt buckle and some Simply White crystal drops for his beard and hat, then allowed to dry.
Now, with everything dry, it’s time to put everything together. Oops… there is one little detail first. The snowy tops I added earlier to the words with the crystal drops dried a little translucent and had a pink cast. That wasn’t going to do so I took out the Dr. Ph. Martin Bleedproof white ink and painted the snowy bits. Fortunately, it dried in a snap and I could go on with the assembly process.
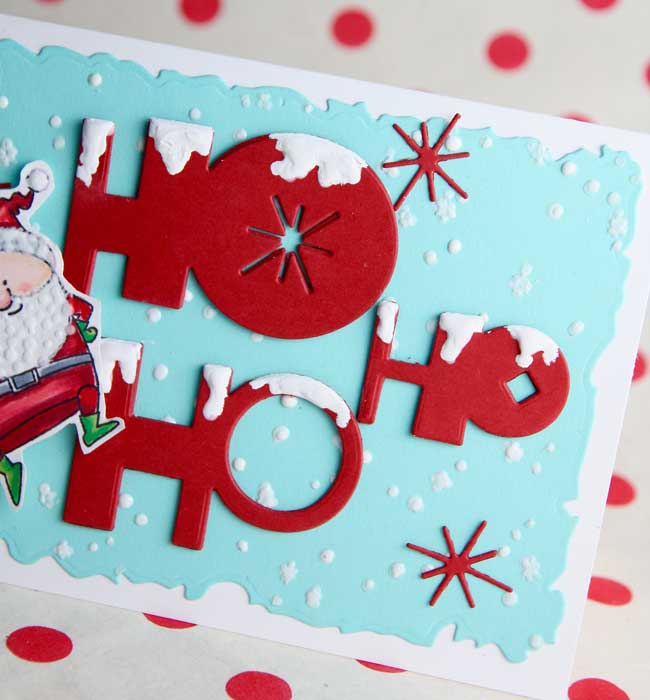
To assemble, I started by applying the Robin’s Egg panel to the white card base, then positioned and adhered the HO HO HO. The Santa was added with a bit of foam tape on the back and a few of the red snowflakes from the HO HO HO cutout were added.
And there you have it… a cheery Santa welcoming in the Holiday Season!

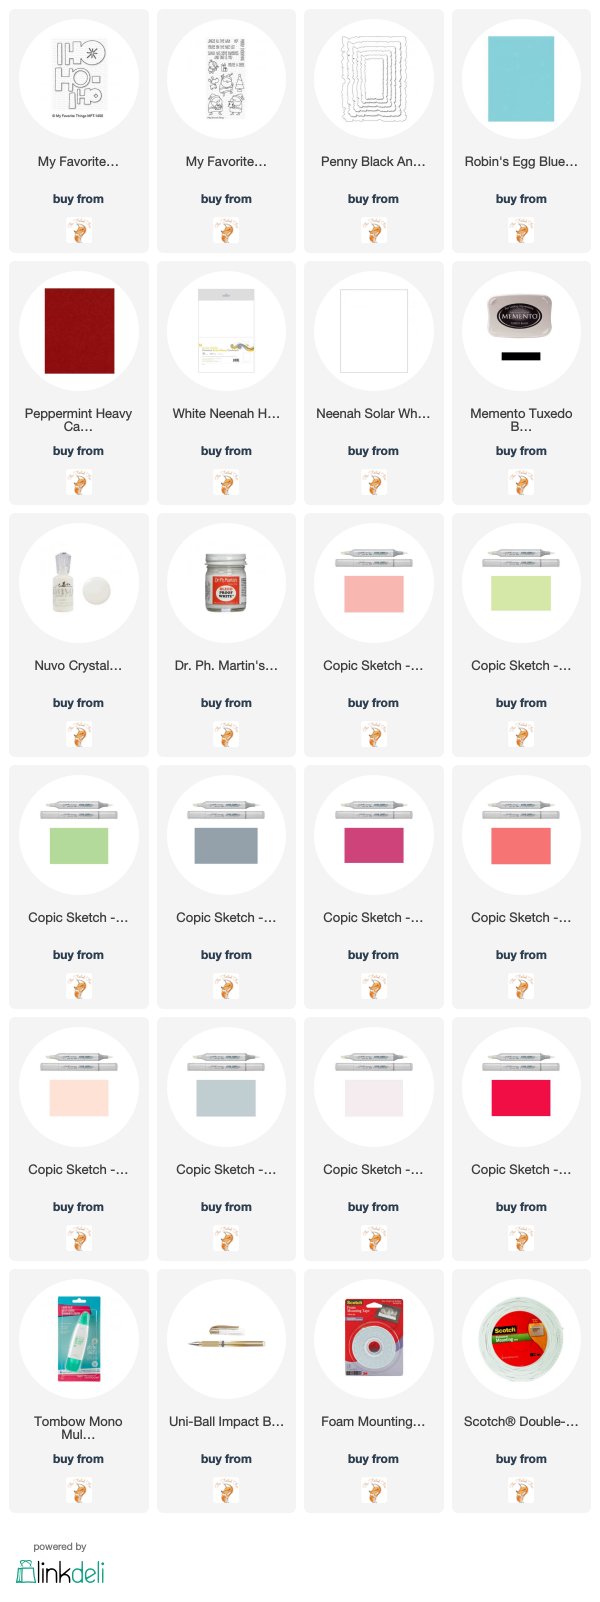
Goodies Used: