I Love Fall Most of All
Hello Everyone,
Well, Autumn is fast approaching and what better way to get ready then to use the new Concord & 9th Give Thanks stamp set with coordinating Layering Leaves die set.
I have two cards for you today that are loads of fun and make up really fast. The first is using the Layering Leaves dies and the sentiments from the Give Thanks stamps.
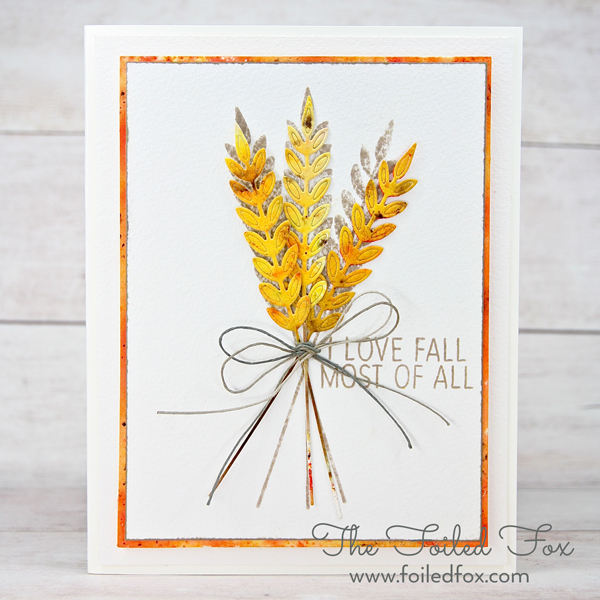
This card has a very simple supply list – YAY! It is made mostly with watercolor paper, Ken Oliver Color Bursts and a gray ink pad.
Using a scrap piece of watercolor paper, I first spritzed the paper lightly with water, then sprinkled about 2/3’s of the paper with the yellow and orange color bursts from the Ken Oliver Earthtone color burst pack. I usually sprinkle on just a little of the dry watercolor powder to see how it is reacting to the paper and water. I then add paint and spritzing after each addition of paint until I get to the color or look I want. I like to spritz from about a foot away to keep the ‘crystal-y, grainy’ look of the paints. If you haven’t used the Color Bursts before, I would suggest experimenting on a scrap piece of paper. The closer you spritz or more saturated the paper is with water, the more diffused the paint gets.
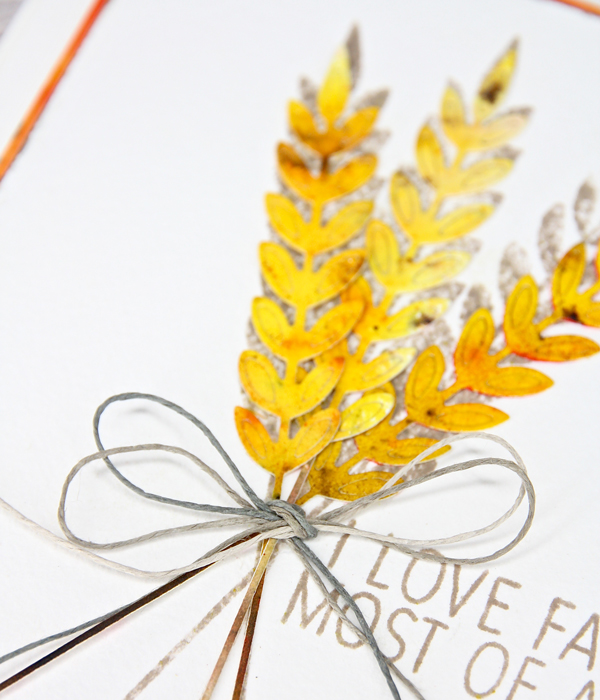
When I achieved the ‘wheat’ yellow and orange colors I liked, I moved on to the browns. I added the brown below the yellow and oranges for the stems.
The Color Burst paints are super easy to use and it is a lot of fun to see the Color Bursts work their magic. The biggest advice comes from Heather Telford of the Bits and Pieces blog. She uses a lot of dry powder watercolor in her projects. She is a master at this and her work is stunning. She suggests to be patient (I know, that’s really hard, isn’t it?). Let the paint work it’s own magic. – after spritzing with water, don’t be in a big hurry. Wait a few minutes to see how the water and paint react to one another and don’t over-saturate with water if you want to maintain a more spotted, granular look to the paint.
The next step is to stamp a watercolor paper panel 3 times in a splayed pattern using the wheat stamp from the Give Thanks stamp set. I used the Altenew Warm Gray Mini Ink Pad set for the grays. There are 4 different colors of gray. I choose the second to the darkest, Moon Rock. The grays in this set are beautiful so they were just perfect. Since I didn’t want a super solid stamping here, I used the rougher (or bumpier) side of the paper and stamped just once. It created a beautiful ‘shadow’ effect for the wheat, without making it too solid or bold. I stamped the sentiment the same way.
After the ‘wheat’ paper was dry, I cut out some wheat shafts out of the color burst paper created earlier. Be careful though – the die will cut all those little wheat pieces so be sure to keep all the piece intact. In fact, to keep them together, I added a very thin layer of Multi-Media Matte to the back of each cut-out wheat and let it dry.
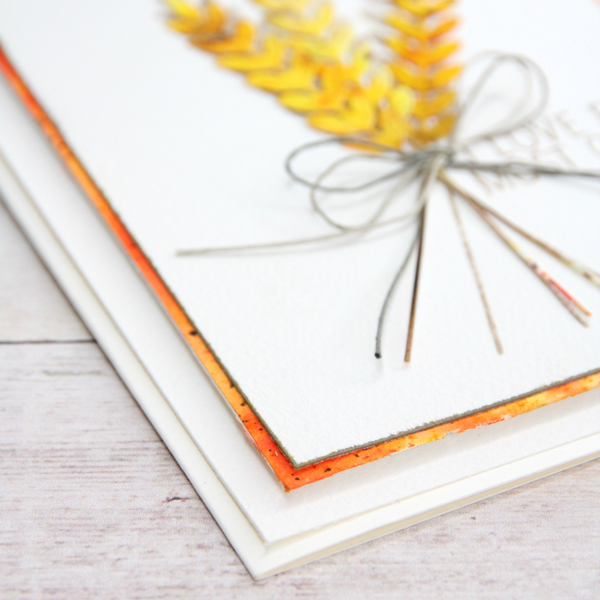
Now ready to assemble, I tied a bow around the cut-out wheat and I glued the wheat down at the bow with Multi-Media Matte onto the panel that the sentiment and shadow was stamped on. Then, I placed the panel onto a slightly larger watercolor paper panel that I had created by coloring the edges with Color Burst paints, added some fun foam to the back to add dimension and stuck it to another slightly larger panel of watercolor paper. Finally, with double-tack tape, the multi-layered top was adhered to the card base. The card base was made from Cream Neenah Heavyweight Card Stock.

Since the Color Bursts were out and I had one remaining wheat from the previous card, I jumped in to make this card.
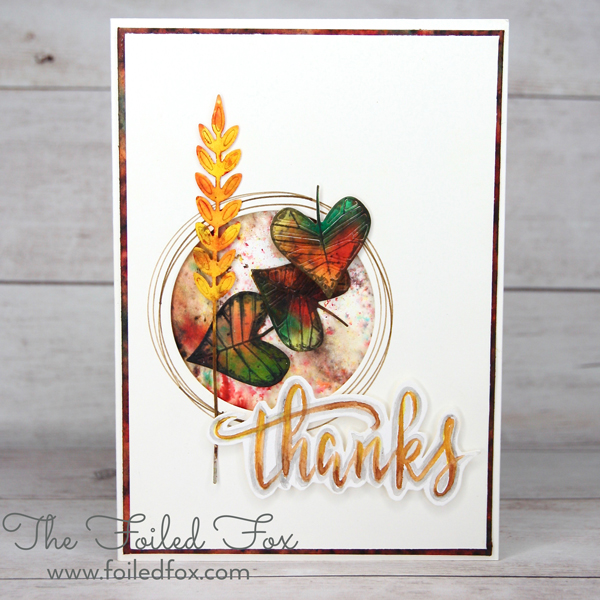
This card is using all the same techniques as above. Just like the other card, I colored some watercolor paper with the Color Bursts for the leaves but added a little green too. I was a little smarter and efficient this time and colored the ‘mat’ panel at the same time, just sprinkling color and water around the edges and only a little smattering of paint in the center until I was satisfied with the result. After the leaves paper was dry, I cut out the leaves and added Multi-Media Matte to the back to hold all the pieces together and let dry. As an accent, I used Black Soot Distress ink to tinge the edges of the leaves with black.
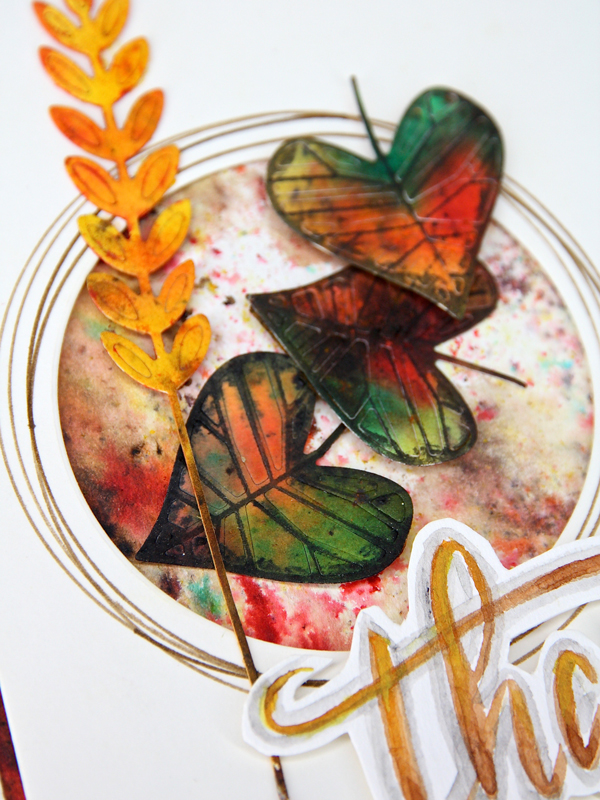
To change up the card a bit, I cut out a circle in the panel with a circle die and traced some eccentric circles using a Vintage Photo Distress Marker and circle template. I adding some dimensional tape to the back, stuck it down to the watercolor panel, arranged and adhered the leaves and wheat.
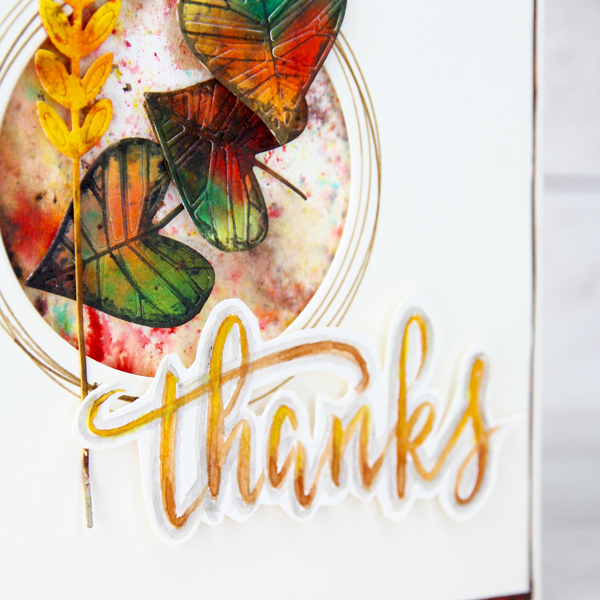
The final steps were only to add the “Thanks” sentiment and apply to the panel to the card base. The “Thanks'” you see on this card, I hand lettered with watercolors paints and a brush but the “Give Thanks” stamp set has a very similar sentiment stamp that would work perfectly well too.
I don’t very often make two similar cards at the same time but I really should since this card came together so quickly and easily 🙂

Supply List:


