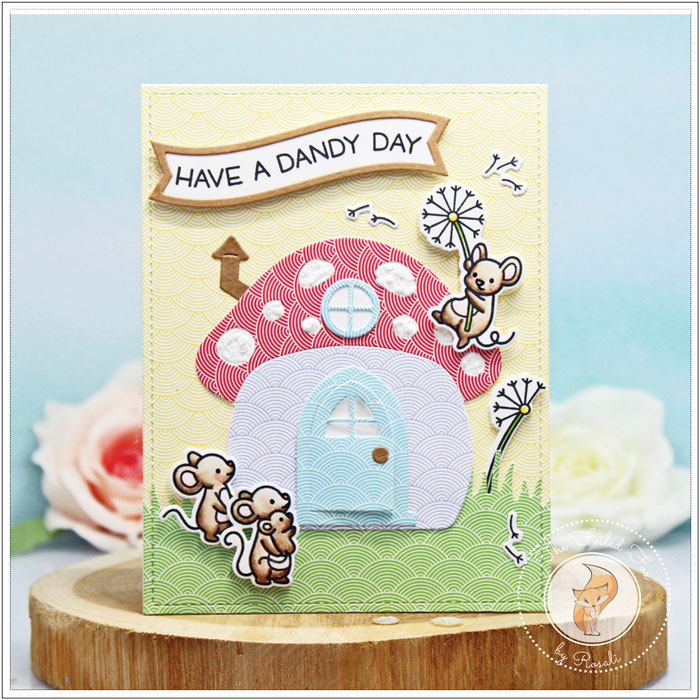
It’s A Dandy Day with our Mice Friends
Hi Crafty Friends,
It is indeed a Dandy Day around here. We get to share another delightful card design by Rosali of I Love Stamping (Instagram: ilovestamping). Rosali always has charming ideas for cards. This one is an awesome scene with the adorable mice from Lawn Fawn’s Dandy Day stamp and die set frolicking around their mushroom house. What could be cuter?
These little mice are having fun with dandelion wish-ies. And they are created by stamping the mice and the wish-ies onto Bristol paper using a waterproof ink, like VersaClair Nocturne, then colored with Winsor & Newton watercolor markers. Hint: the Bristol paper really aids in ink blending.
They were then cut out using the coordinating dies and set aside until the other elements were created.
Next, was the mushroom house. The Lawn Fawn mushroom is an adorable element that has all the parts to make it, even the added bonus of a door that opens 😀.
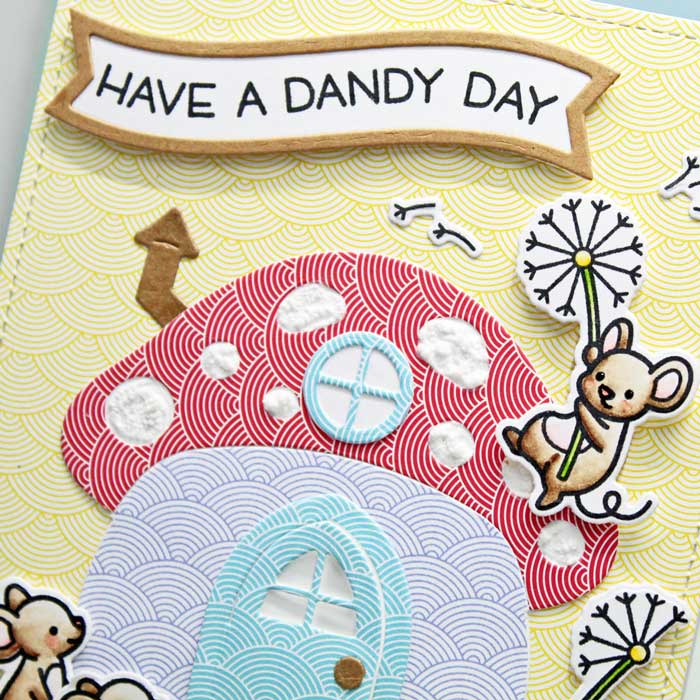
Rosali used a selection of patterned papers from the Lawn Fawn’s Really Rainbow Scallop paper pack to cut out all the pieces of the mushroom house except the large back. This was cut from Neenah white card stock and a scrap of kraft card stock for the chimney and doorknob. At the same time, Rosali cut out a banner using a Lawn Fawn’s Fancy Wavy Banner. It was cut from kraft card stock with a Neenah white back. The sentiment was stamped onto the white banner back.
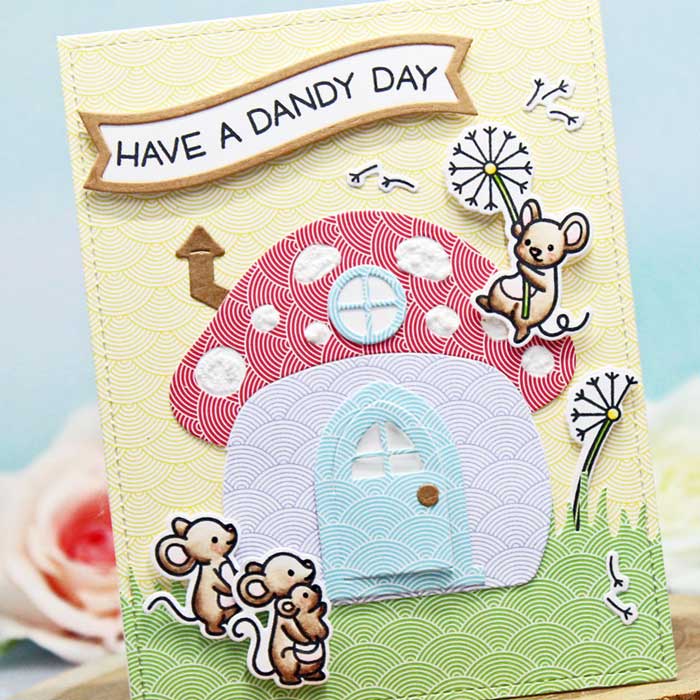
It was almost time to assemble, but first, a white card base was created. Then, using the Really Rainbow patterned paper again, a panel was cut with the large rectangle dies and the grass with the Meadow dies (see supply list below).
Now, everything was ready to assemble. The patterned background panel was adhered to the white card base, along with the ‘grass’. Next was the mushroom house. It was assembled onto the white card stock base with glue, being sure to leave the door open, then added to the card base!
The mice and their wish-ies (don’t forget the little wish-y parts to fly in the air) were added with glue and/or a bit of foam tape. Lastly, the banner was assembled and mounted with some foam tape and dimensional white puffy accents were created onto the mushroom house ‘roof’ with a Snow marker and a heat tool. (By the way, if you haven’t used a snow marker before, just shake the pen really, really well, apply ‘ink’ to the area you want the accent, then heat with a heat tool – be sure to heat it enough, but not so long as to scorch it. You know, use the Goldilocks rule: not too hard, not too soft-haha!)
And there you have it… isn’t it charming? We just loved it over here at the Foiled Fox. We hope you do too! ♥
More about Rosali:

• • • • • • • • •
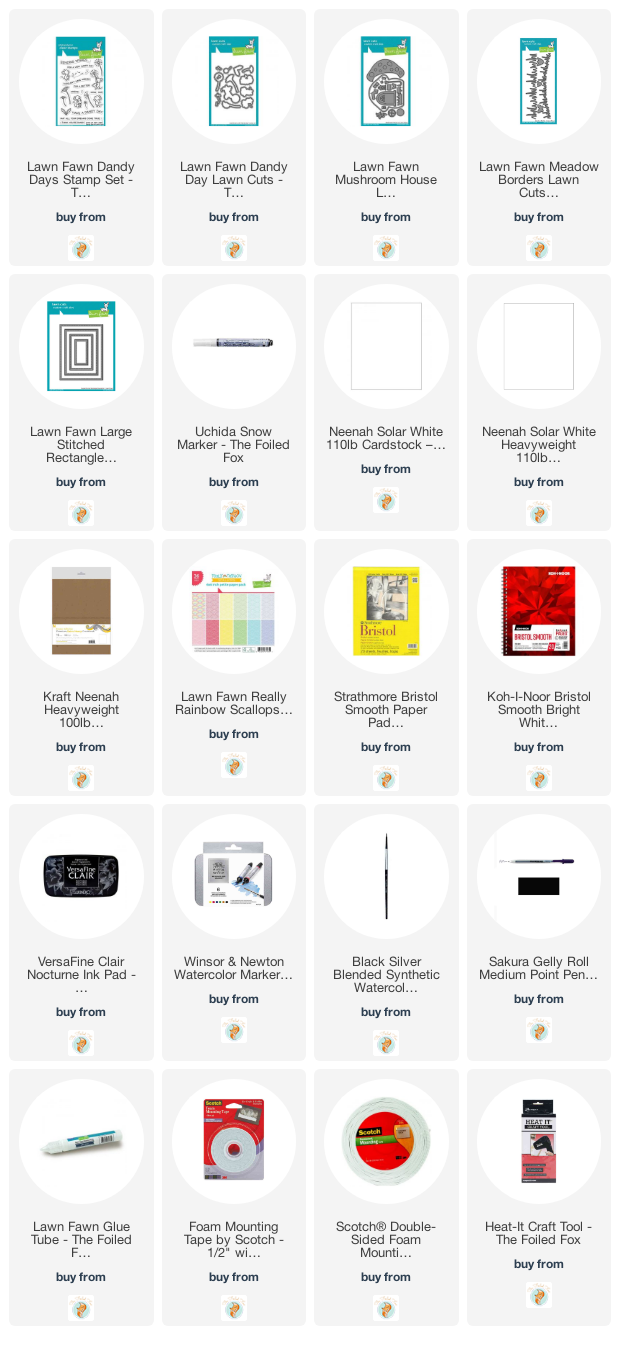
Goodies Used: