Kitty’s Escapades – Newest release from Neat & Tangled
Hi dear friends,
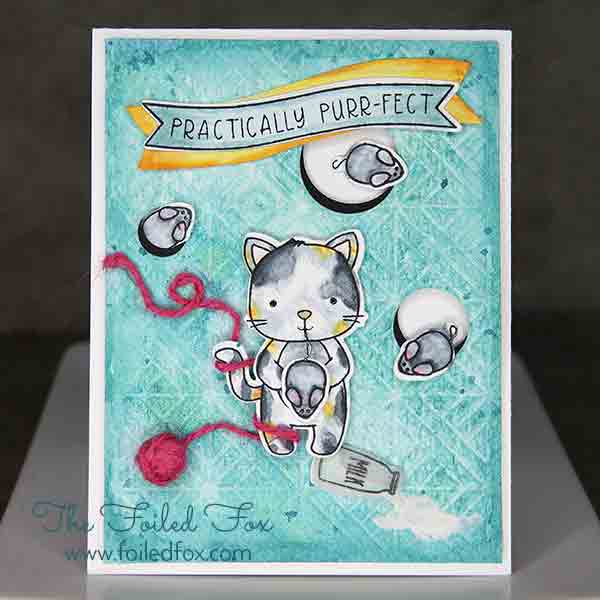
Today is all about having fun and this little kitty from Neat & Tangled has had loads of it. He has gotten into so much mischief….first he knocks over his milk, then chases the mouse, which gets him all tangled up in a ball of yarn. But he does triumph by catching a mouse!

Neat & Tangled’s new release is brimming with fun. This card was made using the Kitty’s Favorite Things stamp and die set. The card size is an A2 (4.25″ x 5.5″). As the foundation, I am using a white cardstock base. I wanted to try out their new Parquet stencil and experiment a bit. So, cutting a A2 panel of watercolor paper (I wanted some thickness and I love to watercolor), I watercolored the panel. I used my trusty Kuretake Gamsai Tambi watercolors, mixing blue and green together – but you could just as easily use the Peacock Feathers Distress Ink and press some ink onto an acrylic block or your craft mat, using it as a palette and watercolored from there.
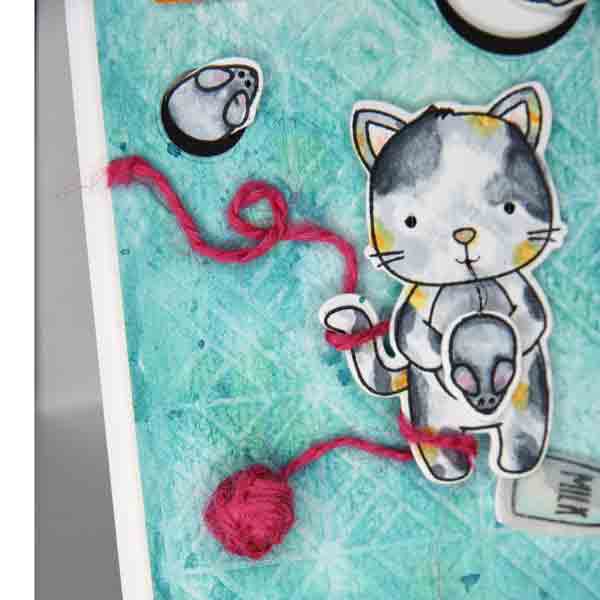
I watercolored the entire panel, let it dry…..well, to be honest, I can never wait for it to dry (who has the time, really!) so I dried it with my heat gun, then spritzed the stencil, ran it through my die cutting machine. The results were a success. Then, I couldn’t leave well enough alone so I sprinkled water droplets on the panel, waited 30 seconds and dabbed it dry for a mottled look.

Next, I stamped all my pieces (kitty, multiple mice, banner and milk jug and got coloring with my Copic markers onto Neenah white cardstock. All the colors (and all supplies used) are listed below. There is one exception, though. I stamped the milk jug twice with vellum and 1 white cardstock one too. I really wanted the jug to look like some of the milk was still in the jug so I added a tiny bit of blue Copic marker on the back side of one of the layers of the jug and then added Glossy Accents mixed with white watercolor paint on the back too for the milk outline. Let everything dry a bit.
Now, I cut out all the parts. To give the milk jug some dimension, I added 2 glue dot (top and bottom) rolled up for extra thickness to the back of the top layer of the jug and adhered the second cut out vellum milk jug. I liked the translucency but it needed more definition – that’s where the final white cardstock milk jug came in. I glued that one to the back of the second layer of the vellum milk jug.
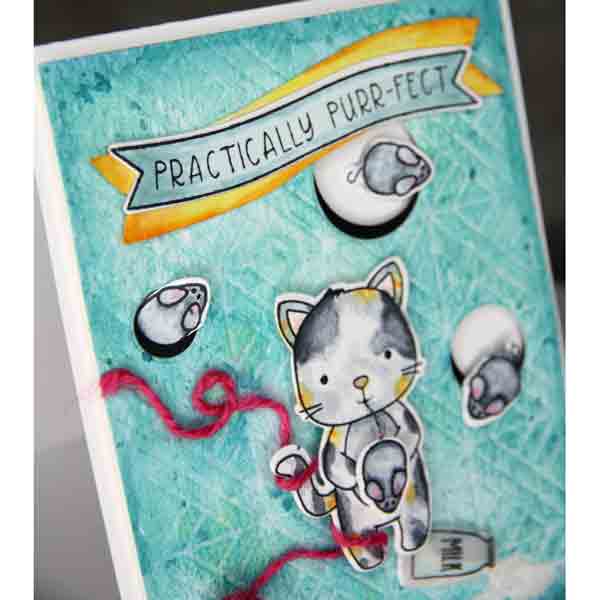
I couldn’t decide what to do with the mice but then it struck me…. the mice coming out of mouse holes. With my trusty circle dies, I cut out 3 different sized ‘holes’ on the panel. At the same time, I cut a piece of black cardstock too so it would have the identical holes, offset it a bit and attached it to the back of the watercolored panel.

Next, I arranged everything and used foam tape to stick them to the watercolored panel.
With this stamp set is a ball of yarn. I was ready to use it but my craziness took over and I decided to roll up some colored twine to make the ball. The stamped ball of yarn would have been just fine but no…I had to complicate things. So off I went and rolled the twine to the desired size, added a touch of glossy accents to the back to hold it together, wound around the kitty’s leg and attached it to the card panel.
Along with my craziness, I added Glossy Accents with white paint and created a ‘puddle’ of milk near the milk bottle.
The final touch was to cut a slightly bigger banner shape from white cardstock for a backdrop to the sentiment banner, color it with Copics and placed in position on the card, with the sentiment banner on top.
Viola, it’s done — YAY!

Supply List:
|
|
Sorry, the comment form is closed at this time.


July 14, 2016
Sue Malone
What a delightful card! Of course, I have a cat that has stolen my heart. The 3 dimensional aspect with the yarn, mouse holes and embossed background make it come to life. I love that the mouse is swinging by its tail in the cat’s mouth. Great Die and stamp set.