Magnolias In Bloom
Hi Creative Friends,
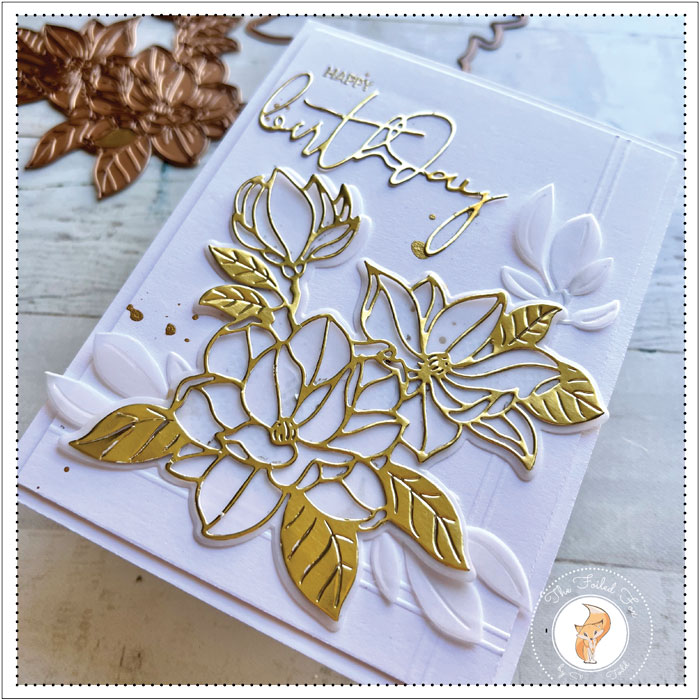
I am popping in to share an elegant card design that works for so many occasions. This one happened to be for my lovely daughter’s birthday. She loves clean, crisp lines so the Magnoila Blooms by Spellbinders was perfect.
This all starts with a 4.5″x6″ (when folded) white card stock card base and a 4.25″x5.5″ white card stock panel. Then, using my scoring board and bone folder, I scored a line on the long right side 1/2″ for the edge and another at 5/8″ on the white panel. I did the same with the short end, using the same measurements. Keep in mind, that I wanted the lines to be protruding from the panel so I had to score on the wrong side, which means I was scoring on the left side, then it was flipped over.
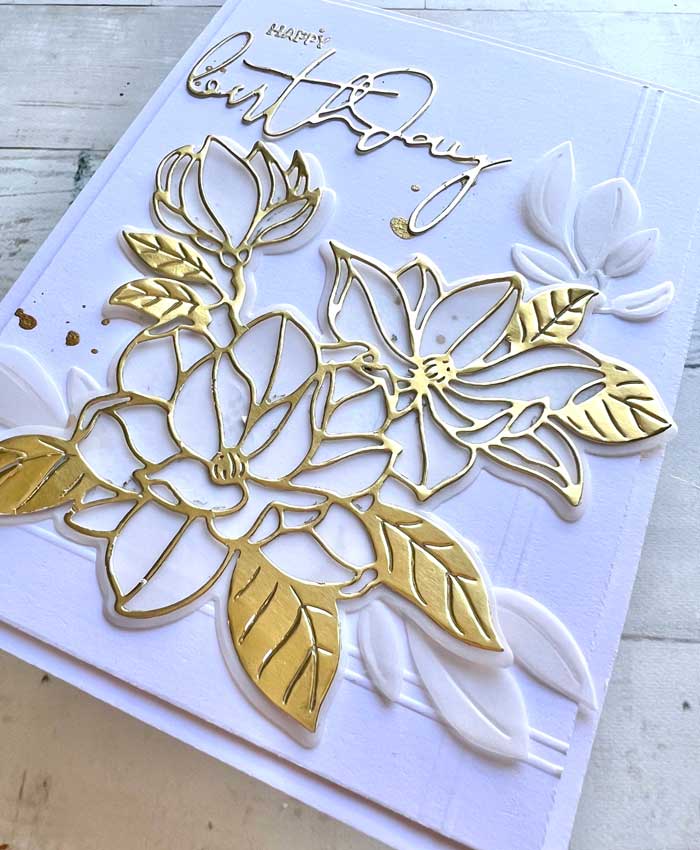
Next, I cut out one set of the magnolia flower outlines, using the dies from the Magnolia Blooms die set by Spellbinders and gold foil cardstock (see supply list below). There is also a silhouette die that covers the centers of the flowers. I cut out the silhouette from a crisp vellum like 48lb in our supply list. At the same time, I cut out more vellum leaves using the Simply Graphic Foliage Die.

The gold outlined flowers were mounted on top of the vellum silhouette, then added to the white scored panel. The vellum leaves were tucked in here and there.
For the sentiment, I stamped ‘Happy’ from the Mini Messages stamp set by Honey Bee Stamps using Versamark ink and gold heat embossed it.
Two gold foil card stock ‘birthday’s’ were cut out using Yana’s Layered Script die set, then stacked and glued together. Next, mounted to the card front.
A few gold ink splatters were carefully added using Finetec Gold & Silver Mica watercolor set.
With the panel done, I added a thin foam panel to the back to pop it up, then mounted it to the card front to complete the card. ♥
Goodies Used: