Moonlit Pumpkins Ready To Trick Or Treat
Hi Crafty Friends,
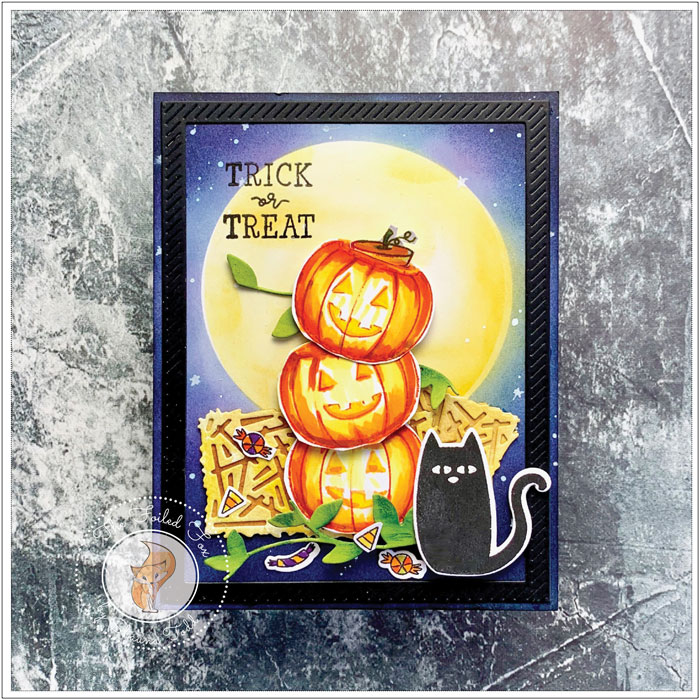
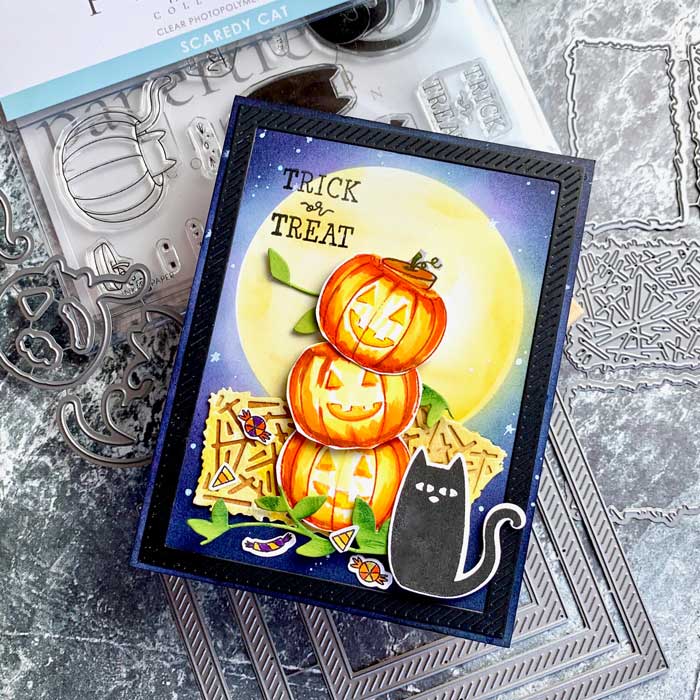
Are you thinking about Fall yet? How about Halloween? Hopefully, this moonlit pumpkin Trick or Treat card design will get you in the mood. It features the Scaredy Cat and Hay Bale stamp and die sets by Papertrey Ink – Ink To Paper. To add to the fun, we have a how-to video for you today.
As promised, here is the video for you to watch. It shows you all the steps, plus a few tips along the way.
I began making this card design by first creating all the elements. That meant cutting out the hay bales, pumpkins, and of course, a black cat. No self-respecting Halloween scene should be without a black cat, right? 😀
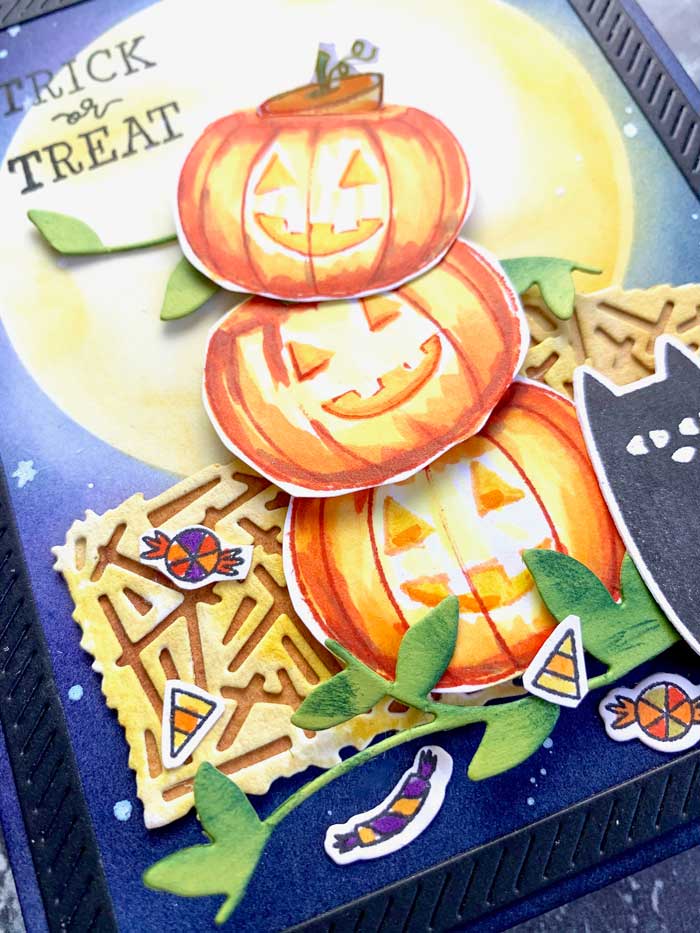
The hay bales were cut from rough watercolor paper. I chose this for its rough texture as it adds to the character of the hay bales but really any watercolor paper will do. In fact, you could easily skip the step of coloring them by cutting the hay bales out of colored card stock. The hay bales were painted with Honey Nut, Bright Buttercup, Harvest Gold, and Cocoa Bean ink cubes by Papertrey Ink.

Next were the pumpkins. I love me some bright-colored, cheery Jack O’Lanterns! So, using the pumpkin in the Scaredy Cat stamp and masking off the kitty-cat head, I stamped three pumpkins with Terracotta Tile, stamped the face with Bright Buttercup, then colored them with Copic markers. The markers I used were: Y11, Y13, YY15, Y38, YR09, YR18, E23, and G46 for the green on the top of the pumpkin lid.
I also stamped and colored a few candies, and of course, stamped the black cat with True Black and white heat embossed his little face.
With the major elements done, I started the background. I love big, fat Halloween moons so I cut a circle from masking paper, placed it on a Bristol paper panel, then blended Spring Rain, Dark Indigo and Royal Velvet ink on the panel. Then, I peeled off the mask and colored the moon with Harvest Gold, Bright Buttercup, and Summer Sunrise ink cubes. To finish the background, I splattered white Dr. Ph. Martin Bleedproof white ink with a stir-stick.
The card was assembled on a Winter Wisteria card base, with the moon background panel first, then the black border created by cutting a frame from the Skinny Vees die set. The pumpkins and cat were arranged and placed with foam tape. I added a few vine-y leaves by cutting out the Grateful Vines border and using sections of the cut out vine.
The little candies were placed around as if they were falling out of the Jack O’Lanterns.
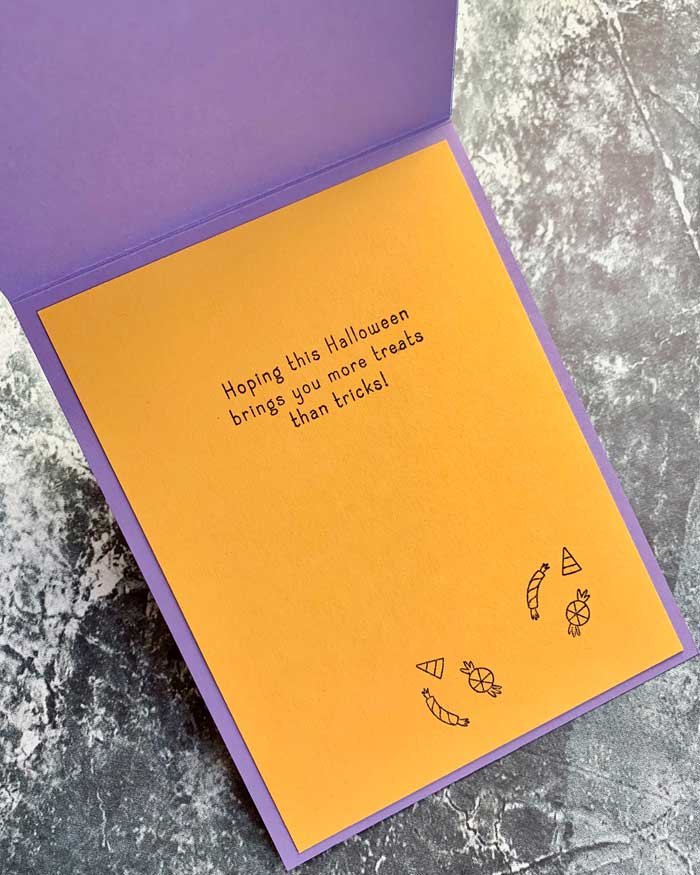
Oh yeah, two more steps. The sentiment “Trick or Treat” was stamped with True Black ink and as an extra touch, an inside greeting was stamped on a Summer Sunrise panel and added with some double-stick tape.
Now the moon is glowing and the pumpkins are beaming! And I hope you had a chance to catch the view… and of course, I hope you enjoyed it! 🎃
Goodies Used:

