New Year Celebration with Peonies
Happy New Year!
I am so excited to be the first from Foiled Fox to ring in 2017! I wanted to share something with you all that was lovely and cheerful. I thought the peonies found in the Altenew Peony Bouquet stamp set were a perfect match. I just love the big blossoms.
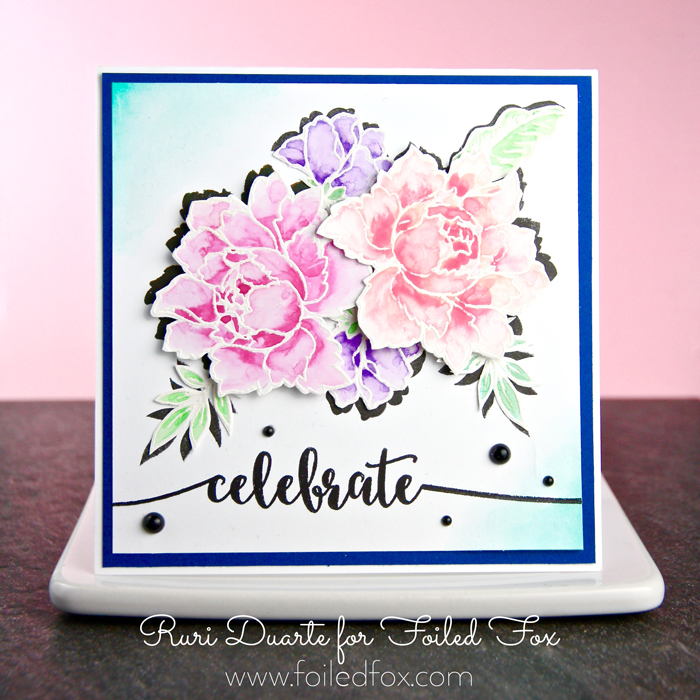
These peonies are great for any kind of coloring and you know I love to color with my Copics. But today I decided to break with my usual and bring out my watercolors. The softness of watercolors gives blossoms a beautiful, realistic look.
To prepare to watercolor, I first stamped the outline of the peonies and leaves onto Ranger Glossy Paper with Versamark ink , then heat embossed it with white embossing powder. By doing this, it gave the flowers definition and wonderful guidelines for shading the flowers.
A quick tip I would like to pass on is if you have a MISTI or some other stamp positioning tool, I would recommend using it to stamp the flowers and leaves (and all the stamping for this project). This way, if you don’t get a perfect impression the first time, you can stamp over it perfectly without getting an ‘echo’ effect. It is like magic!
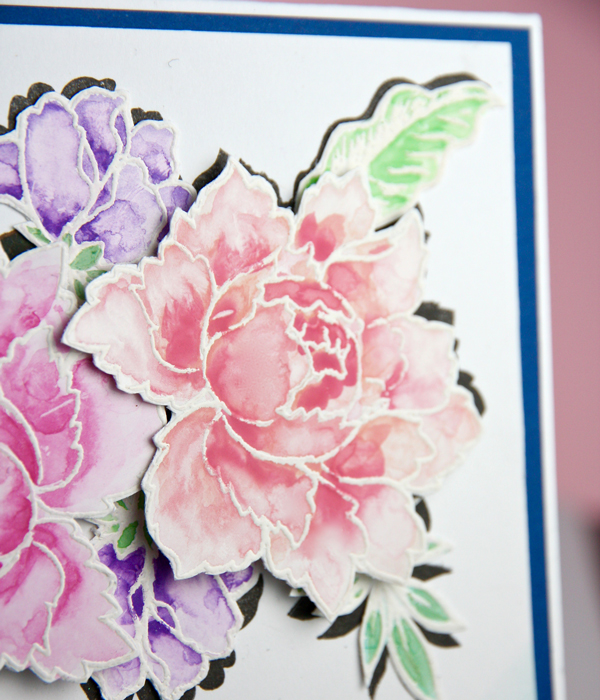
You can see in the picture above (and the one below) how I shaded the blossoms. By adding a little more intense color in the areas where natural shading would be, it gave it a more realistic look. As a side note, when using the Ranger Gloss Finish paper, I found that it is best to use lots of water to blend your colors.
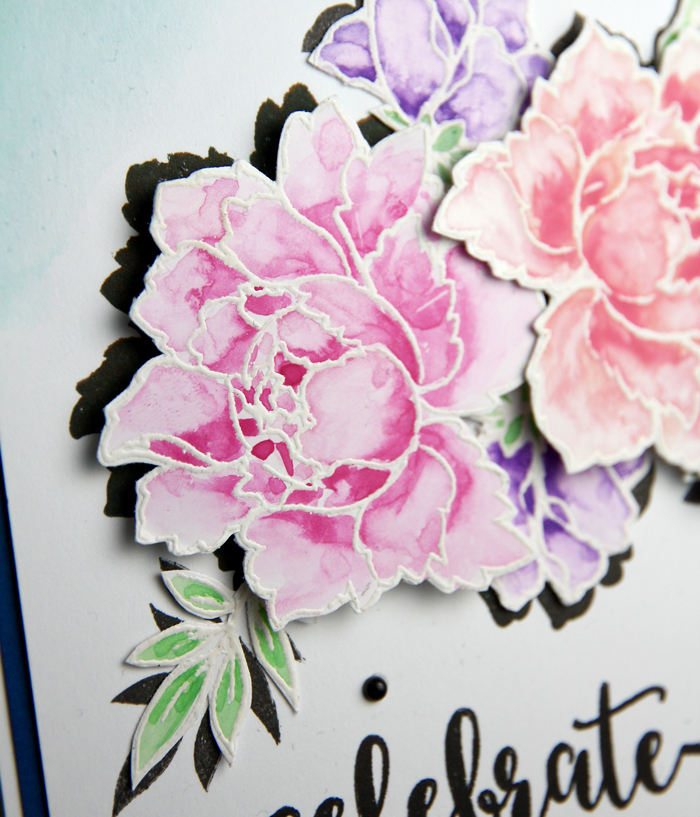
After all the flowers and leaves were painted and dry, I carefully cut out each one by hand. I wanted to be sure to cut very near the embossed lines.
Next, I positioned the flowers and leaves onto a square piece of white cardstock and lightly marked their position. Since I had chosen to watercolor the leaves and blossoms, instead of stamping a solid color, I thought I would use the solid stamp of the blossoms and leaves to create a shadow behind them.
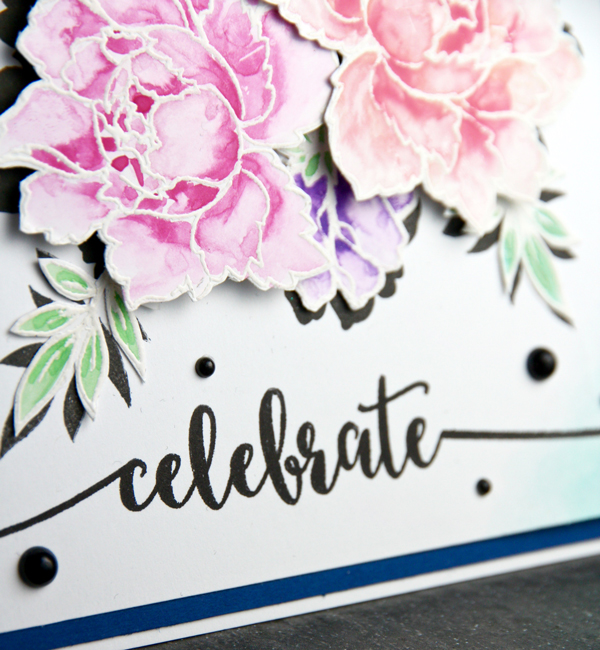
So, again with the MISTI, I stamped in Versafine Onyx Black ink the flowers and leaves in the arrangement I had planned, but slightly offset to create the shadowing effect.
At that same time, I stamped the sentiment “Celebrate” on the bottom of the square panel. The word ‘celebrate’ came from the Avery Elle “Sentimental” stamp set but the beauty of a card like this is that you can use whatever sentiment you would like!
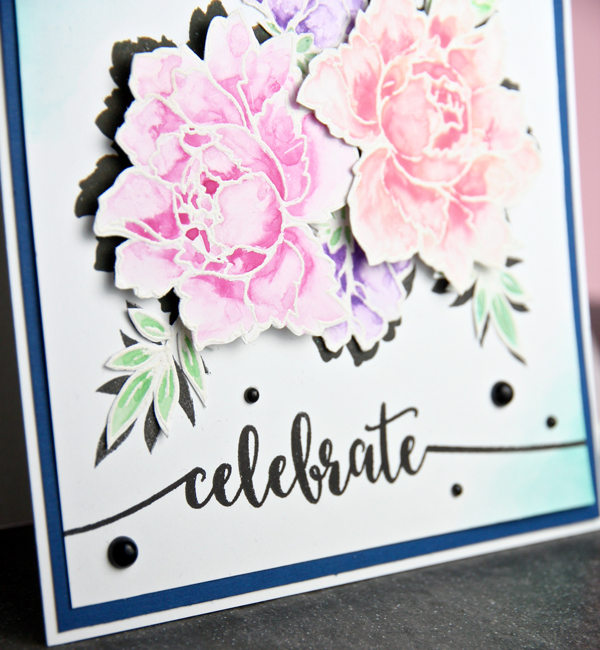
Finally, I placed the cut-out leaves and flowers over the black shadow. The larger flowers I popped up with foam tape and added a tinge of watercolor on the opposite corners, along with a few black pearls for accent.
With white cardstock as a card base, the navy blue panel was placed on top the card base and then the flower panel on top as the finale.

Supply List:
 Whirlypop |
Sorry, the comment form is closed at this time.


January 16, 2017
Janet Ingraham
You sure know how to watercolor. Lovely!