Pop-Up Easter Bunny Basket
Hi Crafty Friends,
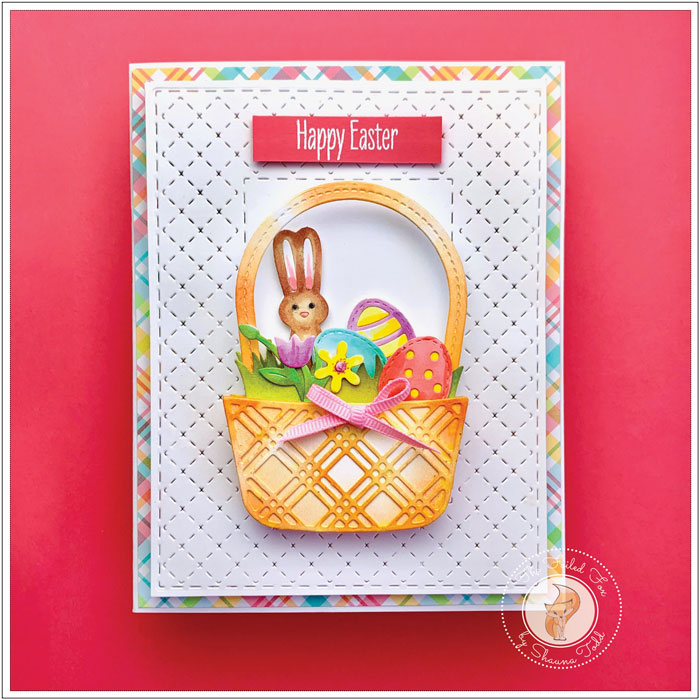
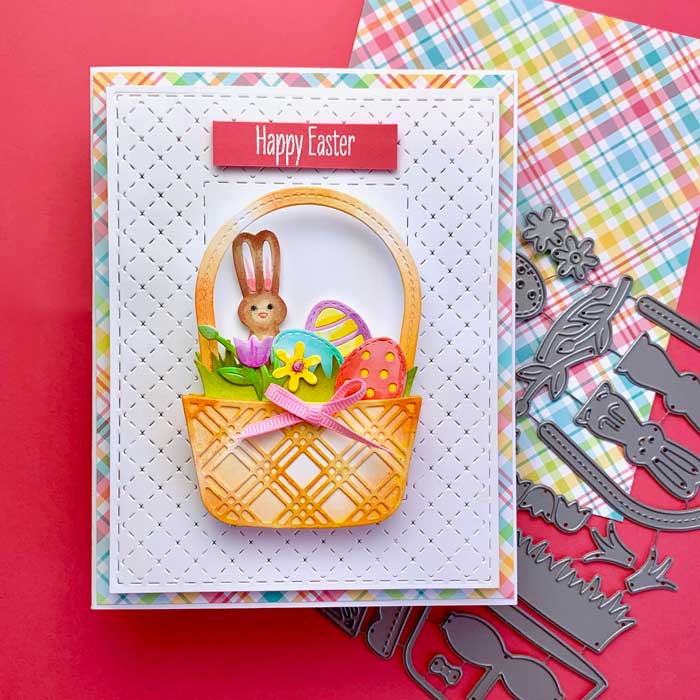
With Easter right around the corner, I thought I would share this festive card with you. It features Lawn Fawn’s Build A Basket: Easter die set. This set is fantastic. It has all the makings for an adorable Easter basket, but also would be great to make a flower basket for Mom.
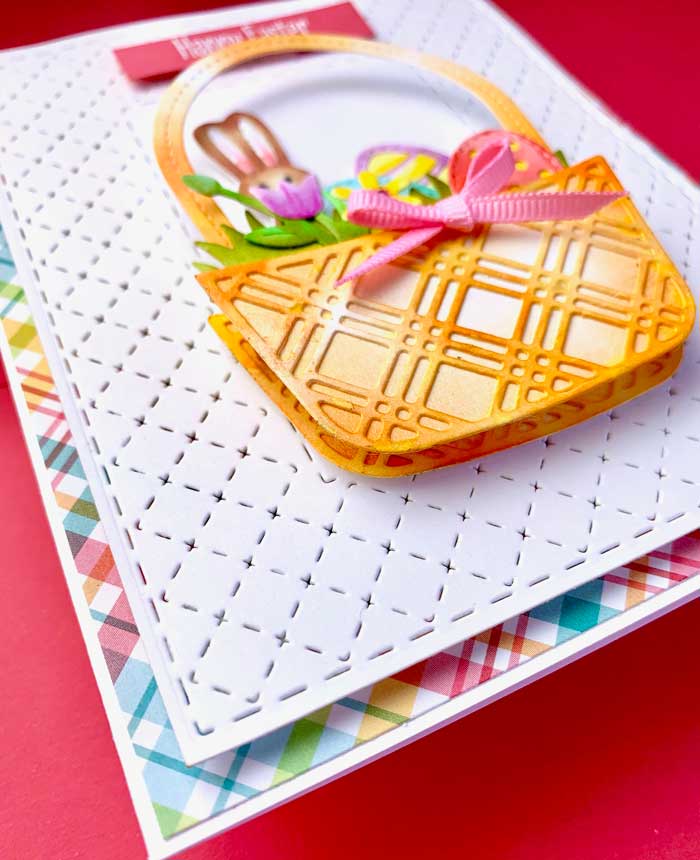
This is a pretty straightforward card, except for one thing… I popped up the basket, making it interactive. In other words, the basket folds down like a pop-up box or shadow box (check out Lawn Fawn’s video here). The only difference is that I didn’t create sides, I only added the strips like the clouds in the video and attached them to the back basket and the front. Let me explain.
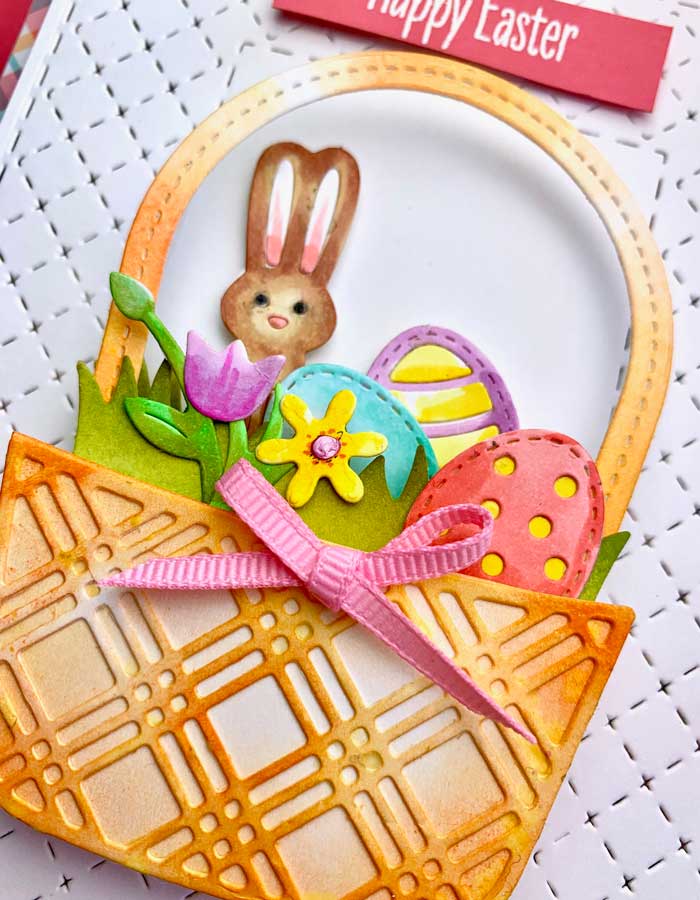
First, let’s get to the basics of the card. I cut out all the pieces in the die set, plus another complete basket (solid back and basketweave front) so I had two complete basket pieces. I colored all the basket pieces with a few inks colors (Bright Buttercup and Summer Sunrise). I then colored all the goodies (chocolate bunny, eggs, flowers, etc.) and two pieces of grass for inside the basket. These pieces were all colored with a few Copic markers (here you can let your imagination go wild).
Next, I created the foundation card pieces. So, first I cut a plaid panel from Lawn Fawn’s Perfectly Plaid Remix petite paper pack (adorable papers!) that was slightly smaller than my white card stock card base and layered it on top. I then added with a bit of foam tape, a lattice white card panel that I had cut out of white card stock using the Papertrey Tin Stitch die.
With all the pieces for the basket done and rarin’ to go and with the card base and layers prepared, I moved on to making the pop-up basket.
It may seem complicated to create this 3D basket but it is deceptively simple. After the basket pieces were colored, I glued the solid part of each basket to their respective basketweave fronts (remember I cut and ink blended two). I then created 2- 3/8″ wide strips, one was 2 1/2″ long and the other 3 1’4″.
For the shorter strip, I scored 1/8″ on each short side and folded on each score line, making sure to burnish down the fold so it was nice and crisp. For the second strip, I made two score marks on each end, one at 1/4″ from the end and the other 1/2″ from the end, then folding and burnishing down the folds on each end. This creates the tabs to connect everything together. See pic below, #1 and 2.
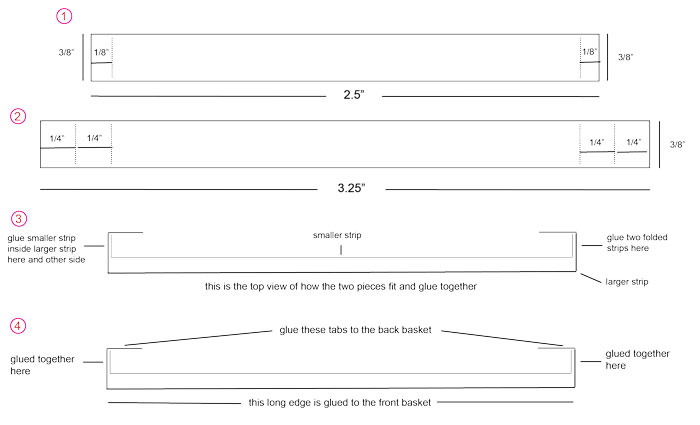
Next, I glued on the grass pieces to the front of each strip.
To create the pop-up section, I added a spot of glue to each 1/8″ folded end of the short strip, then attached it to the long strip at the first fold. See pic #3. Then, I attached the whole interactive assemble to one of the assembled basket pieces at the back tap, and then the other assembled basket (front) to the long front part of the strip. See pic #4.
With the basket pop-up assemble done, I arranged and glued in the basket goodies (bunny, eggs, flowers). Then, the whole thing was adhered to the card front.
All that was left was to create a sentiment strip and tie and ribbon bow. The sentiment “Happy Easter” from MFT Easter Bunnies stamp set was white heat embossing onto a strip of Candy Hearts pink card stock, then pop-up with a bit of foam tape. For the final touch, the pink ribbon bow was glued on.
My Easter card is done. It was loads of fun to do and it was surprisingly fast to make!
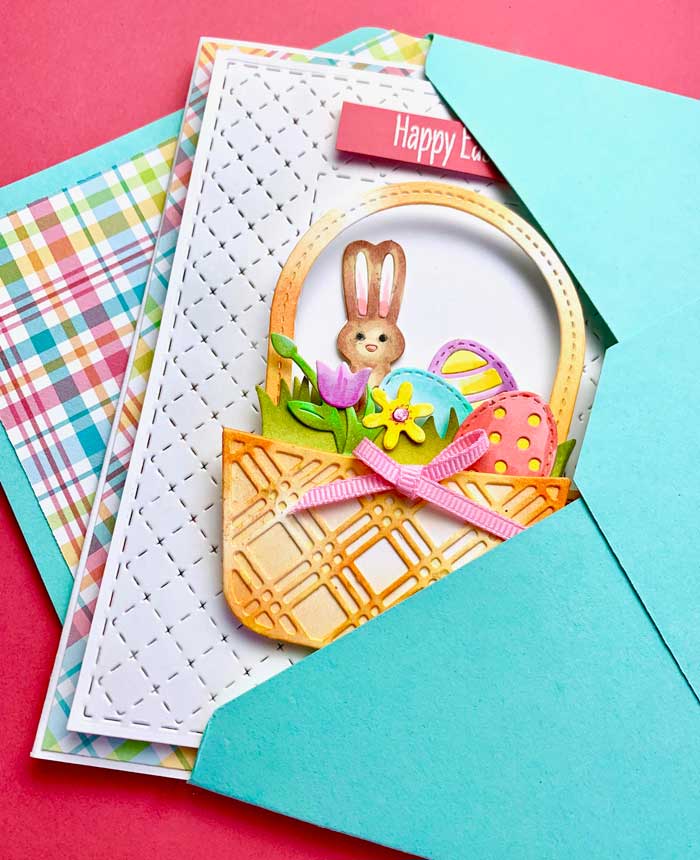
By the way, I created a matching envelope. Here you see the basket collapsing to fit neatly in the envelope, only to have it pop up again when pulled from the envelope. ♥
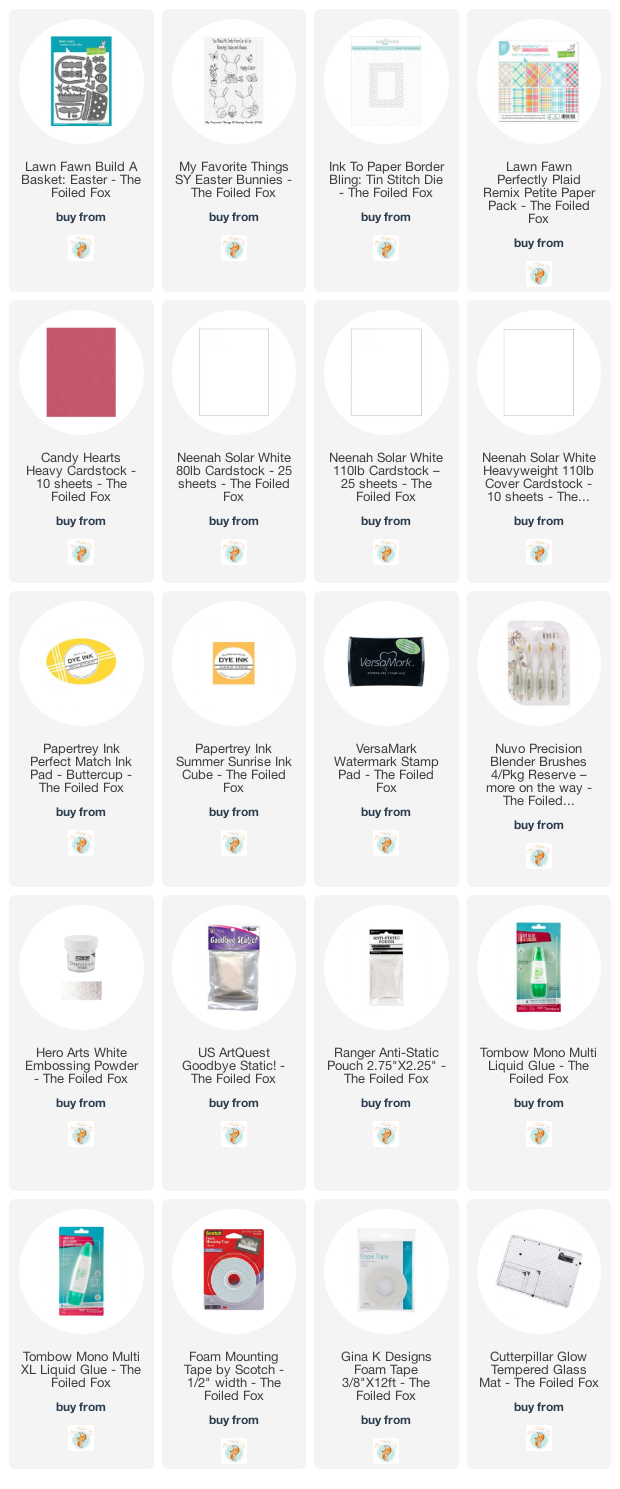
Goodies Used: