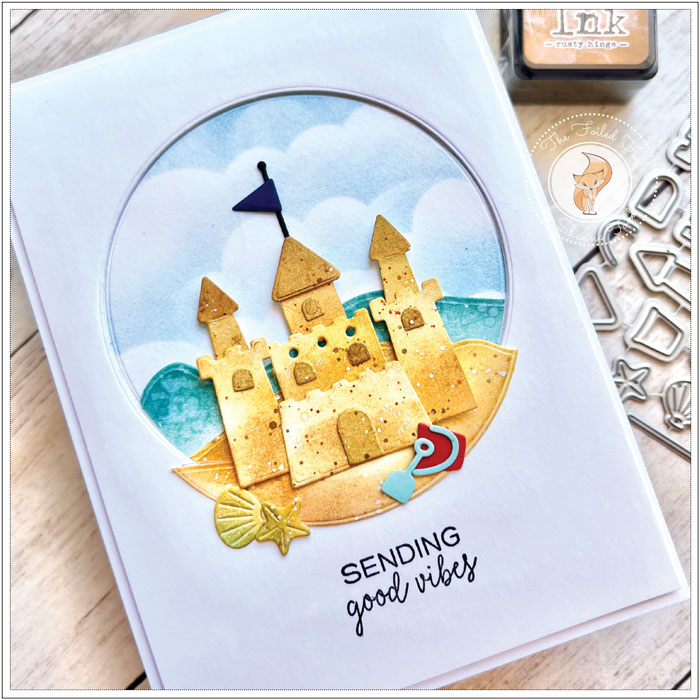
Sending Good Vibes
Hi Creative Friends,
Summer is in full bloom and since I live near the beach, no summer can go by without spending time in the sand. That means a sandcastle is in order! But, no matter where you live your can build your own using the fun dies set by My Favorite Things, Sandcastle Builder.
This die set is great fun as you can build your castle any way you like. In my case, I went for the palatial castle, complete with turrets and a flag on top. Below are all the steps to create your own.
Oh, and don’t forget, we are having a 15% off sale of all Lawn Fawn in our shop. So, be sure to grab your favorites! All the details of the sale are at the bottom of this post but the important detail is the discount code to enter at checkout. It is; 15LF722
As I mentioned, this die set has all the pieces to make a sandcastle. You can make a simple one or as big as you want. For mine, I like turrets so, of course, I had to have lots.
I started by cutting out all the pieces needed for my castle, along with a few seashells. I cut them out of Bristol paper so I would have easy ink blending. I also cut out three strips from Bristol paper using the Hillside Borders die set by Lawn Fawn. These will be used to create the ocean water and sand. With a few scraps of Peppermint, Robin’s Egg, Licorice Twist, and Blueberry Sour card stock, I also cut out the sand bucket and shovel, flag pole, and flag.
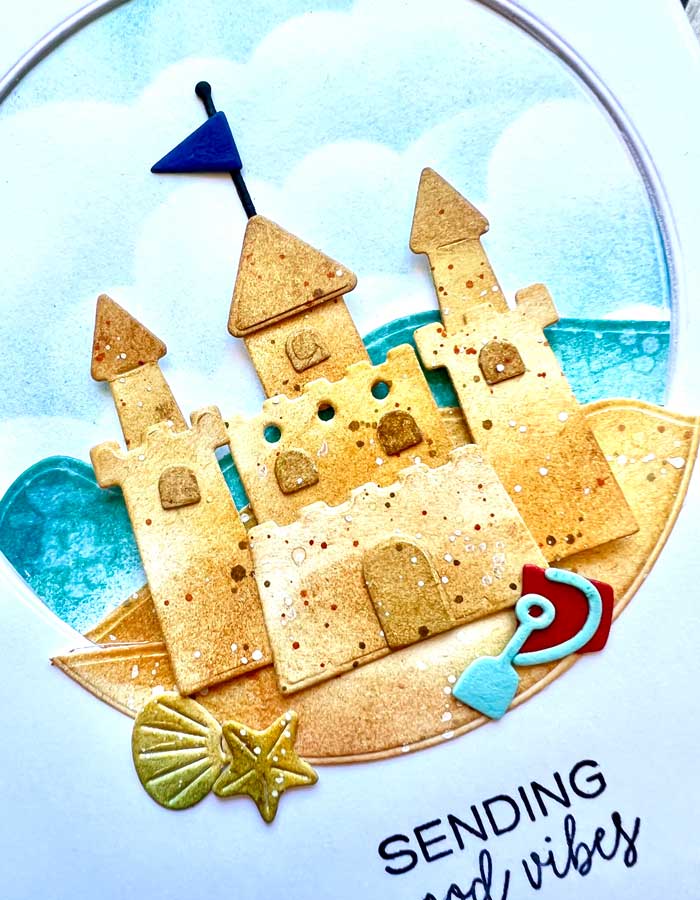
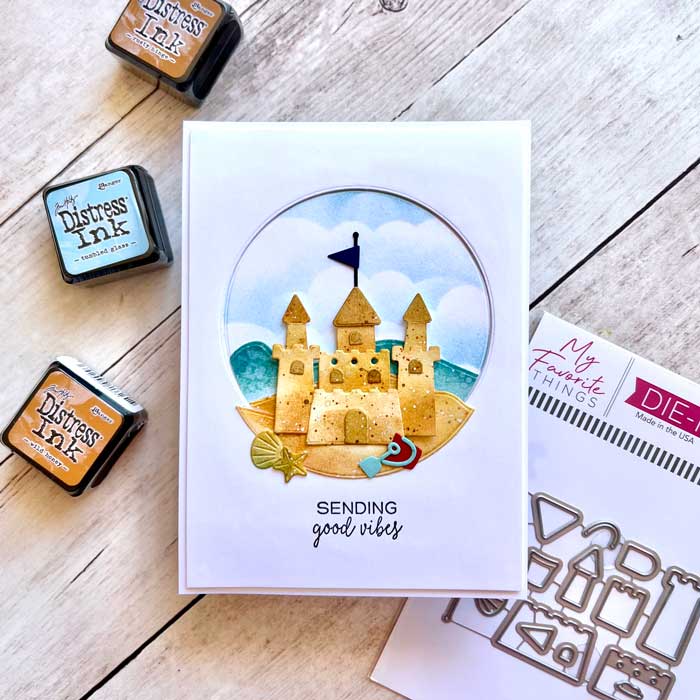
I set aside the extra pieces (bucket, shovel, flag pieces) while I ink blended the sand, castle, and water. Using an ink blending tool with a dome applicator (my favorite choice for this type of work), I started with the sandcastle pieces, sand strips, and seashells first. I used Wild Honey distress ink as the base color, then added touches of Rusty Hinge and Vintage Photo distress inks. When all the pieces were done, I splattered them with tiny dots of Vintage Photo and Rusty Hinge distress ink.
For the last strip, which will be used for the water, I blended on Tumbled Glass distress ink, then added Uncharted Mariner for the darker bits.

While all the elements were drying, I made an A2 white card stock card base and one white panel slightly smaller (4″x5 1/4″). Using the smaller panel, I cut out a circle, keeping the circle cut out. At the same time, I cut out a circle from a foam panel.
On the circle cut-out, I made a clouded sky by using Tumbled Glass distress ink, a cloud stencil, and an ink blending tool.
Right before assembly, I stamped my sentiment from the Life’s A Beach sentiment stamp set (it has sooooo many cute sayings!) onto the panel.
Next, I mounted the foam panel onto the white panel, then added it to the card base. I attached the ‘water’ strip and one of the sand strips to the sky circle, then trimmed the bottom edge to conform to the circle shape. With a little glue on the back of the circle, it was pressed into place.
At long last, it was time to build my castle but first, I trimmed the edge of the last ‘sand’ strip using a circle die, then added foam squares to the back, and adhered it to the front. Using foam squares and glue, I built my castle, and added the flag on top, along with the pail and shovel, and seashells.
That completed my sandy beach scene. This card was loads of fun. It reminded me of the beach and a lazy summer day! I hope you make your own castle and send it along to someone that would enjoy a day at the beach, even if it is just on a card. ♥
Don’t forget to save with our Lawn Fawn sale!

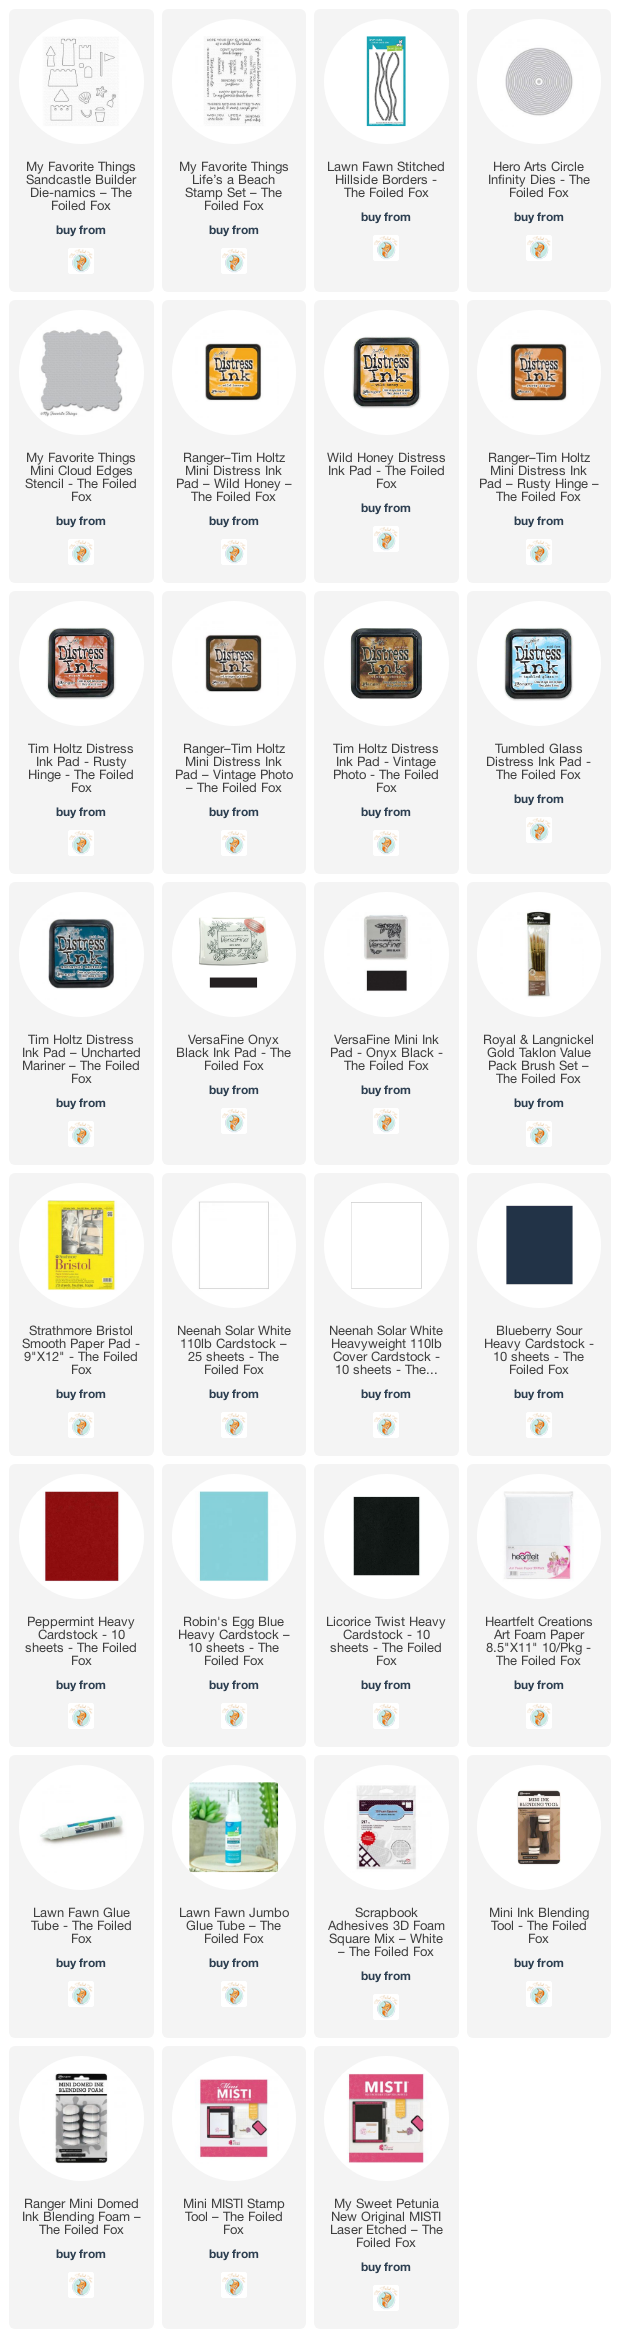
Goodies Used: