Sweet Dotted Stitched Blooms by Heather Telford
Hi Crafty Friends,
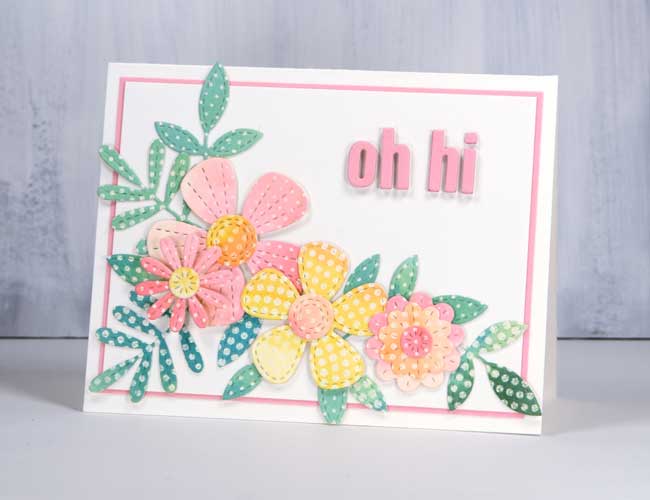
I hope you are beating the heat and staying refreshed. Maybe this delightful bouquet of Dotted Stitched Blooms by Heather Telford will help. It is as fresh as a daisy… literally!
If you follow our blog, then you know that we love Heather Telford to pieces! She is a super talent and always has beautiful and creative ideas for her cards. After taking in how she created this charming card, be sure to pop over to her blog and see more!
By the way, this Stitched Blooms die-namics set has been so popular everybody is sold out… that’s because it can be used in so many fun ways and you can create so many different looks. Already, this is a set I reach for over and over! We have reordered them so if you can’t live without it like me, just reserve your copy and we will rush it to you as soon as it is available again!
Finally, it is time to announce the winner of our Summer Giveaway. A giant thank you to all that played along. If you didn’t win, don’t fret, we will have another soon – so keep your eyes peeled, maybe it will be your lucky day next time. In the meantime, check below to see if you are the winner!
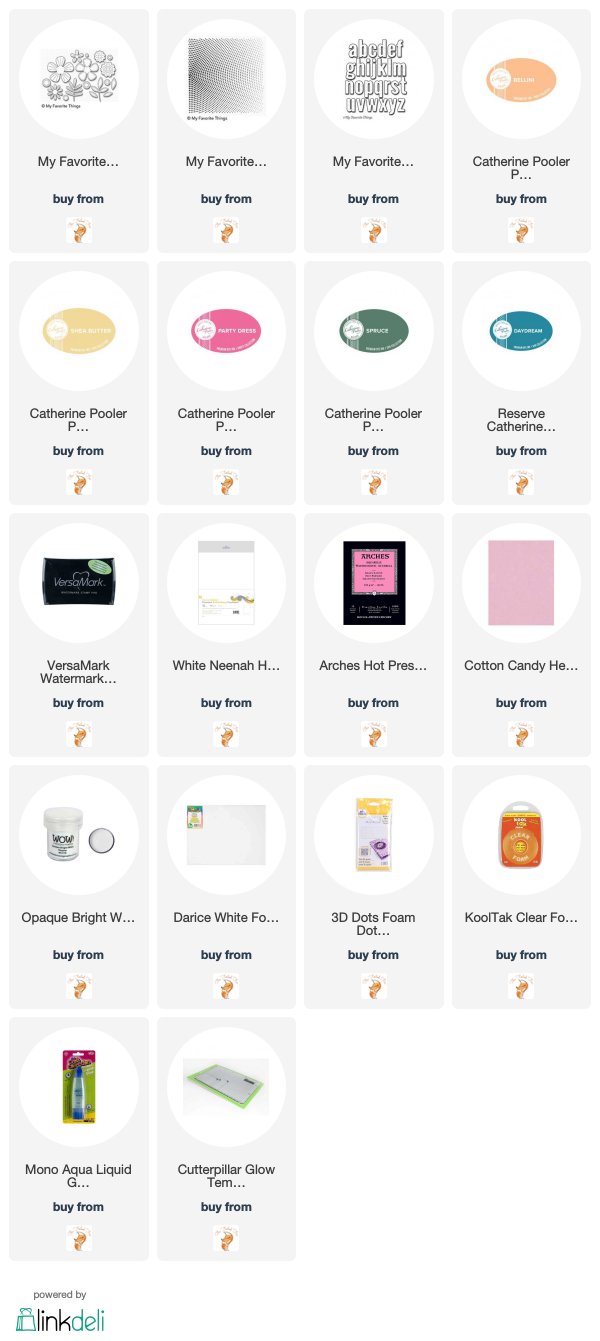
I received a delightful package from Foiled Fox a couple of weeks back and I wanted to play with all the things straight away! We all know it’s not always possible to do that but when I did get a chance I pulled out the MFT ‘stitched blooms dies’, the MFT ‘radiating halftone background stamp’ and some Catherine Pooler inks for some flower arranging. I am excited to share it today on the Foiled Fox blog.
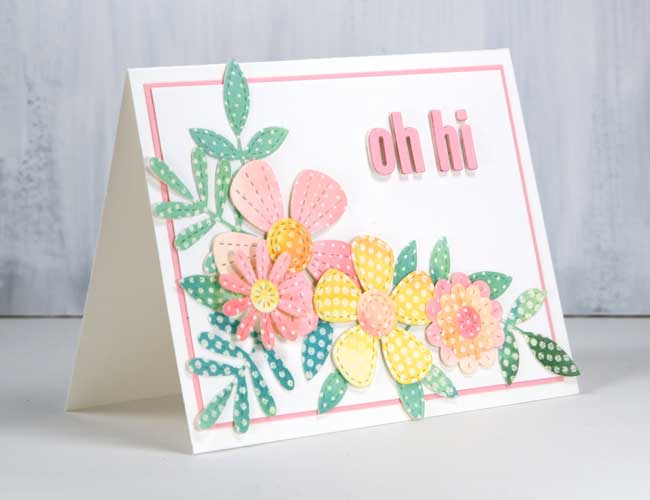
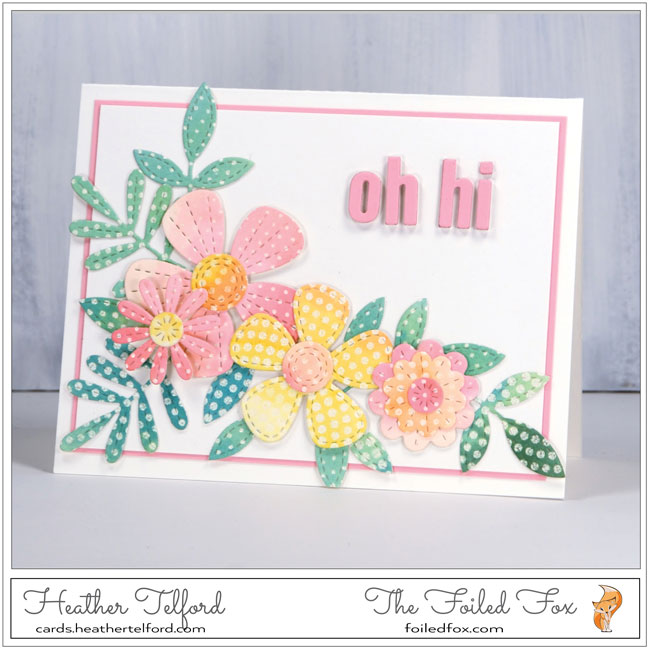
If you look closely you can see the dots on the flowers and leaves are different sizes, that’s because the dots on the MFT Radiating halftone background stamp range from small to large. I used the stamp to create my own patterned paper. I stamped on two panels of hot pressed watercolor paper and embossed with white powder. I then smooshed some Catherine Pooler inks onto my glass mat, spritzed with water then used a paintbrush to paint over one embossed panel in Shea Butter, Bellini and Party Dress and the other in Shea Butter, Spruce, and Daydream. Once the panels were dry I positioned the whole ‘stitched bloom’ sheet of dies over the panel without separating any of them. I cut a complete set from both color schemes then separated the dies so I could cut a few more individual flowers and leaves.
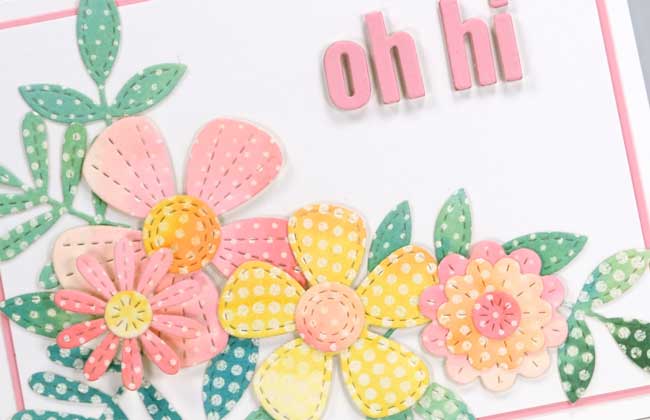
I arranged the pink, yellow and orange flowers with the green and blue leaves on a piece of white paper then, when I was happy with the layout I snapped a pic with my phone so I could recreate it and glue it down in layers. I used liquid glue for the elements going directly on the white panel and two different thicknesses of dimensional adhesives to raise some of the flowers up higher. To create my little sentiment I adhered some white foam to pink cardstock then cut out the letters using the MFT ‘little lowercase letters’ dies. I used the same pink cardstock to mat the panel, added it to a white card base and my first flower arrangement was complete.
Because I had cut out so many, I had pink and yellow leaves left over along with green flowers. I decided to make another smaller arrangement; you can see that one if you pop over to my blog.
Thanks for dropping by!
We have a winner of our Summer Giveaway – YAY!


