The Freshness of Springtime
Hi Crafty Friends,
I hope all of you are safe and healthy… albeit you might be feeling a little cabin fever! I am taking a very short break from the graduation series (see previous blog posts and videos) to bring a breath of fresh, Spring-like air with a beautiful bouquet of flowers.
These flowers are from the delightful stamp by Penny Black, called Springtime Sigh. The bouquet was wonderful to create a vivid display of flowers.
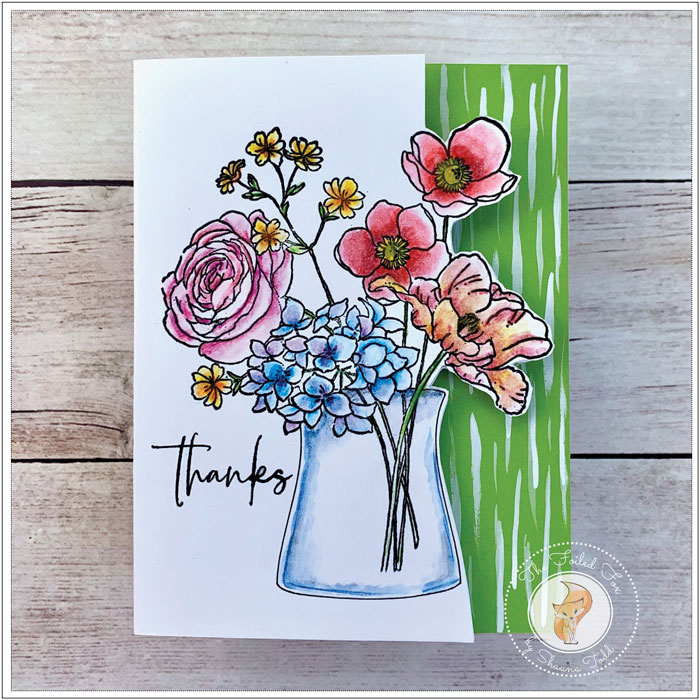
This card design begins with a Bristol paper card base. Ordinarily, I would have used watercolor paper since I would be using water, but I wanted a very white background. So, the next best thing I could think of that would hold up to the use of a little water was Bristol paper.
So, with this in mind, I made the Bristol paper card base, then chucked it into my stamp positioner. I stamped the flowers first with Versafine Onyx black ink since it’s a waterproof ink. Then, using the vase stencil from Altenew, I traced the vase with a Zig pen. By using the stencil, I could control where the outline was and have it not interfere with the flowers.
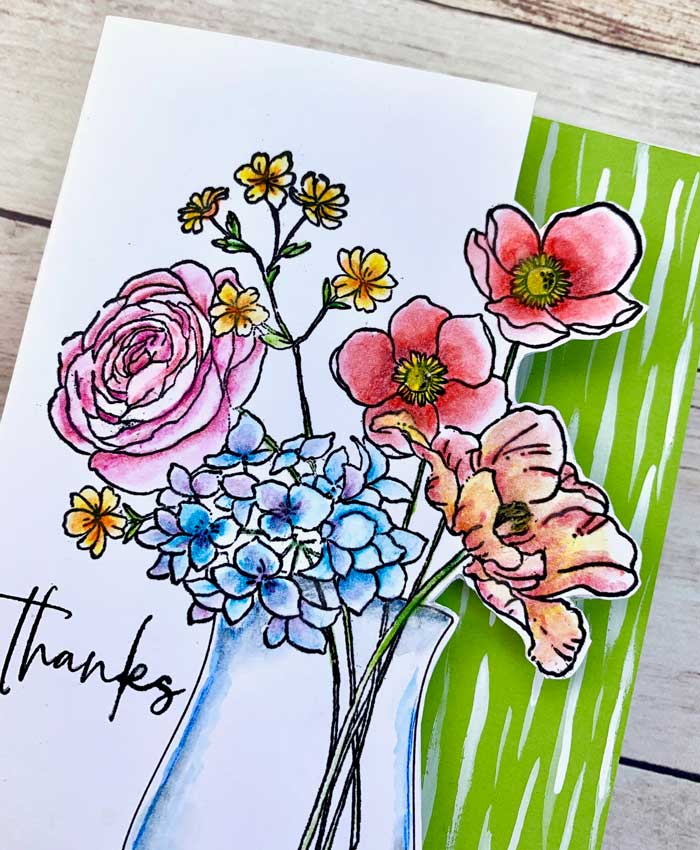
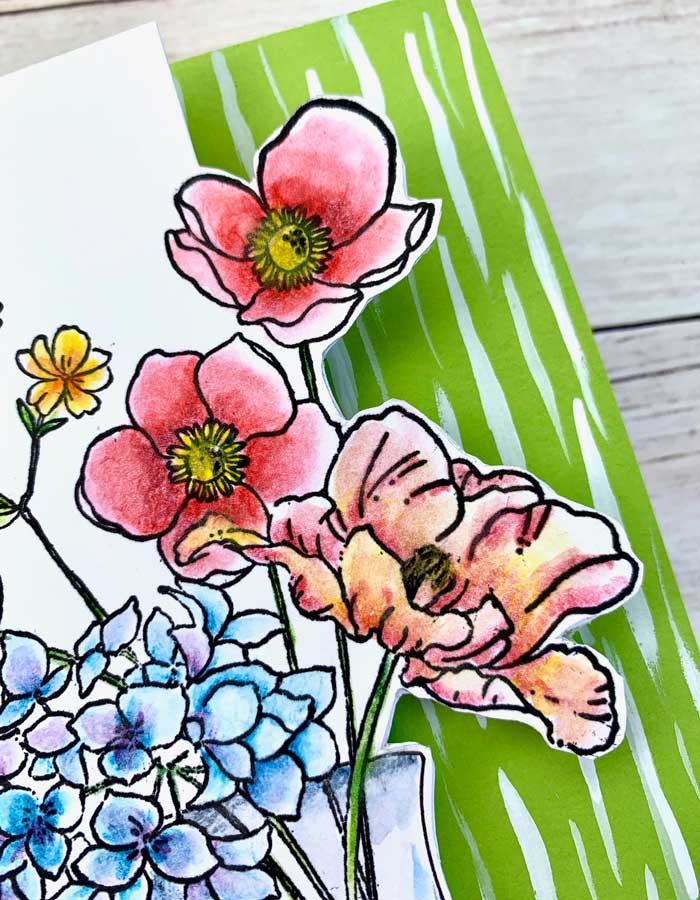
With the flowers stamped and the vase drawn in, I began to color the flowers. I started with the rose, since they are my favorite flowers. I chose a pinkish-red color from the AWESOME Inktense colored pencil set and added a line of color in the shaded areas. Then, with a slightly wet brush, I blended out the color out toward the tips of the petals. Since the Inktense pencils are watercolor colored pencils, they are fabulous for coloring in this way. This technique seemed to be working well, so I continued to color all the flowers the same way.
The flowers were now done so all that was left for the coloring was the vase. I chose to keep the coloring very simple by just using a little blue and a touch of gray to the shading.
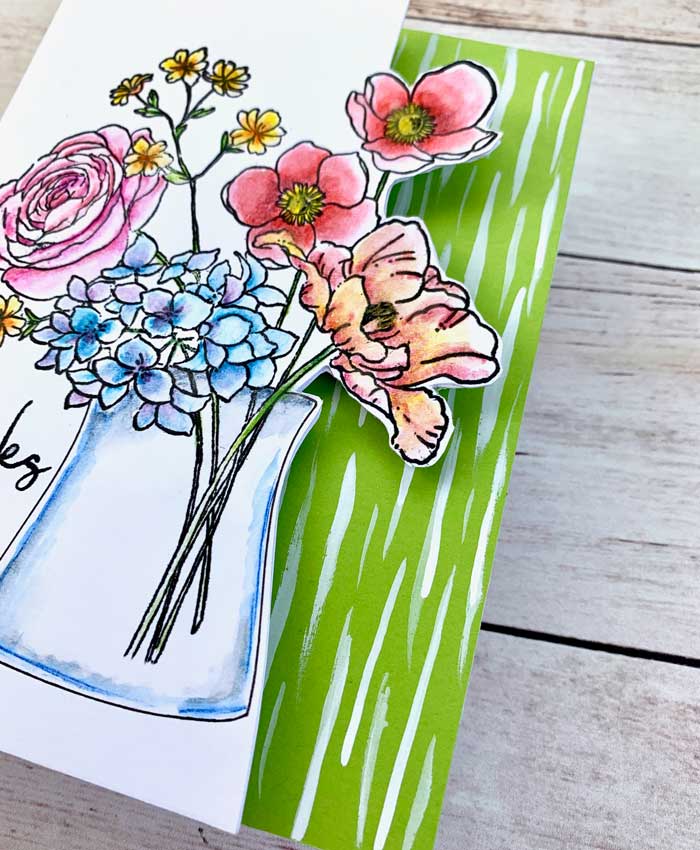
After all the coloring was complete, I trimmed around the right side of the flower and vase to create an irregular right side. By doing this, it revealed the inside of the card. I could now add a strip of color. I chose to use a 2-inch strip of Easter Grass card stock and add random, narrow paint strokes to the strip with white gouache.
While the gouache was drying, I created a ‘lining’ for the card so that the inside of the card looked as finished as the front. What I mean by this is that I made another card base out of lighter weight paper, in this case, Neenah 80lb. white card stock. I slipped it inside the original card base with the painted flowers and traced the outline of the flower edge. I then trimmed on that traced line, making the ‘lining’ even with the outside flower-edge of the card.
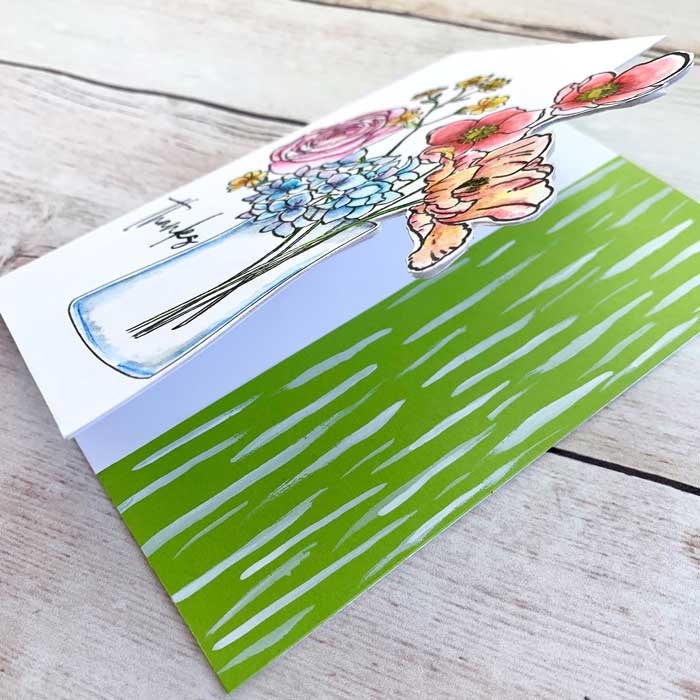
Before adhering the ‘lining’ to the inside of the painted flower card base, I trimmed off 2 inches from the right edge of the lining, then adhered the lining to the original card base.
By trimming off the 2 inches, it allowed room for me to add the green painted strip by butting it up against the white lining edge and adhering.
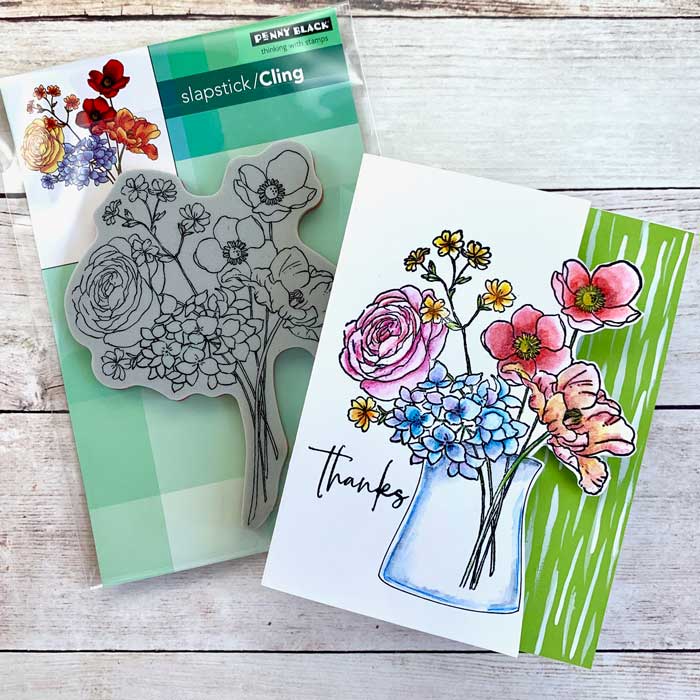
All that remained to finish the card was to add the sentiment from the Million Thanks stamp set by Penny Black.
• • • • • • • •
I hope you didn’t get lost in the explanation of adding the lining. It really is quite simple… I promise! ♥
By the way, if you are wondering why I list a few of the same items in the goodies list, like the Inktense pencils, it’s because I want to give you a chance, if you are looking to expand your art supplies, to choose the size you prefer! Happy Crafting!
Goodies Used: