Tomorrow Is Always Fresh by Lisa Tilson
Hi Crafty Friends,
We have an extra special treat for you today. Lisa Tilson of My Card Trip blog is visiting and she is sharing two awesome card designs using the Enchanted Meadows by Pinkfresh Studio. Lisa has such a creative eye for card designs and these two are fresh as Spring and will surely lighten your spirits.
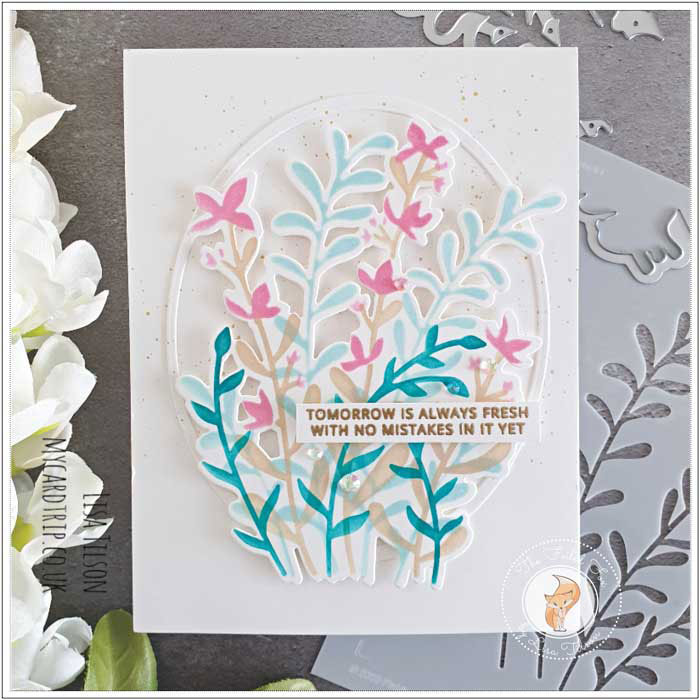
Hello everyone, I am delighted to be back on the blog today to share a couple of cards with you using the beautiful Enchanting Meadows layering stencils from PinkFresh Studios. If you haven’t tried layering stencils yet then you really must, they are very simple and fun to use.
I kept my colour palette very similar on both cards but changed the design a little so that they are not entirely the same. For my first card, I also use the coordinating die that comes with the stencils. This enables you to create different backgrounds for your floral showpiece and can help you stretch your creativity a bit more. But I show you what the stencils look like, with or without the die.
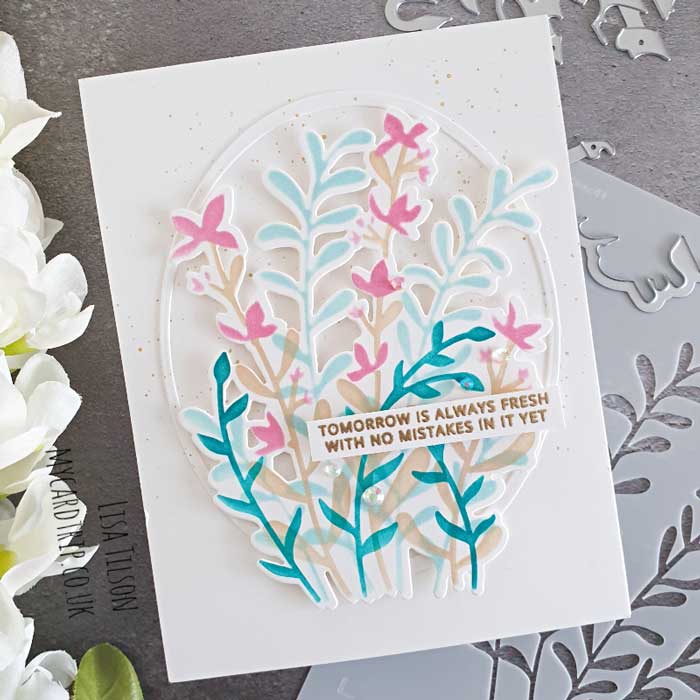
There are 5 stencils in the set, and they are labelled so there is no confusion! There are also little etchings in each corner of the stencil that allow you to line up your A2 panel perfectly each time. So, I laid my A2 Neenah 80lb white panel down, placed the first stencil over the top and applied MFT Berrylicious ink through it using a mini ink blending tool. I removed the stencil, cleaned it off, and then placed Stencil 2 down over the top of the panel. For this layer, I used MFT Biscotti ink. For Stencil 3, I used MFT Ripe Raspberry, Stencil 4 was Hero Arts Bubble Gum and finally, Stencil 5 was MFT Tropical Teal. These layering stencils are a great way to play around with ink colours too!
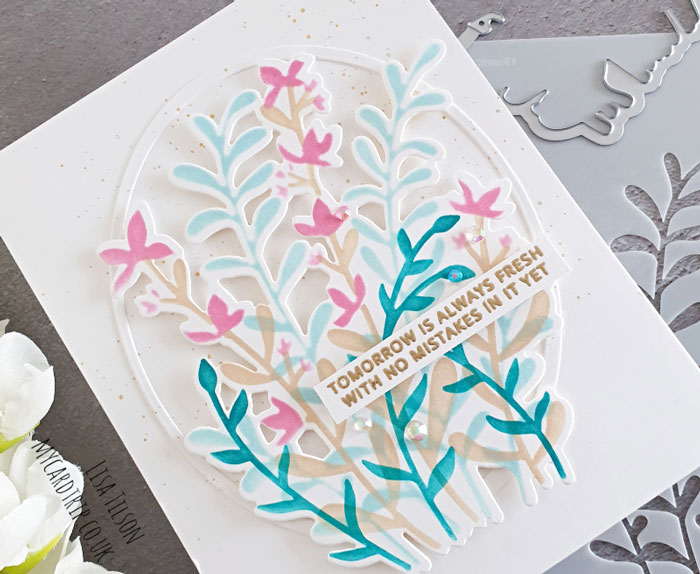
Next I took the coordinating die and die cut the arrangement and set it to one side. For my background, I created a simple white frame with two Hero Arts Oval Infinity dies and adhered that down onto a panel of white cardstock. I then splattered teeny tiny dots of two different gold paints over the top. Once dry, I added my flowers on top using foam tape.
To finish the card, I took a sentiment from PinkFresh Sending Love & Hugs and gold heat embossed it onto white cardstock. I trimmed it down and popped it up with foam tape. I added a few iridescent jewels for some sparkle.
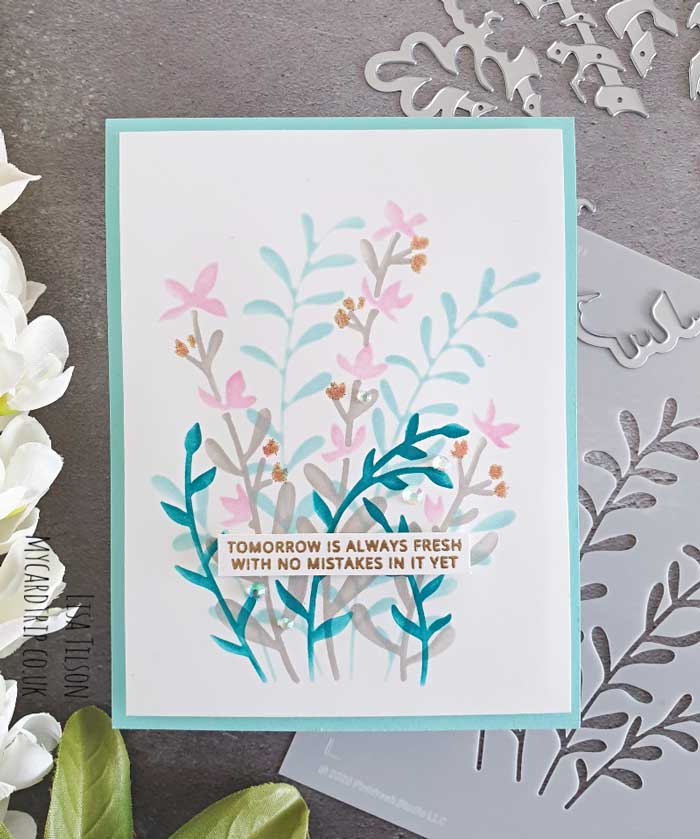
For the second card, I used a slightly different colour palette and used some embossing powder on one of the layers for a bit more sparkle.
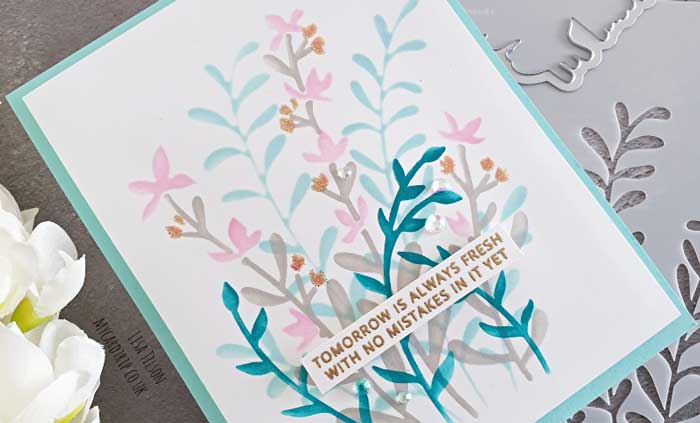 Stencil 1 – MFT Berrylicious
Stencil 2 – MFT Cement Gray
Stencil 3 – Hero Arts Bubble Gum
Stencil 4 – Wow Pearl Gold Sparkle Embossing Powder
Stencil 5 – MFT Tropical Teal
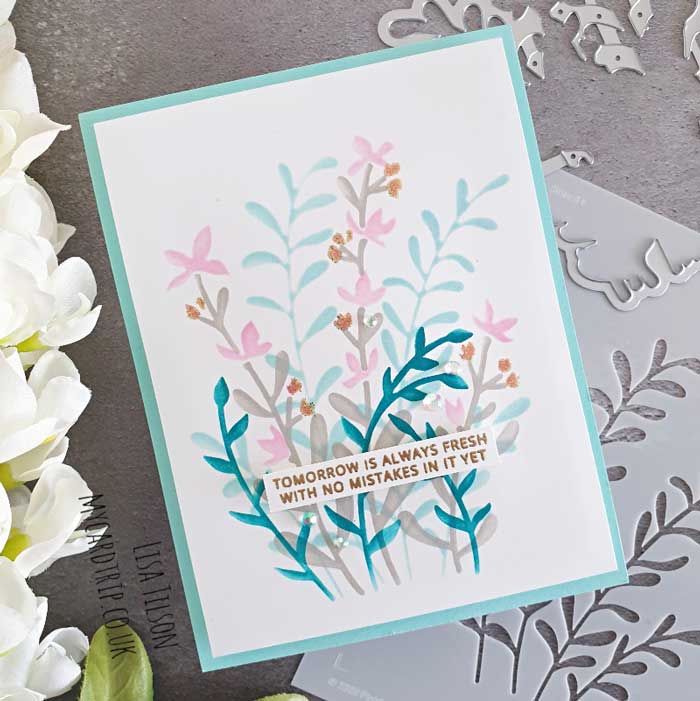
The sentiment is from the same set as before and again this was added with foam tape with a few iridescent jewels to finish.
They really don’t take long to make at all and are so pretty. If you wanted to mass-produce, this would also be really easy to do especially if you were doing them all the same colours as you wouldn’t need to clean off the stencils as you go. I hope that you have enjoyed seeing the cards and I will see you all again soon with another project. Happy crafting!
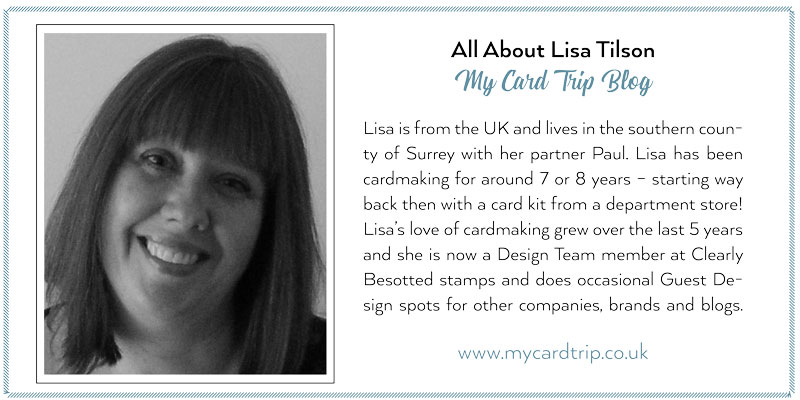
Learn more about Lisa:
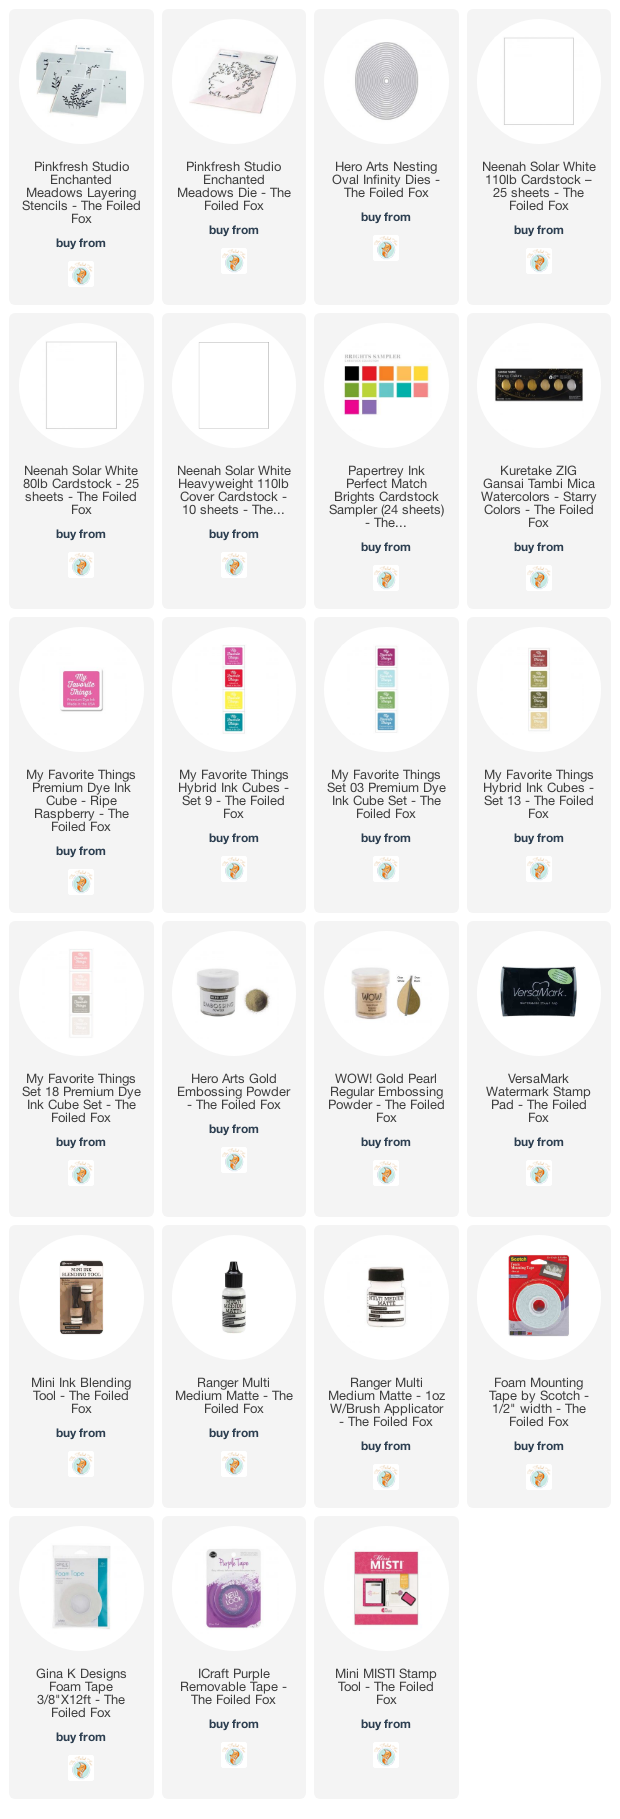
Goodies Used:
Sorry, the comment form is closed at this time.



March 8, 2021
amy tsuruta
beautiful cards Lisa!