Well, Hello Lovely
Hi Creative Friends,
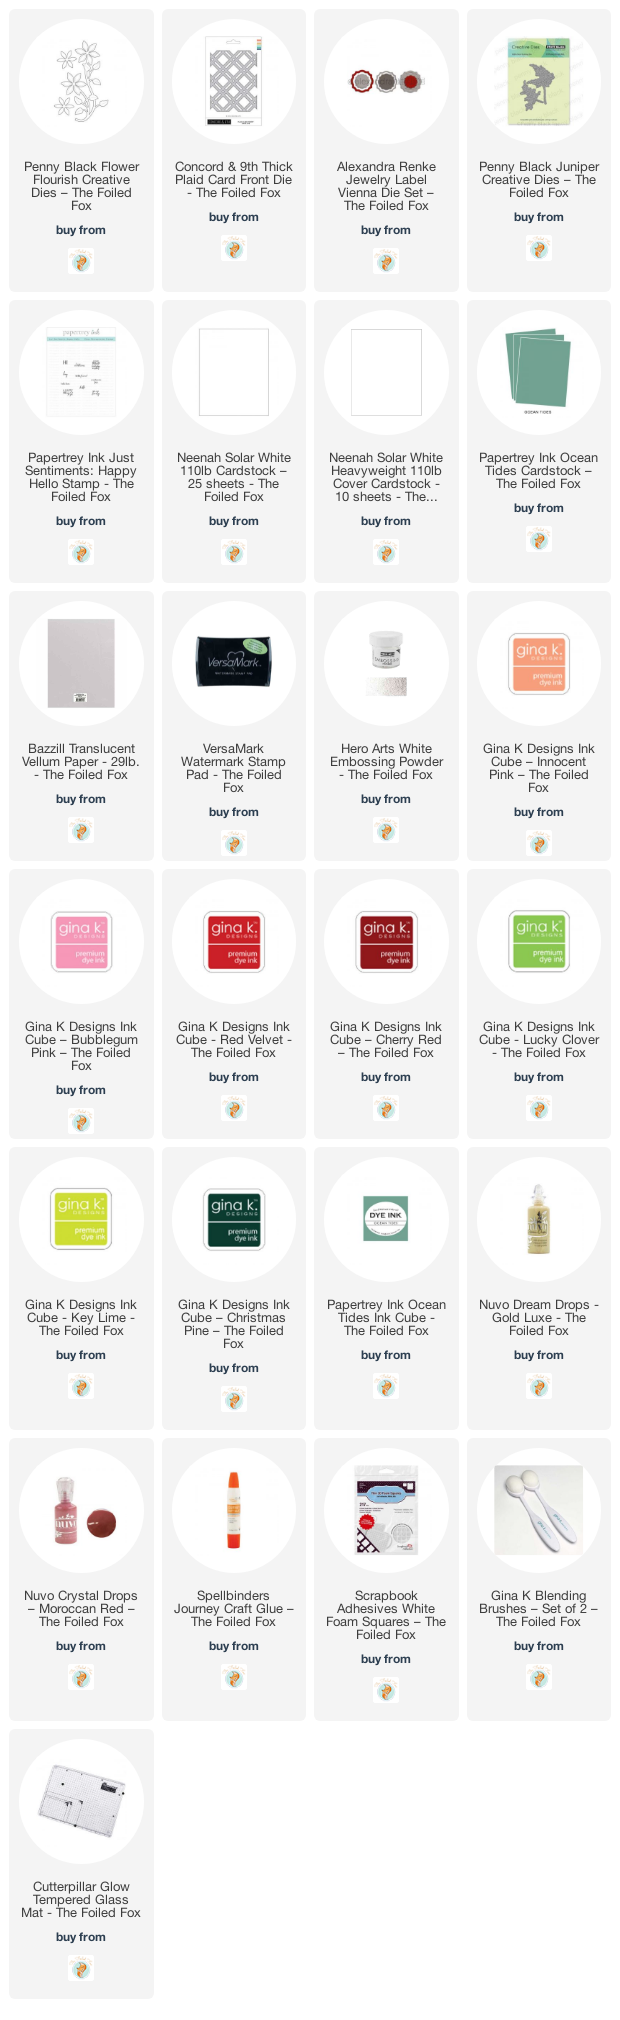
I am sharing an elegant card design featuring the lovely Flower Flourish die by Penny Black, one of my favs, a lattice background from Concord & 9th, and a gorgeous ‘label’ for the sentiment from Alexandra Renke. The die from Penny Black offers a delightful spray of flowers with a few juniper sprigs tucked in here and there.
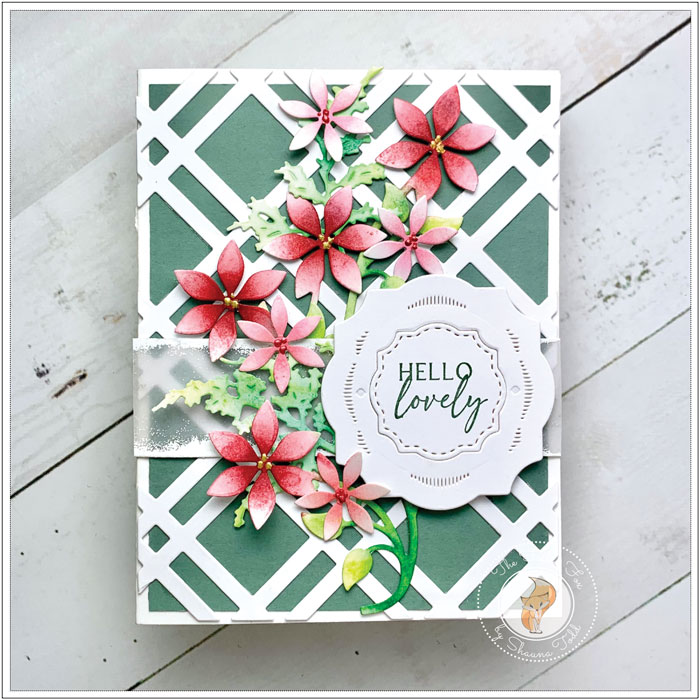
To start, I made an A2 card base from white card stock, then mounted a small (4″ x 5.25″) panel of Ocean Tides card stock on top. Next, I cut a white lattice panel using the Concord & 9th Thick Plaid Card Panel die and added it as the next layer, then set it aside while I made the flowers and sentiment.
I cut two of the Flower Flourish pieces from white card stock and colored them with some Gina K Design inks. I used Cherry Red and Red Velvet for the larger flowers and Innocent Pink and Bubblegum Pink for the small ones. The leaves were colored with Key Lime and Lucky Clover. I also cut a few juniper sprigs and colored them with Key Lime and Christmas Pine.
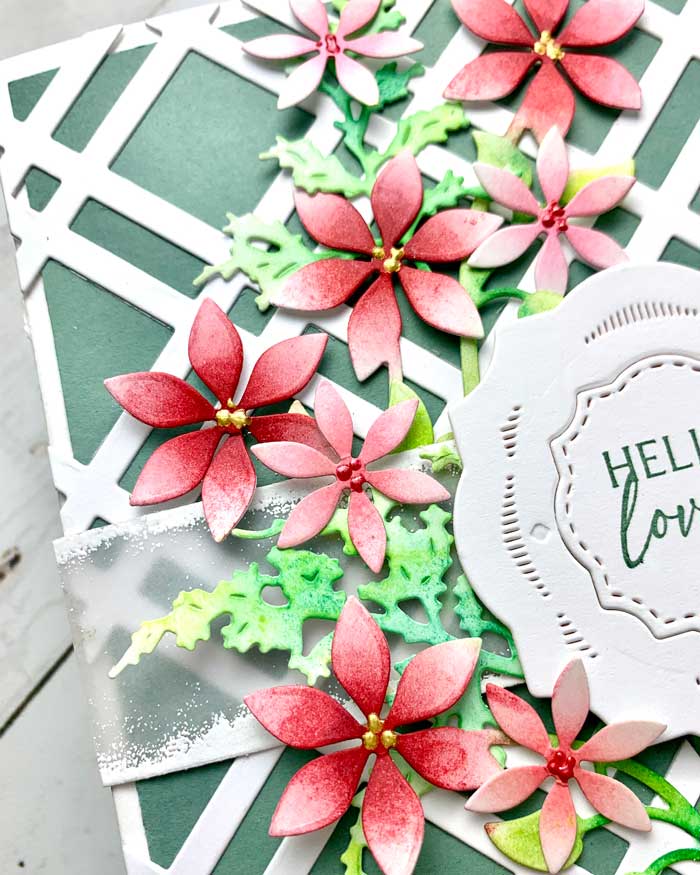
I arranged the flowers on top of the card front to get a visual picture of what was needed next. I decided it needed something to create a little extra interest. So using a vellum strip, I rubbed Versamark ink along the edges, then sprinkled it with white embossing powder. After I tapped off the excess, I melted the powder with a heat tool.
I also cut a splendid label from white card stock, using the new Alexandra Renke Jewelry Label Vienna die set. This die set has beautiful medallion-like labels. Each one has a few pieces to them so you can mix and match which pieces you would like to use. This feature makes them super versatile!
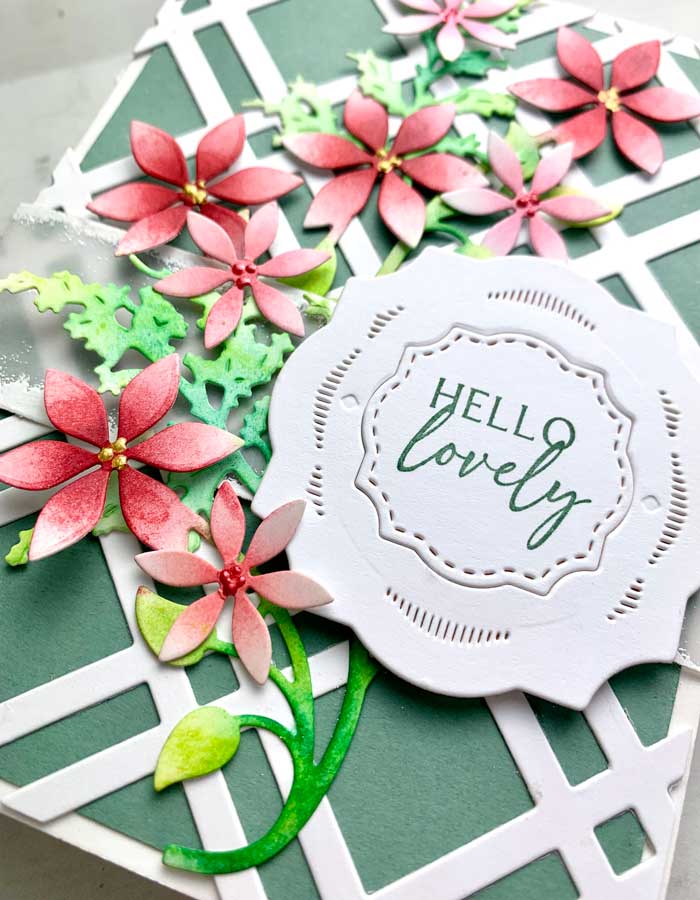
Before continuing with the assembly, I stamped a sentiment onto the label using Papertrey Ink Ocean Tides ink (check out the supply list below for all the items used) and a sentiment from the Happy Hello mini stamp set by Papertrey Ink.
Now that all the pieces were done, I clipped off a little of the bottom of one flourish, then wove the two flourishes together and attached them to the card front. I used only little dots of glue on the stems and a tiny square of foam to the center of the back of each flower so they popped up. I then added tiny dots of glue to the vellum strip (only behind the white embossing so it wouldn’t show) and tucked it in place.
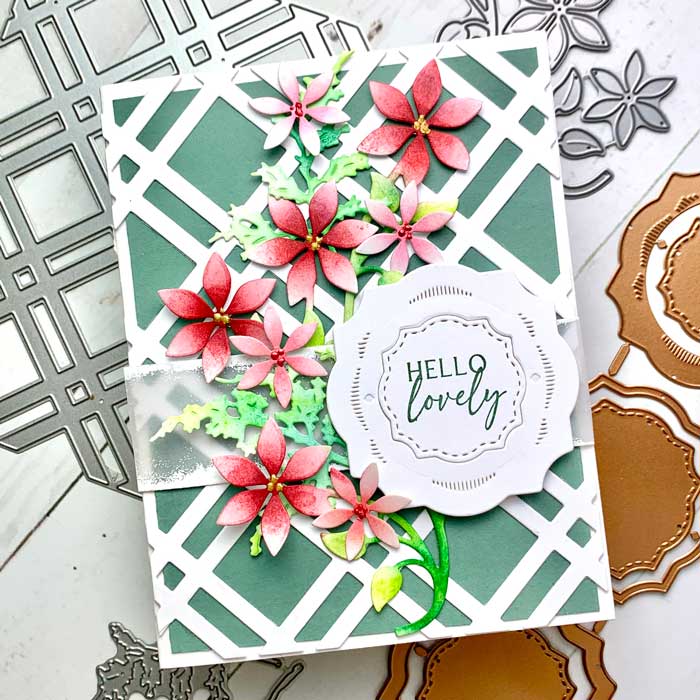
For the final touch, I added the sentiment medallion using foam squares and a few dots of Nuvo drops to the center of each flower… and there we have it, a lovely card to send to a lovely recipient! ♥
Goodies Used: