Winter Forest
Hi Creative Friends,
I have a sweet Holiday card design using the new Looking Glass Winter Forest die set by Hero Arts. You can use it for a single ‘looking glass’ window or you can make a series to create a complete scene as I did here.
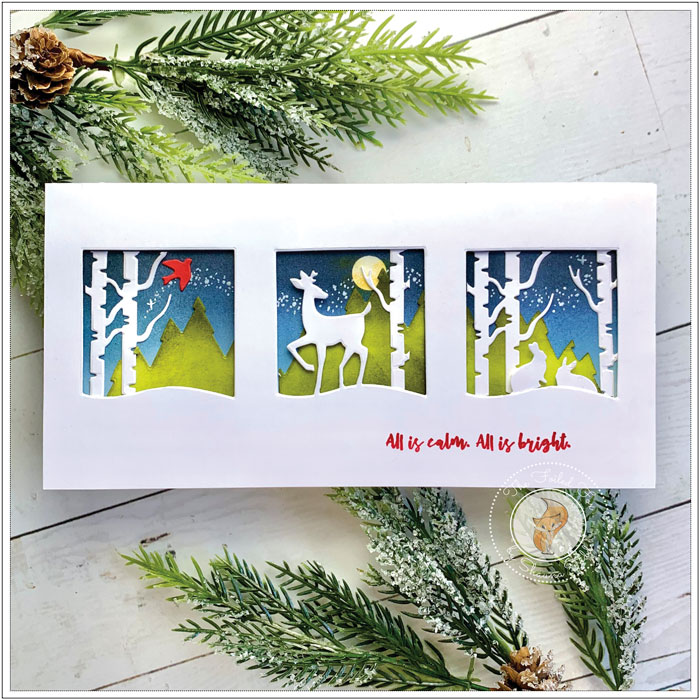
This die set has three separate dies. I began with the one with the deer. This one is the one that cuts out the looking glass window. So, starting with a white 110lb. card stock slimline card measuring 4.25″ x 8.5″. I drew a faint line with my pencil across the length of the panel that was seven-eighths inch (7/8″) from the top and another line on each side that was one-half (1/2″) from the short side. This gave me the guidelines I needed to position the die.
I started at one end, lined up the top and side of the die with the top line and left guideline. I cut the window out. Then moved the die over to the opposite (right) side so I could line it up the same way and cut that window. With the two windows cut on each side, I positioned the die one more time in the middle and cut the final window. This gave me three windows and three deers. That looked a little crazy so I trimmed off two of the deer using a pair of detail scissors.
Next, I cut a panel of Bristol paper the same size (4.25″ x 8.5″). On this panel, I will blend on ink for the sky so I laid the window panel I just created on top to see where I need to blend the ink for the sky. You could even very lightly trace the outline of the windows on the Bristol paper panel if you want to for perfect placement. Make sure you use a light touch with the pencil 🙂!
I was nearly ready to start my ink blending, but first I created a moon by cutting a circle out of masking paper using a very small circle die, peeled off the release paper, and stuck the mask in the center window. If you traced the windows as mentioned above you can see just where you want it, or you can always use your top panel with the windows as a guide.
With the moon mask in place, I started blending Speckled Egg distress ink at the bottom of the window area, then working my way up, I used Broken China distress ink, Chipped Sapphire next, then finally a little Black Soot to darken the top of the sky.
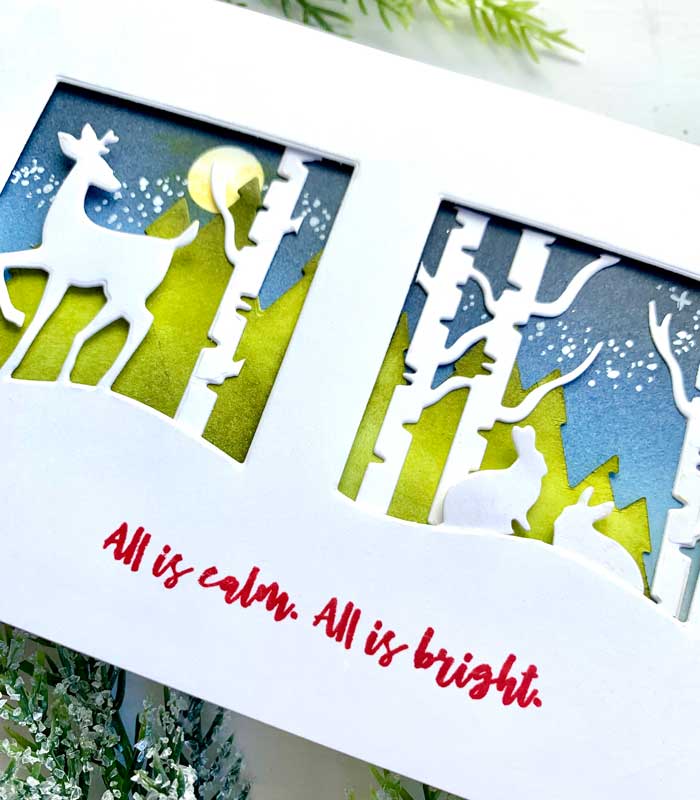
I peeled off the moon mask and added a tiny bit of Wild Honey distress ink, then set the panel aside (just for a bit), while I prepare the other elements.
Next, I cut three pine tree sections using the tree window die. I cut them from Bristol paper and blended on Crushed Olive distress ink and a little Forest Moss for shading. By the way, if you want your trees to have a varied look, then flip one of the tree sections over and use the backside as I did, then add your ink blending.
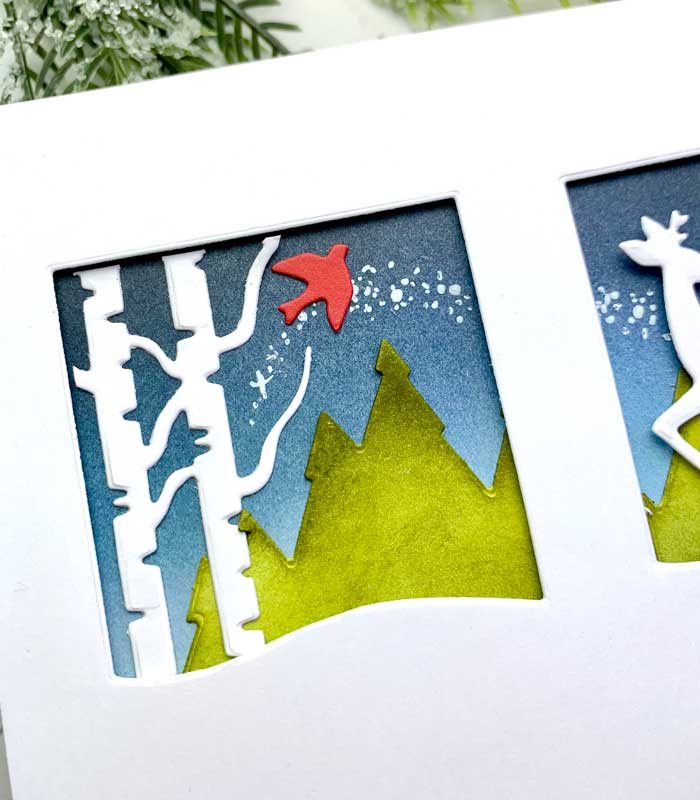
There was one more window die left I hadn’t used. It was the birch tree one. So, with this die, I cut out three sections of trees from white card stock.
All my pieces were ready to complete my scene but first, I wanted to stamp my sentiment before I went any further. I chose one from the Penny Black Christmas Sentiments stamp set but you can choose whatever you like. I mounted the window panel in my stamp positioner, placed the sentiment where I wanted it and stamped the sentiment using Versafine Clair Tulip ink.
Let’s put this all together …using a white card stock card base, I mounted the ink blended sky panel on top. I added foam tape to the back of the three window panel. But before I peeled off the release paper, I first laid it on top of the inked sky panel, using it as a guide, and glued the green trees in place making sure to vary the heights. Then peeled off the release paper and pressed the window panel on top.
To add the birch trees, I cut them apart, arranged them, and glued them in place. I could have done this before I pressed the window panel in place but I found it easier to wait and do it when the panel was permanently affixed.
The card was nearly done, I just thought it was missing a few more critters, so I cut a few bunnies from Penny Black’s Nature’s Beauty die set and a bird from the Small Bird die set – check out the supply list for more info.

My final touch was to add a stream of stars, using a white gel pen. And there you have it, one of my first Holiday cards for the season! ♥
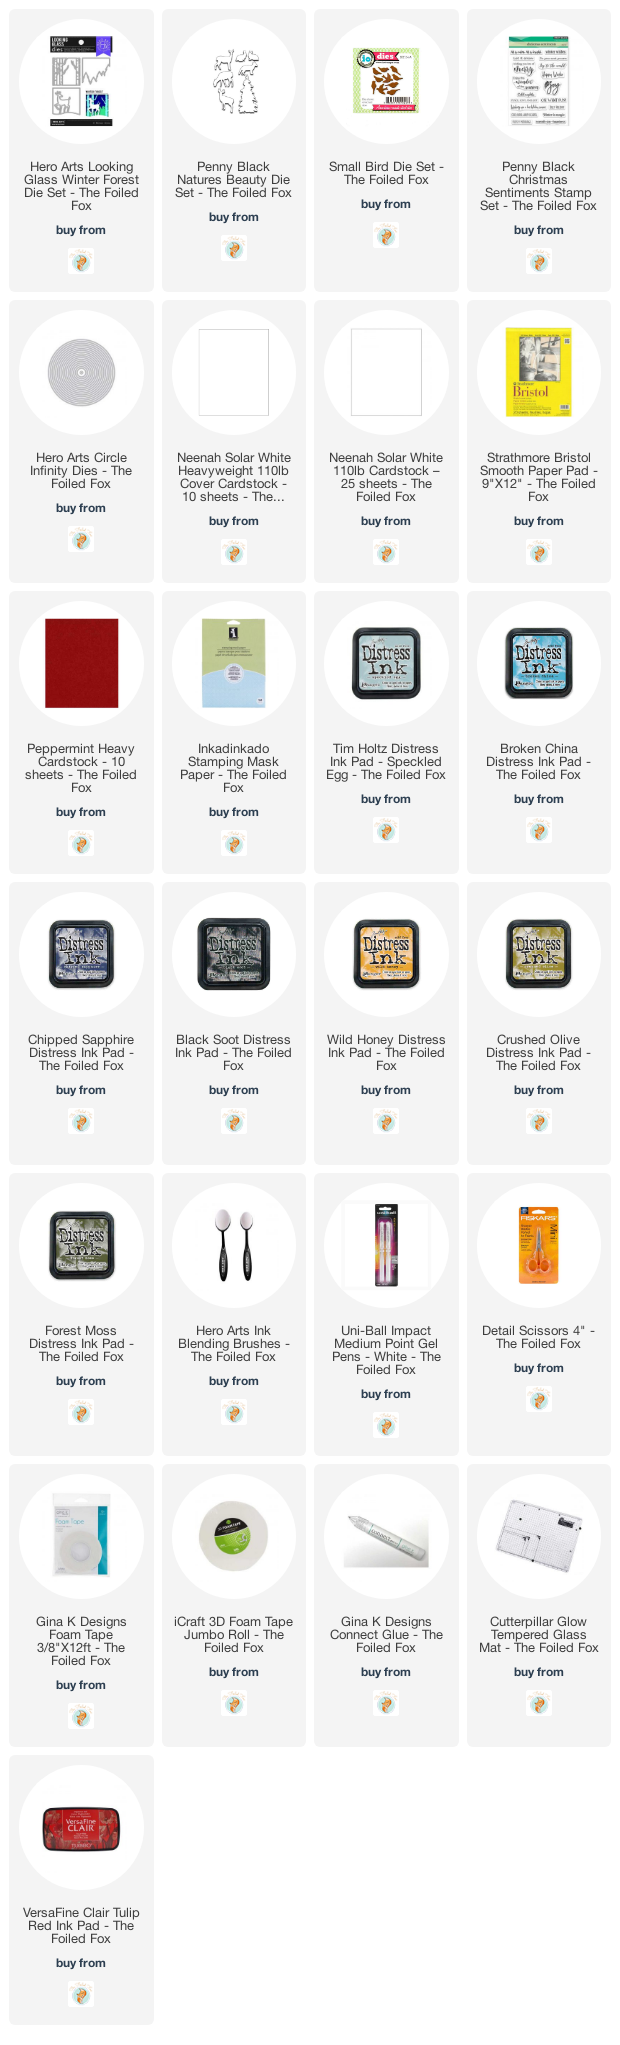
Goodies Used:
Sorry, the comment form is closed at this time.

September 23, 2021
donna mikasa
Such an amazing way to use the layered dies! Beautiful card, Shauna!
September 26, 2021
Shauna Todd
Thanks for your lovely comment!
September 24, 2021
SmilynStef
I love this so much.
September 26, 2021
Shauna Todd
Oh, we are so glad you liked it!
September 27, 2021
Stephanie Clapper
Shauna, this is such a beautiful Christmas! I enjoy the way you describe your process, did you know you have a great sense of humor. Light and fun! This is one of those cards that you can sit and enjoy, over and over. I love each mini scene, from your deer and “critters” and moon to your amazing stars. Thanks so much for sharing and your process too! 😊
September 27, 2021
Shauna Todd
Thank you so much for your very kind words!