Wintery Merry Christmas
Hi Creative Friends,
I am sharing a wintery forest scene created using a few of my favorite Penny Black stamps. Penny Black makes some of the most beautiful stamps. There is a whole new group of them on our website, take a look here. They are gorgeous!
This card design features two lovely foliage stamps, Skyward and Into The Sky, and the holiday sentiment stamp set, Thrill of Hope.
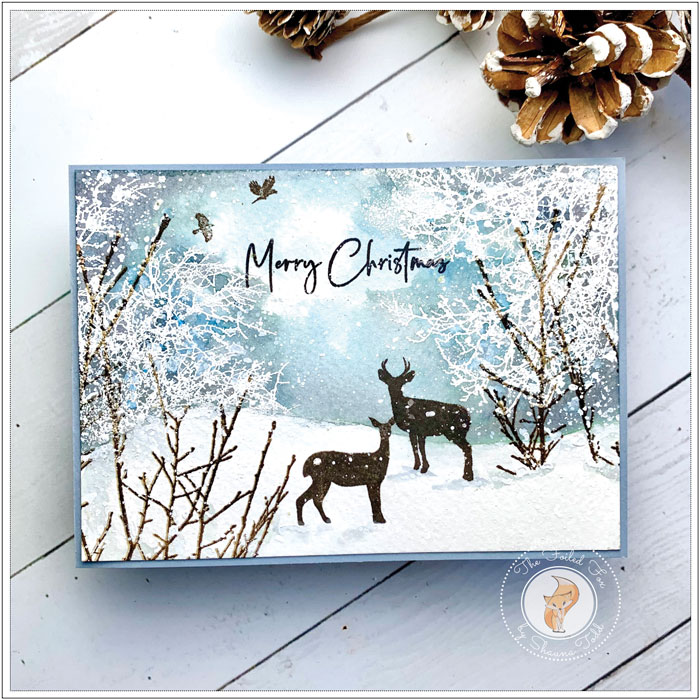
I have always admired the works of Heather Telford and Mimi Jourdain, They are masters of beautiful scenes so this is an adaption of their work.
I started with a panel of Strathmore cold-pressed watercolor paper that I have splattered with masking fluid, then let it dry before I started to paint. Remember to massage some liquid soap into your brush before dipping in the masking fluid and splattering. This will help the masking fluid wash out of the bristles and preserve your brush – though I still recommend you use an older brush for this, just in case a bit of masking fluid stays behind!
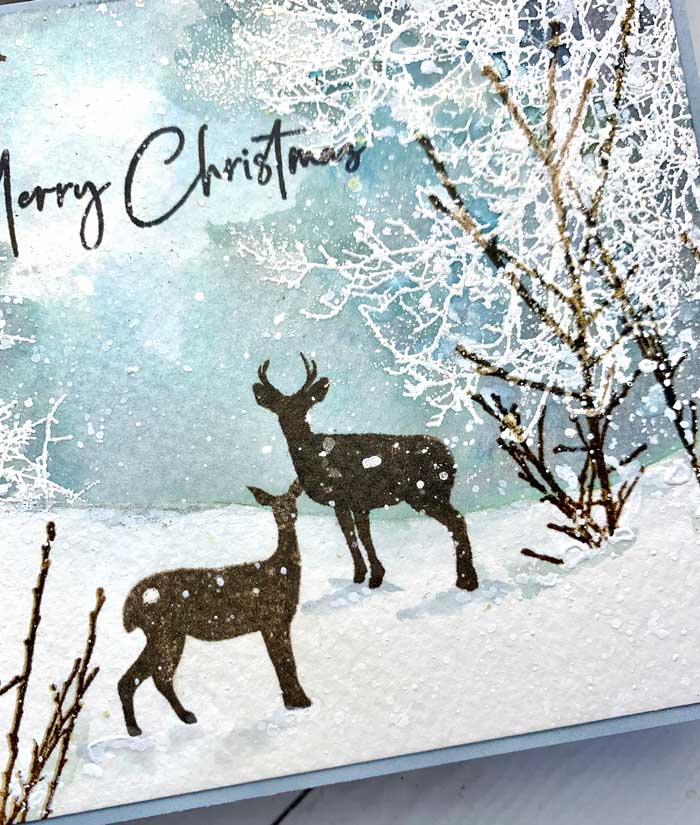
When all the splatters were dry, I began by placing the panel in a stamp positioner, where it would stay throughout most of the painting!
Next, I placed a strip of copy paper (the edge was cut the shape of the snowy bank) along the bottom section of the panel. I use d this as a mask to protect my snowy bank. I positioned the Skyward stamp over top on the left side, inked it with Versamark ink, stamped it a few times to make sure I got a good impression, then sprinkled it with white embossing powder and heat set it.
I placed the panel back in the positioner, repositioned the Skyward stamp on the right side but the branches were coming from the top so I was only stamping the upper part of the stamp facing downward. I stamped with Versamark ink like before, and heat embossed it with white embossing powder.
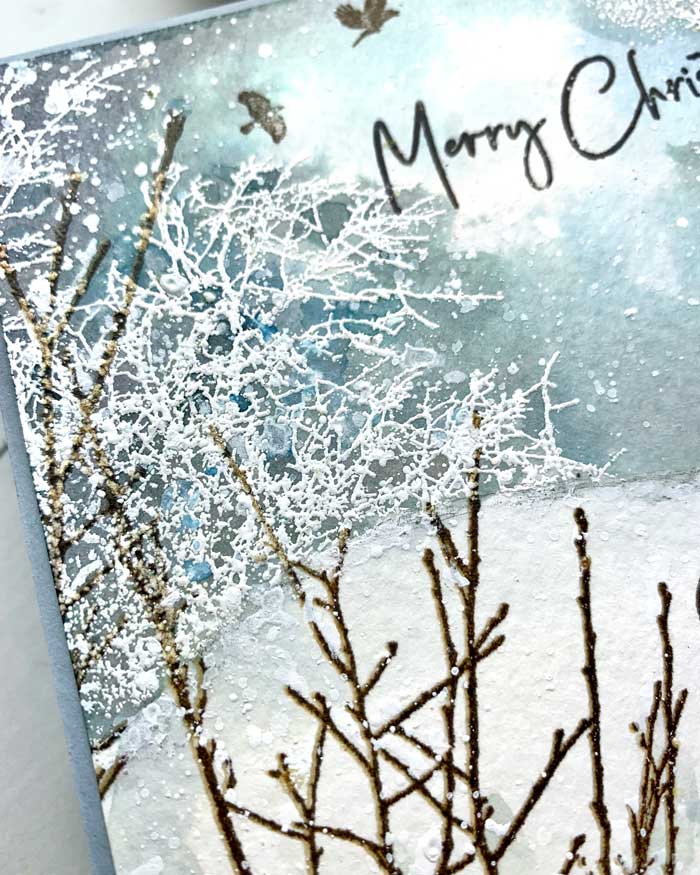
I placed the panel back into the positioner, and using the Into The Sky stamp, I stamped the left side using Potting Soil archival ink. Then carefully (without disturbing the position of the stamp, I gently blotted off the brown ink, inked it again with Versamark ink, and stamped it again, right over top the brown, then used clear embossing powder and heat embossed it. I repeated this step on the right side but I didn’t allow the stamping to go all the way to the bottom like the left side. Instead, I placed the paper mask back over part of the snowy bank, then stamped it with Potting soil ink, and clear heat embossed like before.
By the way, I know this must sound like a lot of work, but trust me, it isn’t. I just found I had to go slowly and methodically. It was quite therapeutic!
The scene was really taking shape so it was now time to paint. I smooched a patch of each distress ink color onto my glass mat. I used Chipped Sapphire, Prize Ribbon, Forest Moss, and a touch of Black Soot. Then with a lot of water, I diluted the Chipped Sapphire and mixed in a bit of Forest Moss to get a grayish-blue. I painted this onto my panel for the sky, letting the ink be more intense on the side, and adding a bit of Prize Ribbon more in the center of the panel for a brighter blue. I added a tiny bit of Black Soot on the sides to create a darker look. When I was satisfied with my sky, I let it dry (really I dried it with my heat tool ‘cuz I am too impatient)!
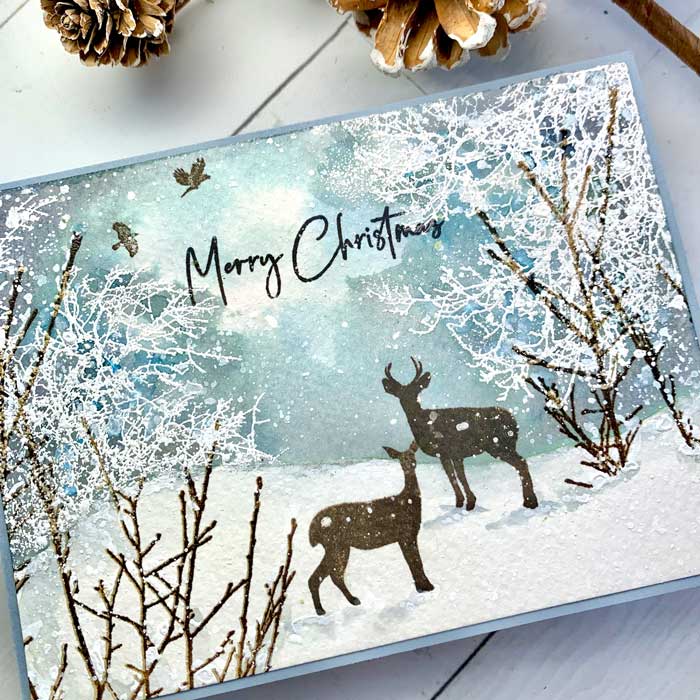
To complete my scene, I placed the panel back in the stamp positioner and stamped the birds and deer with Potting Soil ink. I also added a sentiment from the PB Thrill of Hope stamp set using a combination of Cobalt and Potting soil archival ink. This way it had a little dark blue and brown look to it.
When all was dry, I rubbed off the masking fluid to reveal white snowy dots and splattered some white Bleedproof ink for an even more snowy look. My final step was to mat it onto a slightly larger Hydrangea card stock card base. ♥
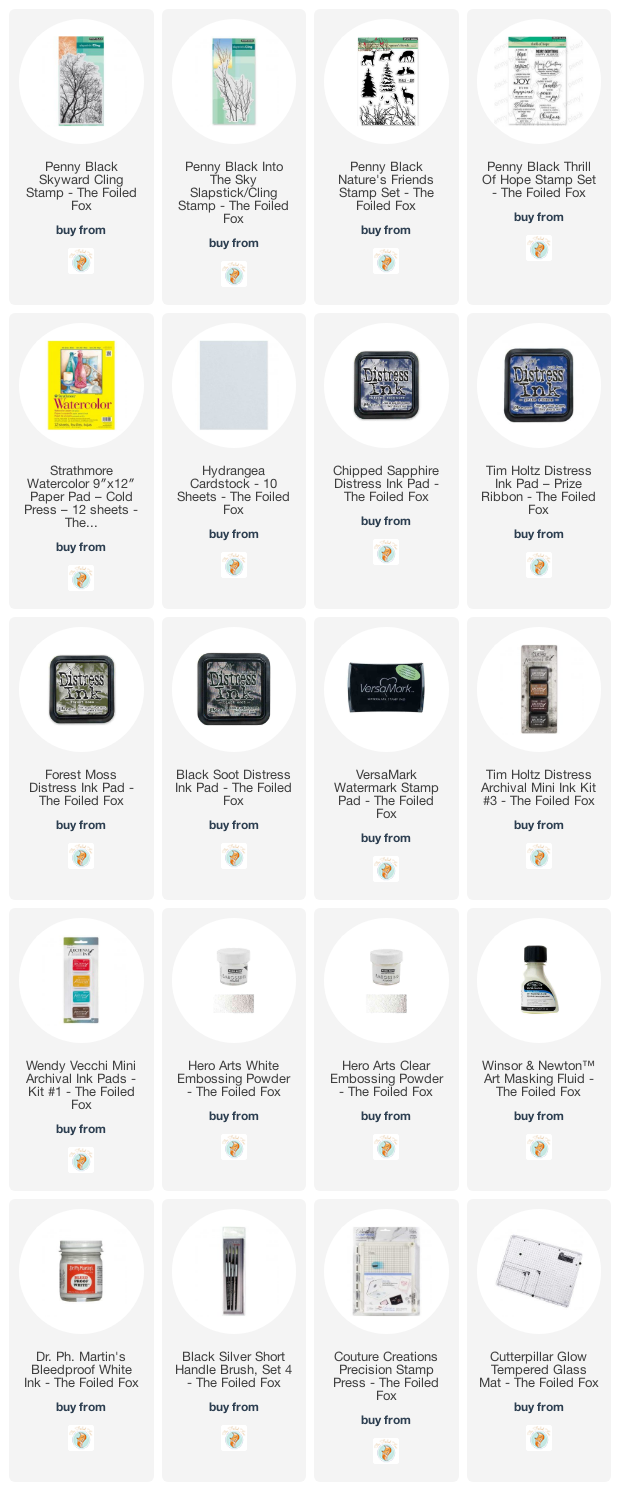
Goodies Used:
Sorry, the comment form is closed at this time.




October 22, 2021
Stephanie Clapper
Wow, this is truly beautiful Shauna! I can’t emphasize that enough. Since I don’t paint, I was enthralled by the whole process including using the masking fluid. When my life slows down (maybe after the holidays) I am thinking of trying. I love your beautiful sky and snow covered trees and hills. I can’t thank you enough for sharing how you created this. You’re a wonderful, inspiring teacher! Have a great weekend! 😊👏
October 22, 2021
Shauna Todd
Thank you so much!