You Make My Heart Happy
Hi Crafty Friends,
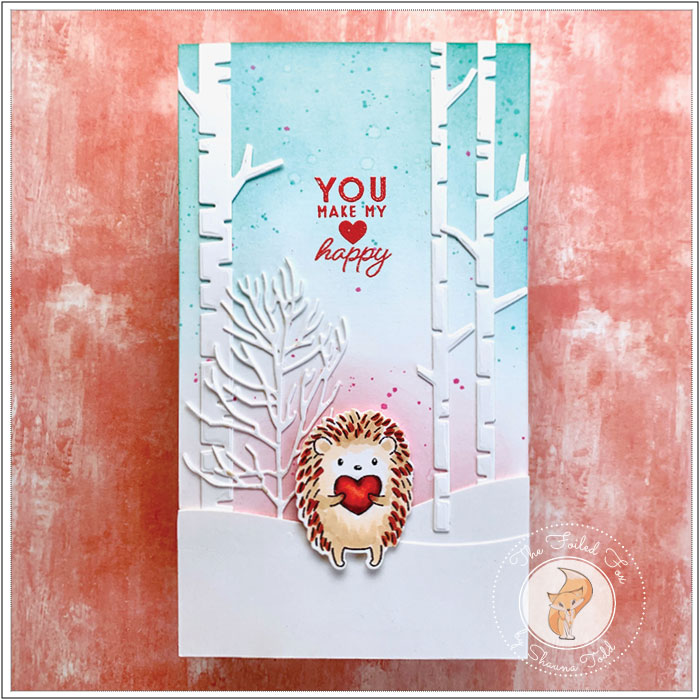
I am having so much fun with this new stamp set by Penny Black. It is chocked full of six of the most adorable hedgehogs. They are all ready to spread “Hedgie Luv” anywhere you would like! For this little hedgie, he says, “You Make My Heart Happy”!
This card design features a cute hedgehog with a big red heart, Since there are lots of lovable hedgies in this set, I am sure you will be seeing more of them from me. I simply can’t resist them!
This little hedgie is the star in this card design so it makes sense to have him front and center. As you may know, I always start with the main piece(s) when creating a card so I started by stamping and coloring the hedgehog with Copic markers (check out which ones in the goodies list below). I then cut him out with the coordinating dies.
Next, I set out to create the scene by first creating a Neenah white card stock panel. This one is extra long at 7″ x 4″.
I then cut two hillsides using the My Favorite Things Snowy Hillside die set.
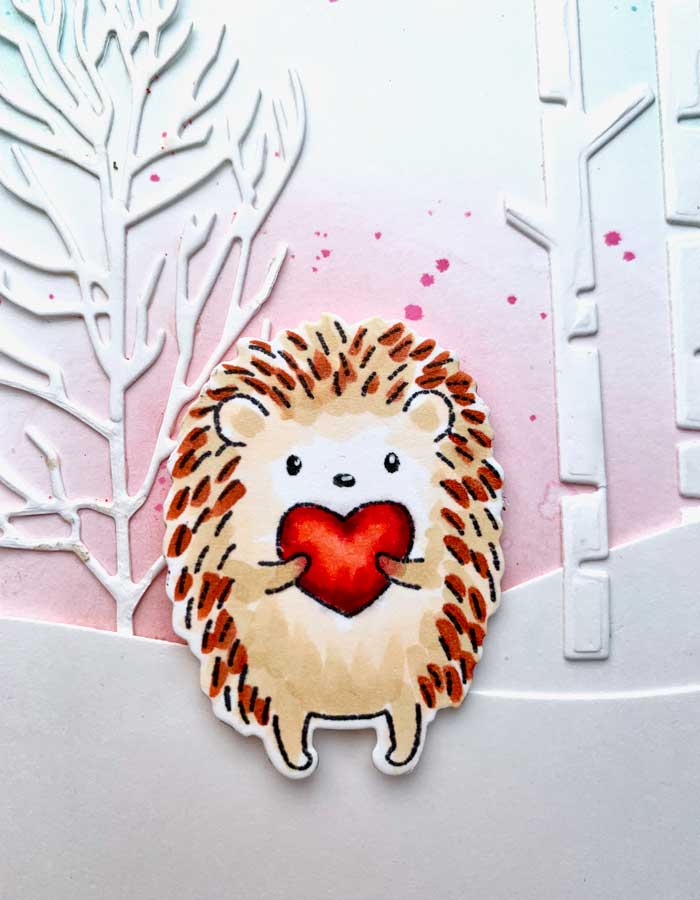
With the hillsides made, I now had a better idea of where to start blending ink on the white card panel. Starting at the bottom, I rubbed on Spun Sugar and Worn Lipstick distress inks in a semi-circle so it would have a ‘glowy’ look behind the hedgie. Next, starting at the top, I lightly blended Tumbled Glass distress inks down to meet the pink ink.
To intensify the top, I added more Tumbled Glass and a dash of Evergreen Bough distress ink. Once all the blending was done, I splattered a mixture of Tumbled Glass and Evergreen Bough onto the panel, using a tiny brush so my splatters were tiny too. To add a little spark, I also splattered tiny droplets of Picked Raspberry distress ink.
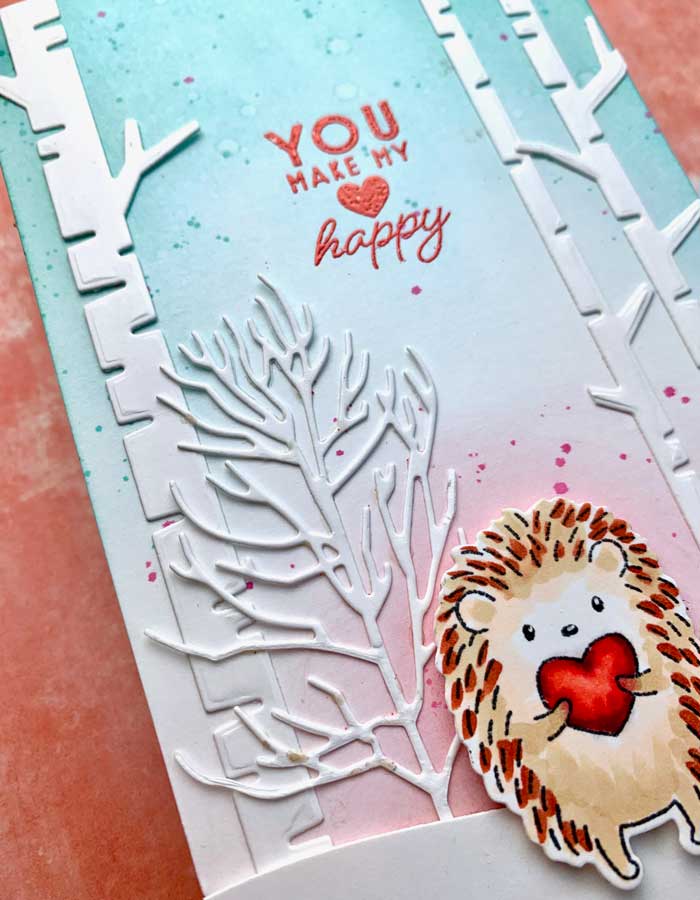
While the ink was drying, I cut a grouping of birch trees using My Favorite Things Birch Trees die set and one tree from Penny Black’s Winter Slumber.
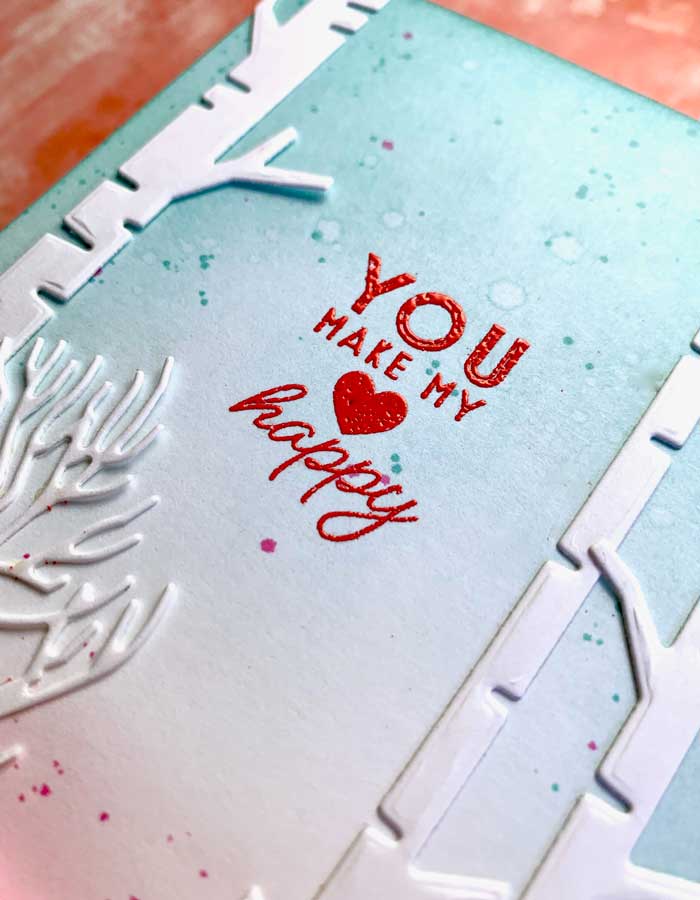
It was time to assemble the card. First, I glued on the hillsides, then positioned and attached the trees. Before I added the hedgehog, I chucked the panel into my stamp positioner, prepped the background with anti-static powder and stamped one of the sentiments from the Ink To Paper Just Sentiments: Valentine Mini stamp set with Versamark ink. I made sure I stamped the sentiment twice (that’s reason to have it in a stamp positioner) with the Versamark ink. I wanted to be sure I would get a good, clean impression of the sentiment, then heat embossed it with Carnation Red embossing powder.
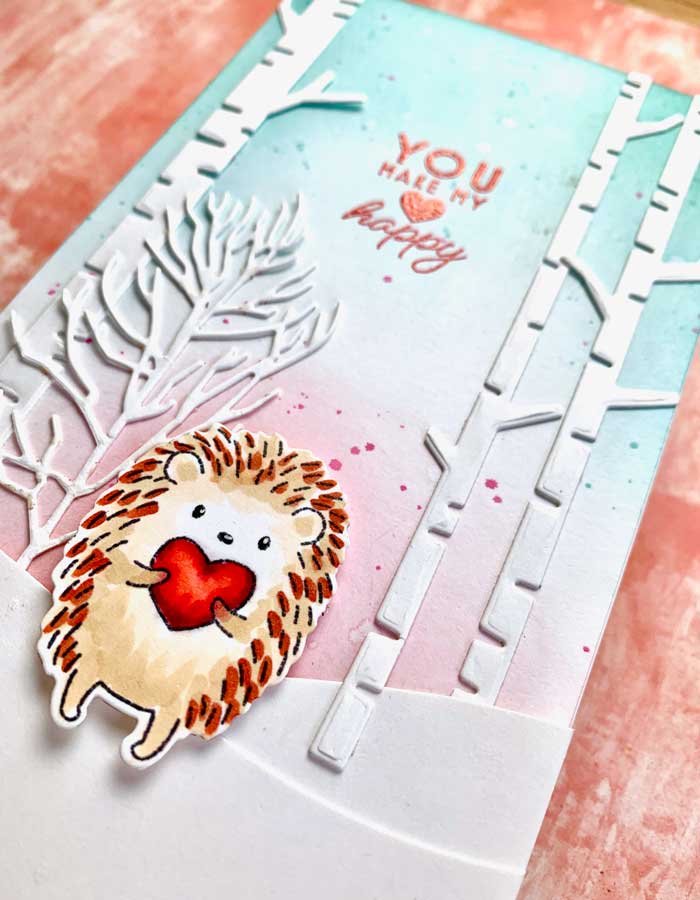
Finally, the completed panel was adhered to a white card base and the hedgehog was added with a bit of foam tape… and there we have it! This little hedgie is ready to share his love! ♥
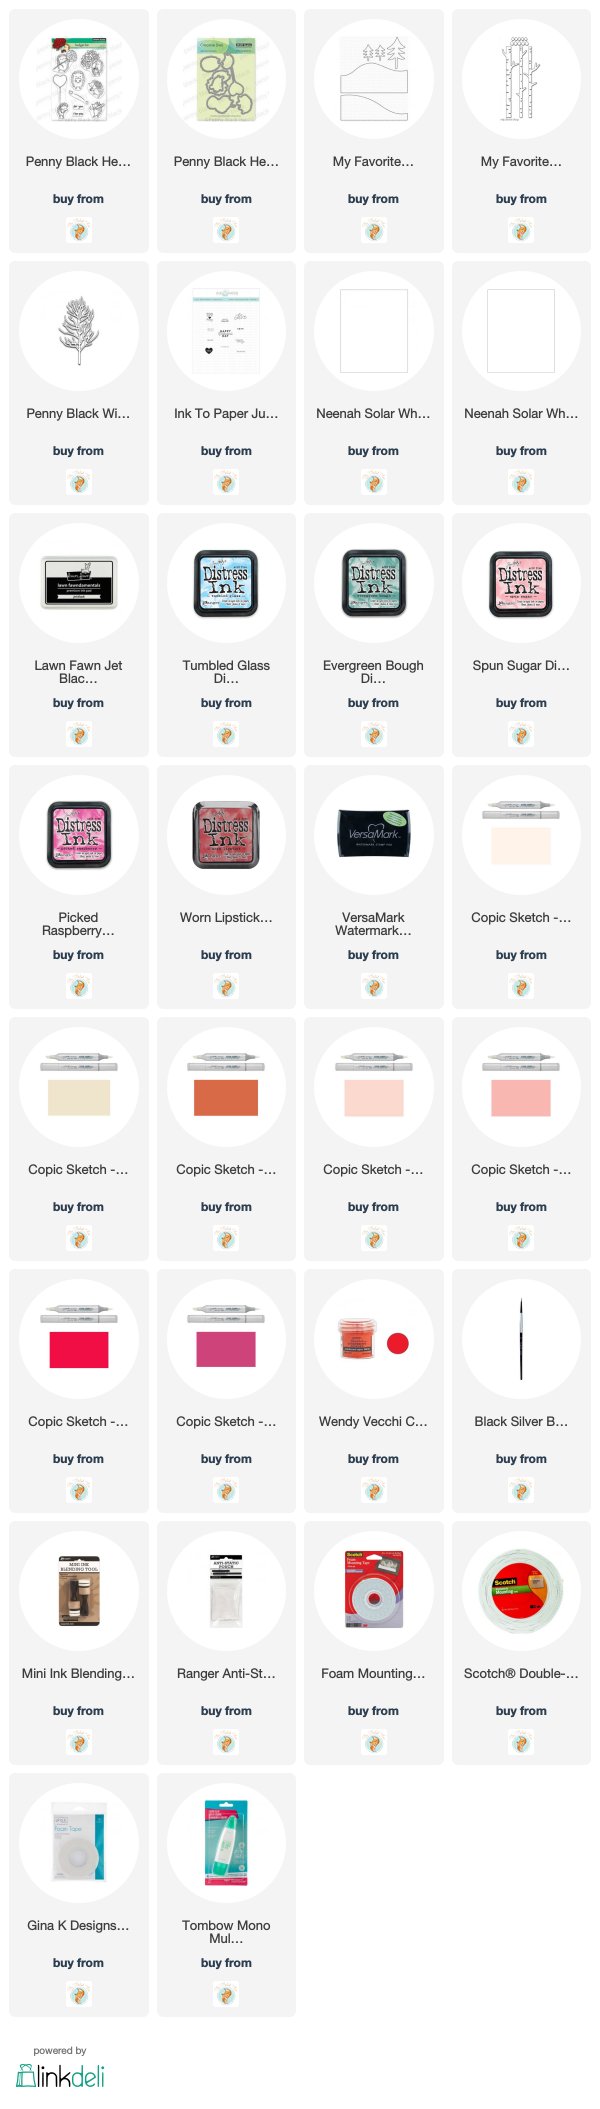
Goodies Used: