Sweet Flowering Fuchsias
Happy Friday to you all!
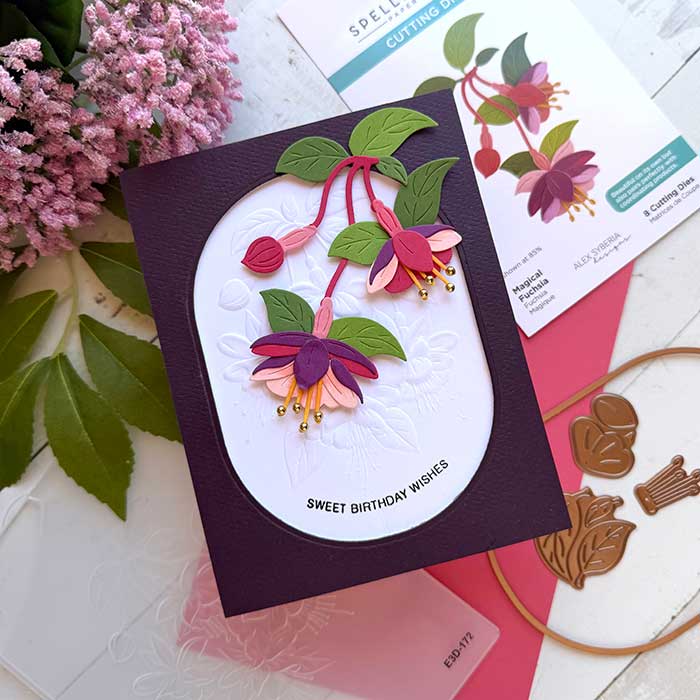
I have a love affair with fuchsias! So when Spellbinders released the Magical Fuchsia collection, I had to have it… and I am so glad I did! It is wonderful!
I used the Magical Fuchsia embossing folder and dies, along with assorted colors of cardstock for this card design. But if you prefer to color your own, the coordinating stencil set is perfect for that!
There are only a few steps to making this card design, so let’s jump in with the ins and outs…
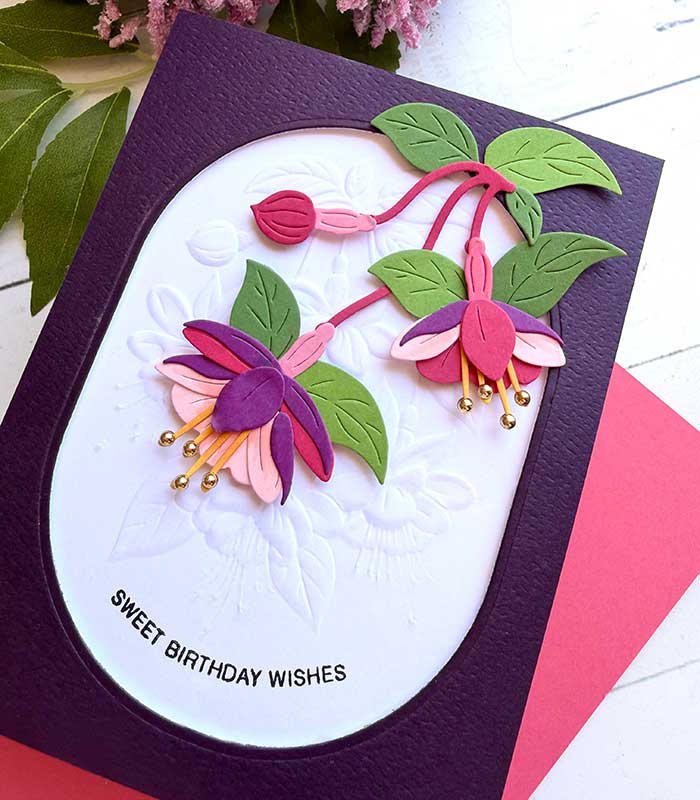
I first cut out the flowers and leaves with a selection of Spellbinders Colorwheel cardstock. I added the (Spellbinders assorted pack or the Blooms selection of papers in case either of them strikes your fancy. You can also use your saved scraps, which are perfect for this too.
With everything cut out, I assembled them and set them aside while I made the foundational parts.
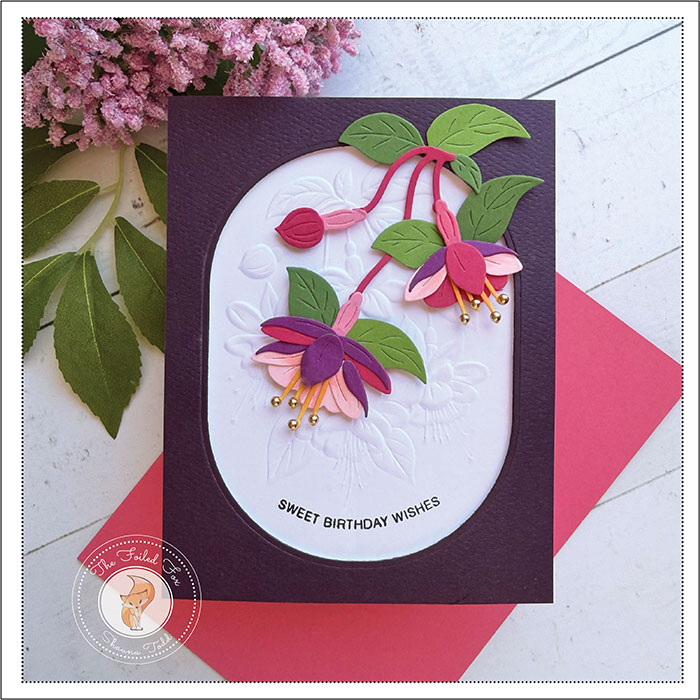
Starting with an A2-sized panel of Aiubergine cardstock, I cut out an oval using a die from the Spellbinders Essential Stylish oval set. I added foam to the back so it would be slightly popped up.
Next, I embossed a white cardstock panel using the matching embossing folder (see all the supplies below). It was mounted onto my cardbase, then the Aubergine panel was added on top.
The fuchsia sprig was mounted along with a few extra leaves using a few foam squares.
The only thing left was to add the sentiment. I chose one that was simple and only one line so I could fit it at the bottom. I also wanted it to follow the curve of the oval, so I I mounted a sentiment onto an acrylic block. This allowed me to slightly curve the sentiment to match the curve of the oval, ink it with Nocturne black ink, then carefully stamp it.
To add a little pizazz and sparkle, I added tiny gold pearls for the stamen to finish the card! ♥
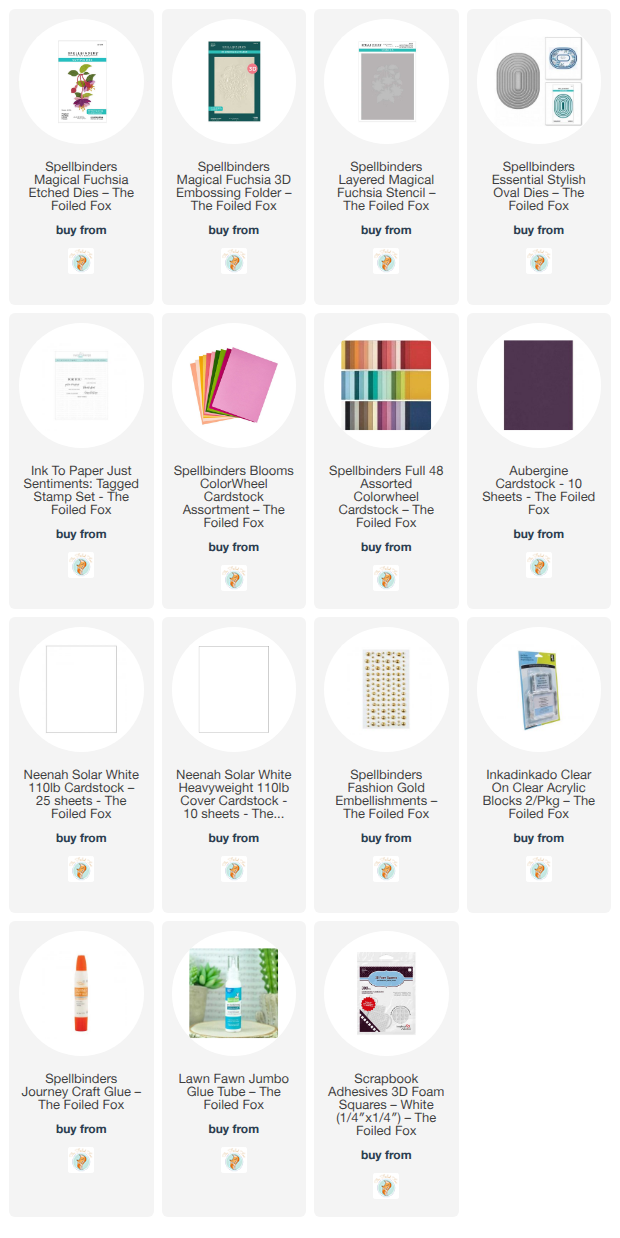
Goodies Used: