Adorable Bear & Things Card
Hi there,
I thought I would take a very short pause from the holiday cards and share a card of an adorable bear to celebrate the birth of a brand new little bundle of joy that came into our family. Our niece gave birth on Halloween – woo-ee. She must love having babies on holidays. Her son was born on Valentine’s Day a few years back. Now little Jolene Priscilla has entered the world. What a sweet occasion!
I was tempted to do the card in Halloween colors but having daughters myself, I couldn’t resist the soft and beautiful pinks of little new ones…so pink it was.
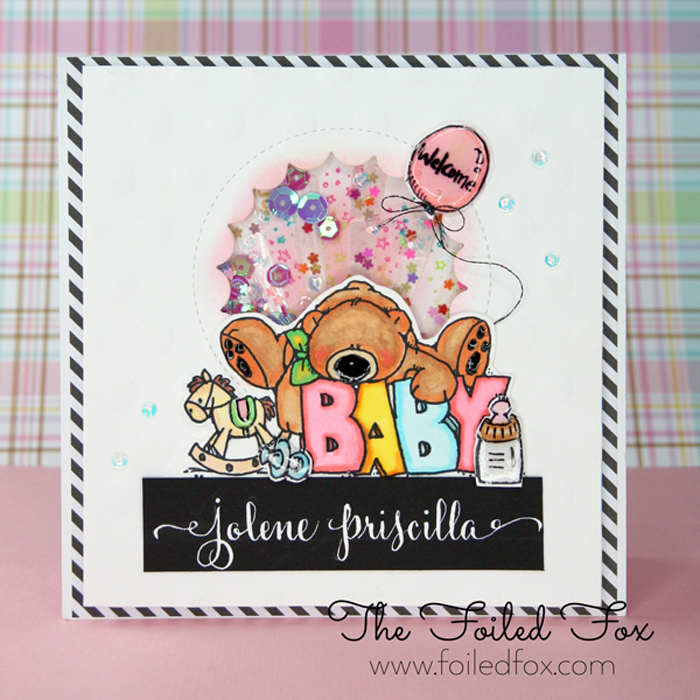
First, I started with the foundational pieces, like the top panel. From a piece of square Neenah Solar White 110lb. cardstock, I cut out the center using a scalloped circle die by The My Favorite Things. Their Peek-a-Boo Circle Window Dies are wonderful for creating a window or opening for a shaker card. The scalloped edge was so cute!
After the center was cut out, I embossed the panel with the WRMK Dotted Next Level embossing folder. It is hard to see in some of the pictures but the embossed dots really add some fun to the card. Then a little Spun Sugar distress ink was added around the edges of the scallop so it would stand out more.

At this point, I adhered the acetate square onto the back of this top panel. I like to use Grafix Acetate because it is so clear and sturdy but you can use some clear packaging and that can work quite well too. After the acetate is in place, I set aside the top panel and went to work on the background for the shaker.
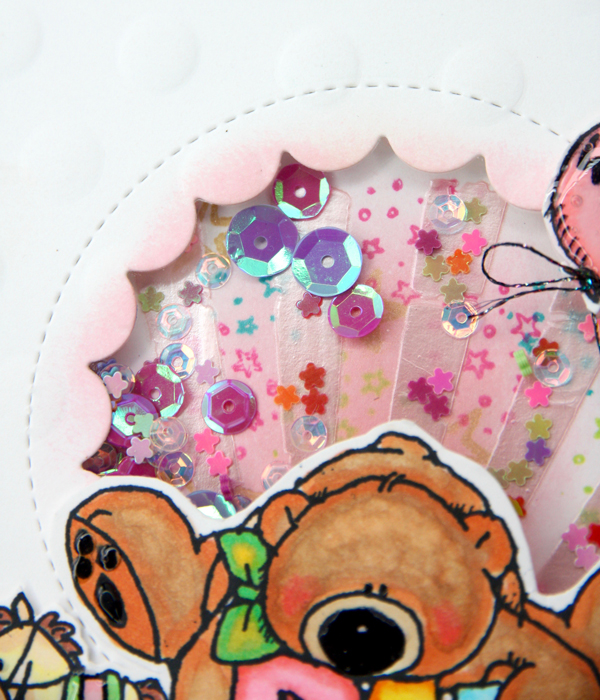
Next up was creating the background for the shaker. For this, I cut another square piece of white card stock the same size of the top panel and stamped cluster of tiny stars in pink and blue in the center where the top panel cut-out would be. I also stamped bigger golden stars by stamping with the Delicata Golden Glitz stamp pad. (By the way, if you don’t have the Delicata ink pads, you are really missing out! Their metallic gold are delicious! and they make a fantastic addition.) All of these star combination can be found in the stamp set Eat Cake & Celebrate by Concord & 9th. You will find you will use them over and over again!
You could stop here and declare your background for the shaker finished and it will look great. But I couldn’t leave well enough alone. I added a stenciled sun-ray effect onto the background, right over the stamped stars, using a textured paste from Shimmerz Paints, called Tutti Frutti. It is light and a little transculent so the stars underneath were still visible.
I have a little confession to make. I actually finished the card, went to bed, then in the middle of the night woke up, carefully dismantled the card and added the sun-rays. I think it was worth it but I will say that the textured paste took a bit to dry.
Now on to the stamping and coloring. It was a toss-up on what stamp to use. I couldn’t decide between the Baby Zoo or this one, A Blessing from Heaven by Whipper Snapper. The adorable bear, little things and balloon won me over.
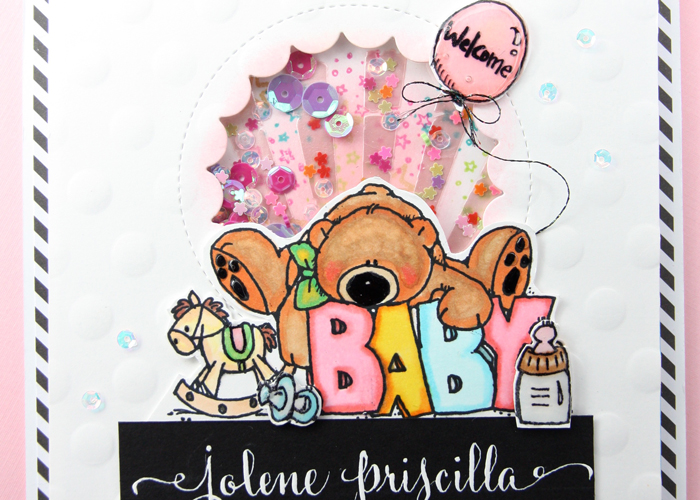
I couldn’t wait to color the adorable bear and all the ‘baby’ things, like the baby blocks, rocking horse and bottle. All the coloring was done with Copic markers so they were first stamped in my favorite ink for Copic coloring, Memento Tuxedo Black. This ink never smears or bleeds when using the alcohol based markers like Copic.
All the colors I used will be listed in the supply list below plus there is a Copic Marker key at the end but let your imagination and creativity take over and choose the colors you like. This little scene is a delight to color.
After all the coloring was done, I cut around the shape. I was playing around with the positioning and felt I really needed an anchor. So I lettered the little babe’s name in McCaffery’s white ink onto black cardstock. Another solution here would be to stamp a sentiment with VersaMark ink and emboss with white embossing powder.
You would think I would stop fussing with this card but no… I stamped the image again, cut out the bottle and pacifier, colored them the same and slathered glossy accents on them. The balloon, after the string was cut off, the pads and nose of the bear and the saddle of the rocking horse were all coated with glossy accents too.
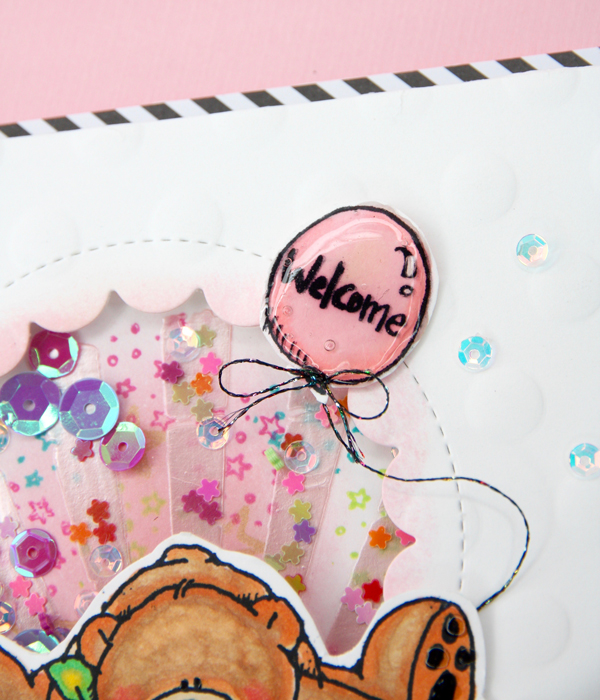
After everything is dry, it’s time to assemble. I added foam tape to the back of the top panel, filled the center with sequin, peeled out the release tape and adhered the background. Now the shaker part is done.
Next added the bear at el with a stamp runner, attached the separate bottle and pacificer with foam tape, and placed it right over the bottle and pacificer on the main stamping – this gives a 3D effect. Next, the balloon was attached with foam tape and black thread was tied on for the string and the name was nestled right underneath the word ‘baby’.
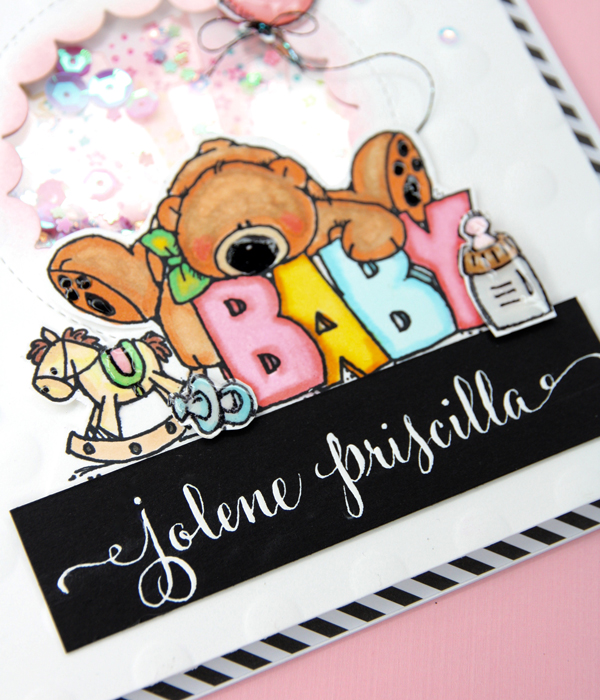
All this was mounted onto a white card base that already had a slightly smaller piece of diagonally black striped paper mounted on top.


Supply List:
 MFT |


