A Bucket of Hearts For You
Hi Crafty Friends,
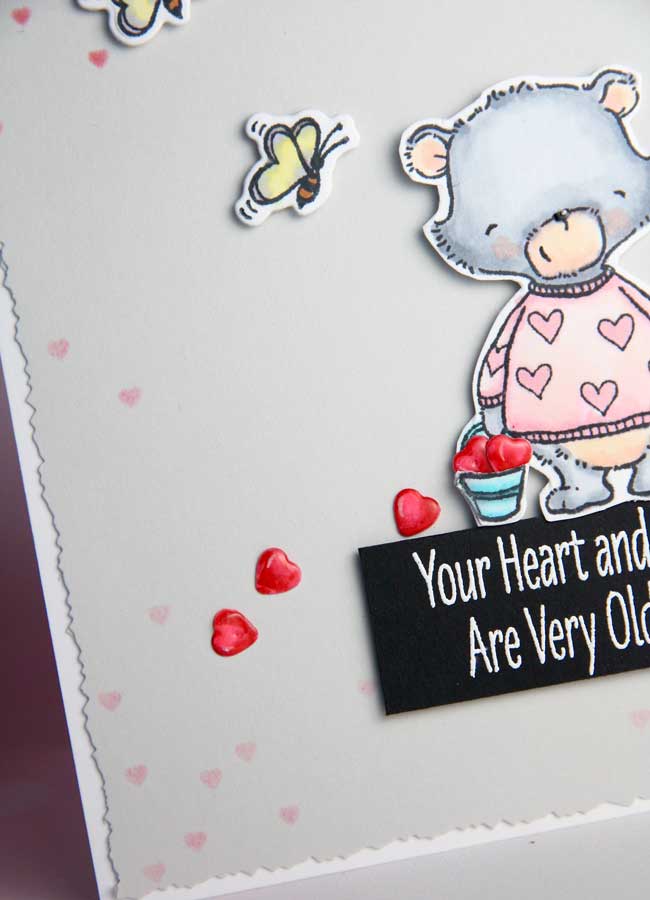
I love the new Stacey Yacula’s stamp and die set, Joyful Heart Bears by My Favorite Things. These sets have the most charming little bears, each filled with love in their heart! And the sentiments are perfect for Valentine’s Day, or any time you want to let someone know you love them. For this card design, I chose the delightful bear holding a bucket of hearts – how adorable is that?
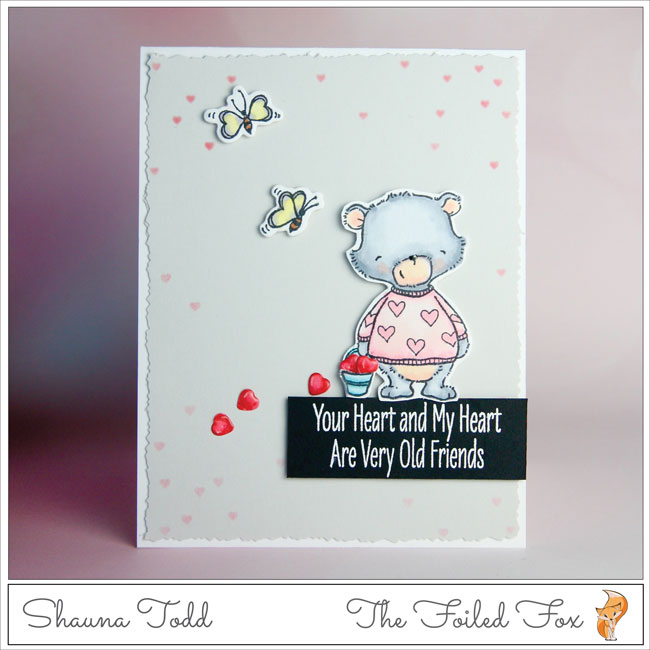
This card starts off with a light gray panel made from Antique Gray card stock. Tiny hearts were then stenciled on using a new stencil from Alexandra Renke, Falling Hearts. This stencil creates a frame of hearts. The stencil is 4 1/4″ wide, which is perfect, but is quite a bit longer than 5 1/2″. But not to worry, there is an easy fix if you want it to fit a standard A2 size.
To do this, I first stenciled only the top of the heart frame with Festive Berries distress ink, then moved the stencil up to meet the bottom and stenciled the remainder of the hearts with Spun Sugar distress ink. This technique shortened the mid-section and worked seamlessly!
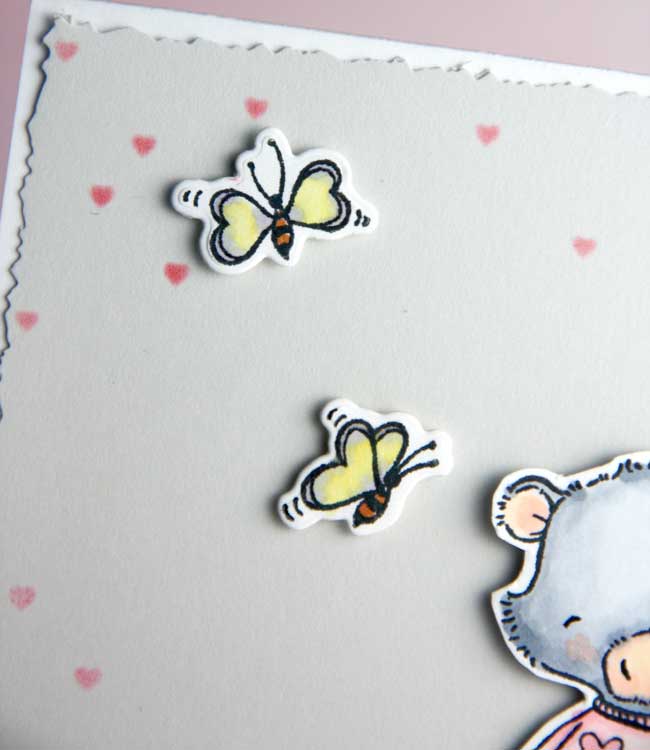
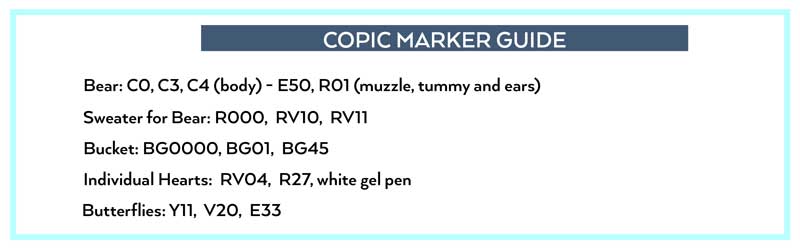
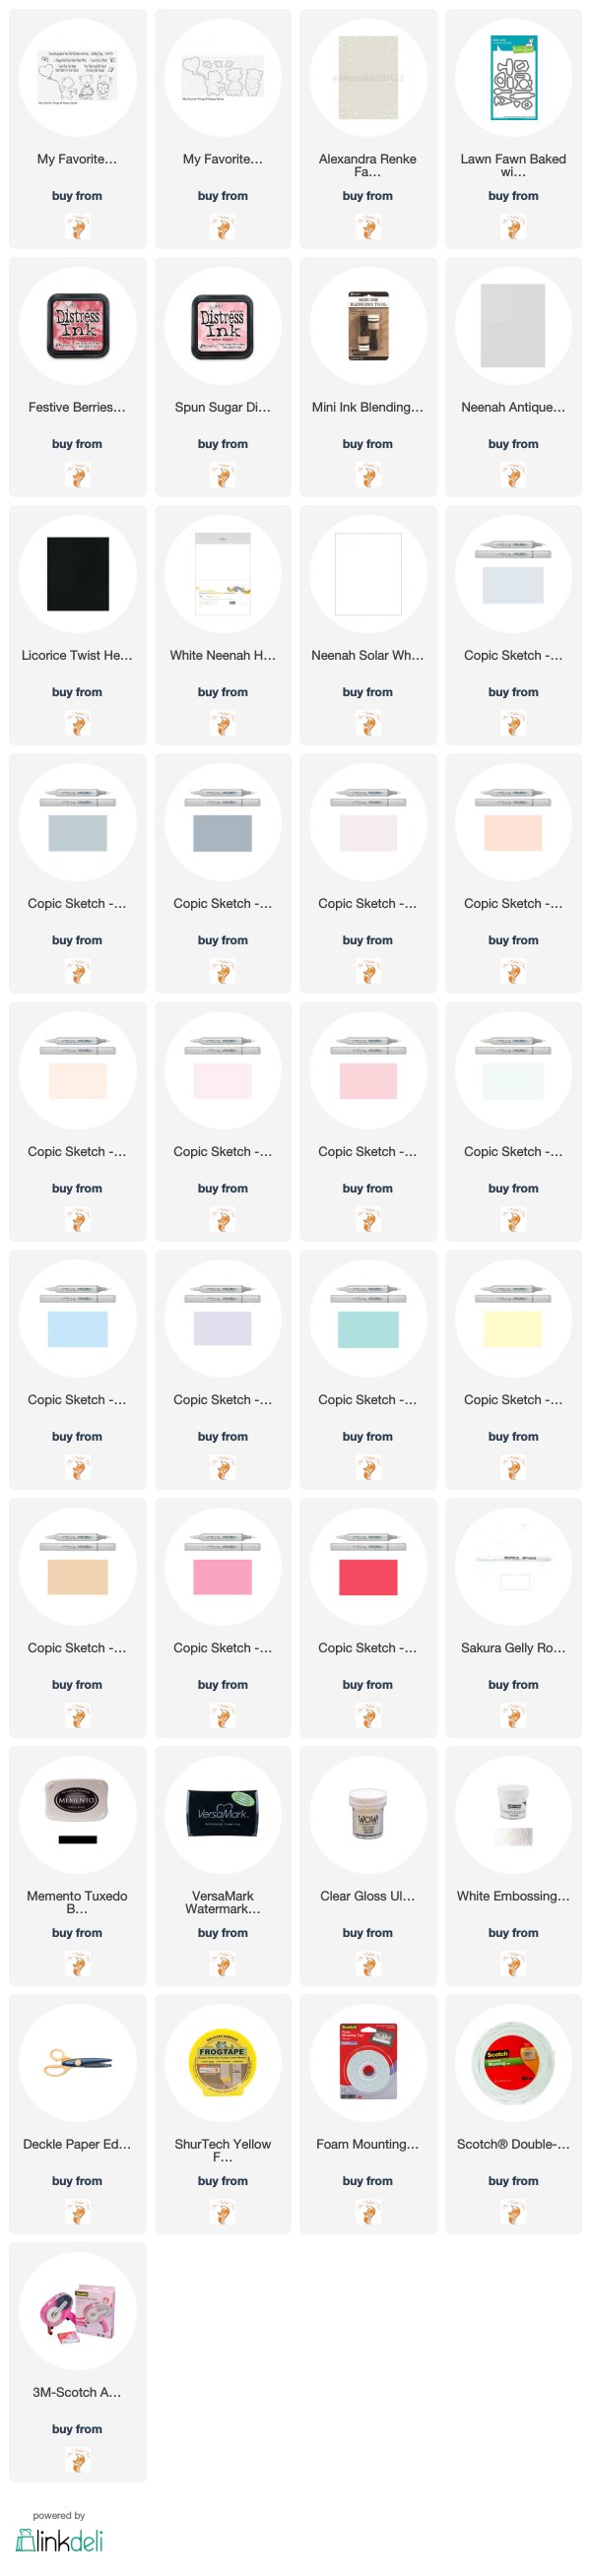
With the panel complete, I moved on to stamping and coloring of the bear, hearts, and butterflies. They were stamped onto Neenah white cardstock with Memento Tuxedo Black ink and colored with Copic markers. Here is a list of the colors used:
By the way, in case you are wondering where in the world did I find those tiny hearts, I found them in the Lawn Fawn Baked With Love die set. Lawn Fawn often has a tiny heart die in their sets. Take a close look at your die sets in your stash. You may have one and don’t even know it!
I cut 6 hearts from this die and colored them with Copic markers: RV04, R27, and a white gel pen for reflection. When they were all colored, I attached the tiny points of the hearts to a piece of tape to hold them in place for easy handling, then stamped them generously with Versamark ink and heat embossed them with WOW! Ultra High Clear embossing powder. This created a glossy high finish, eliminating the need to add Glossy Accents and waiting for them to dry!
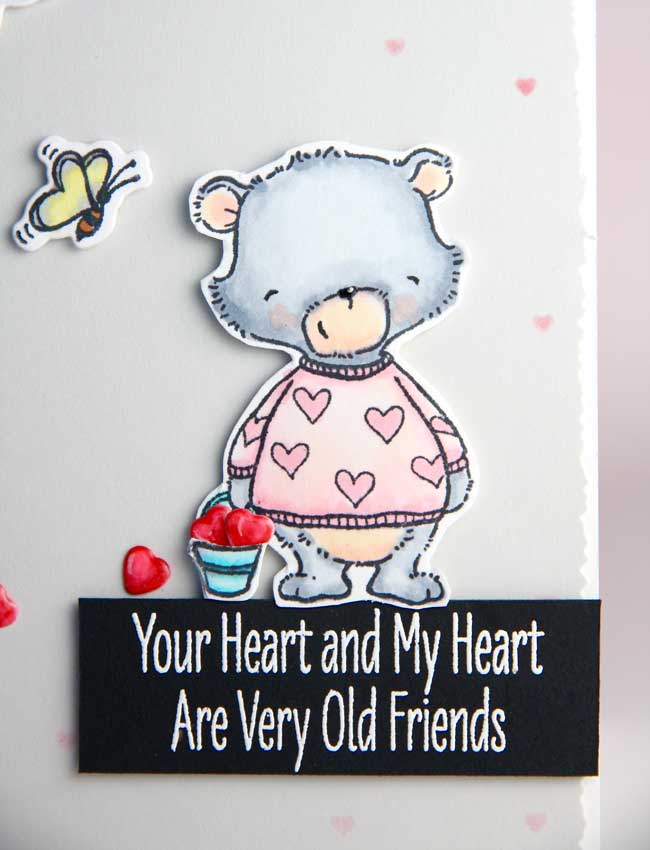
Since the hearts are now glossy and puffy, I decided the bucket needed to be dimensional too, so I stamped again just the little section of the bear stamp that had the bucket, colored it and fussy-cut it out.
It was time to stamp the sentiment. The sayings in this set are oh, so cute! I chose one and stamped it onto heavy Licorice Twist black card stock with Versamark ink and heat embossed it with white embossing powder – that was after generously pouncing on anti-static powder on the paper, of course, so those little particles of errant embossing powder don’t stick in places I don’t want them!
It’s now time to put this all together. I started with a Neenah white card base, then deckled the edge of the tiny heart panel with deckle scissors (old school I know, but it does the trick), and adhered it to the front. Next, I added the sentiment with some foam tape and mounted the bear on top. I attached a few tiny hearts to the bucket and layered the cutout bucket on top of the existing one. The butterflies were attached with foam tape and a few tiny hearts were sprinkled about – as if they were falling out of his bucket of love!
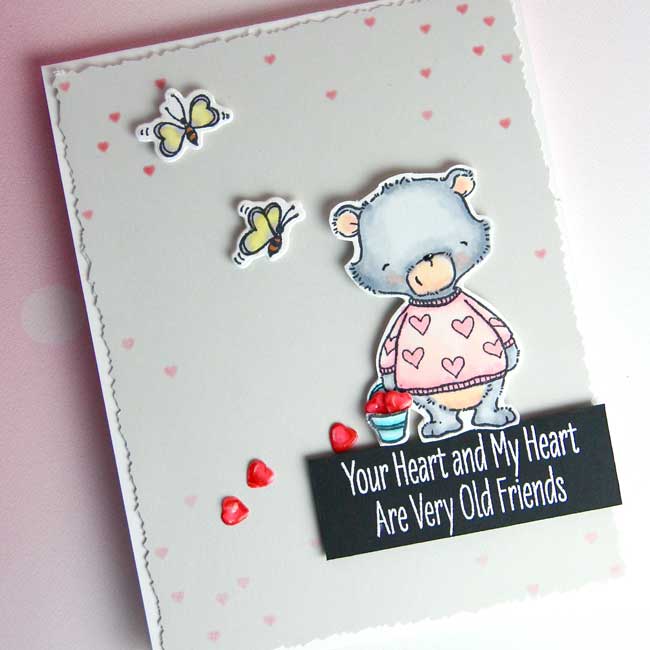
Et Viola! All done!
I hope you enjoyed this simple design and it inspires you to create something of your own. ♥
Goodies Used:
Sorry, the comment form is closed at this time.

January 30, 2019
Teri S.
Shauna, I think this ranks up there as the sweetest valentine card I’ve seen.
February 2, 2019
Shauna Todd
Thanks for the kind words!