A Cheerful Little Christmas Tree
Hi Everyone,
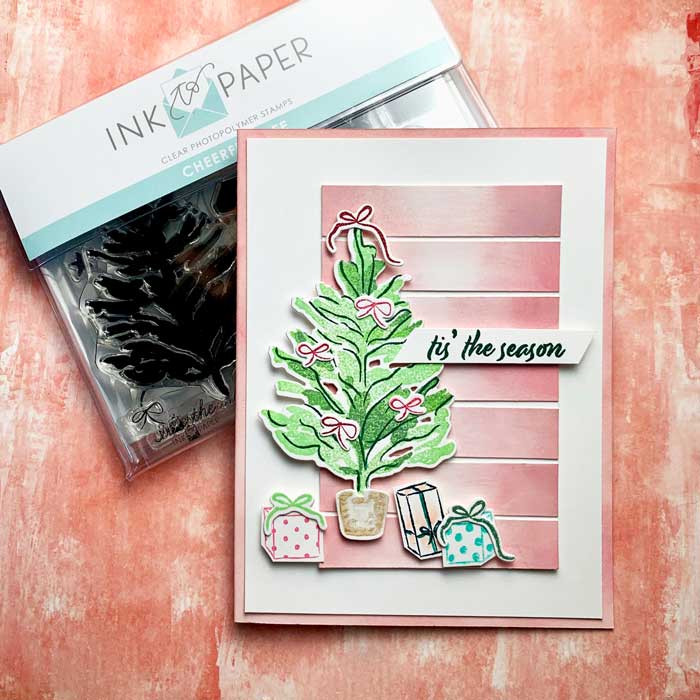
I am jumping in quickly to say “Hi” and share a fun Christmas card using Ink To Paper’s Cheerful Tree stamp and die set. The title for this set is perfect, because that is exactly what it is – a Cheerful Little Christmas Tree.
One quick note, be sure to keep your eyes peeled for a saving surprise later in the week!
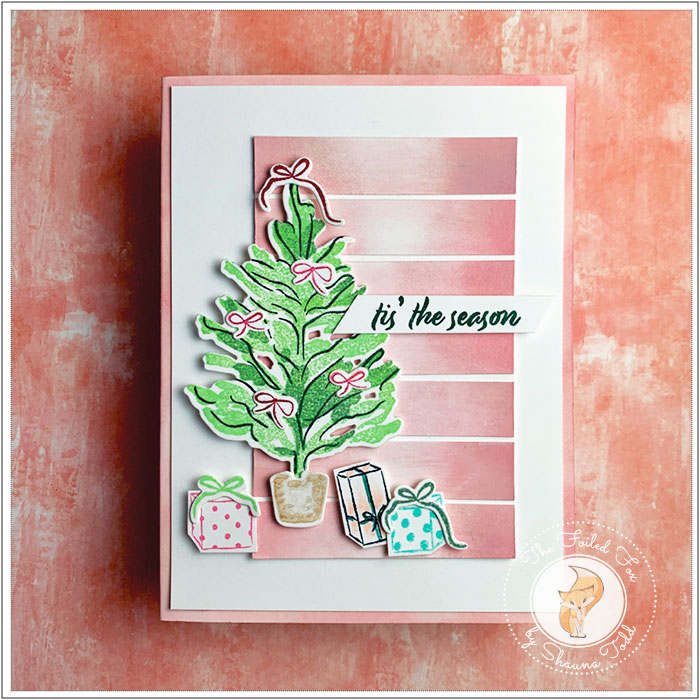
This Holiday card season, I seem to be reaching for the sweet, pink pastel colors. To me, it gives a modern and clean look. So, to begin, I took a page out of a previous card I made, Christmas Stockings and made a shiplap background (I am quite smitten with this style of background!)
To do this, I started with a piece of Bristol paper card panel and lightly blended Spun Sugar distress oxide ink over the whole panel. Next, on each edge I added Worn Lipstick distress oxide ink and on top of that, a little Victorian Velvet distress oxide to deepen the color on the edges. This gives a lighter center and increasingly deeper edges. The panel was then set aside while I worked on the tree and presents.
I started with stamping the tree. Since this is an Ink To Paper stamp and they are a division of Papertrey Ink. I decided to use a collection of lucious ink colors by Papertrey Ink – I LOVE their ink colors!
This tree stamp is in three parts, the body of the tree, some accents, then the branches. So, with this in mind, I stamped the body with New Leaf ink, then stamped the accents with Ocean Tides and finally the branches were stamped with Pinefeather.
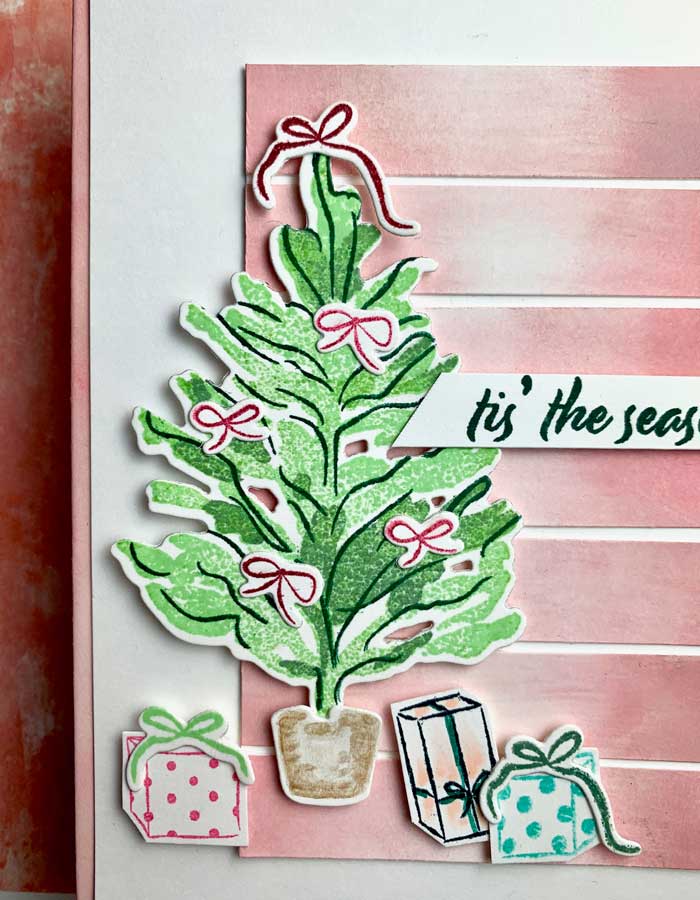
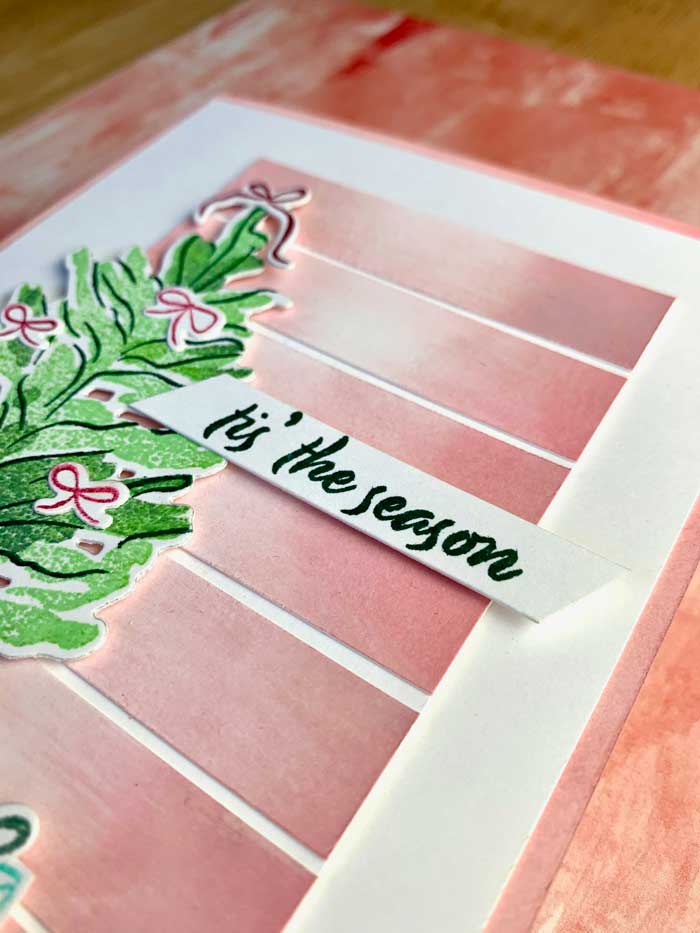
At the same time as stamping the tree, I also stamped a few ‘gifts’, complete with their bows with the Papertrey Ink ink cubes. The pot the tree sits in was painted with some Finetec light gold ink. In case you are interested, the colors used were: Hibiscus Burst, Mint Julep, Hawaiian Shores, Ocean Tides and Scarlet Jewel. To finish the stamping, I stamped the “tis’ the season” sentiment using Pinefeather ink again.
With all the pieces stamped, I used the matching dies and cut out all the pieces, making it time to put this all together.
To begin assembly, I started with a Pale Rose card stock card base and randomly blended on a little Worn Lipstick distress oxide ink to the edges. Next, I adhered a slightly smaller white panel on top.
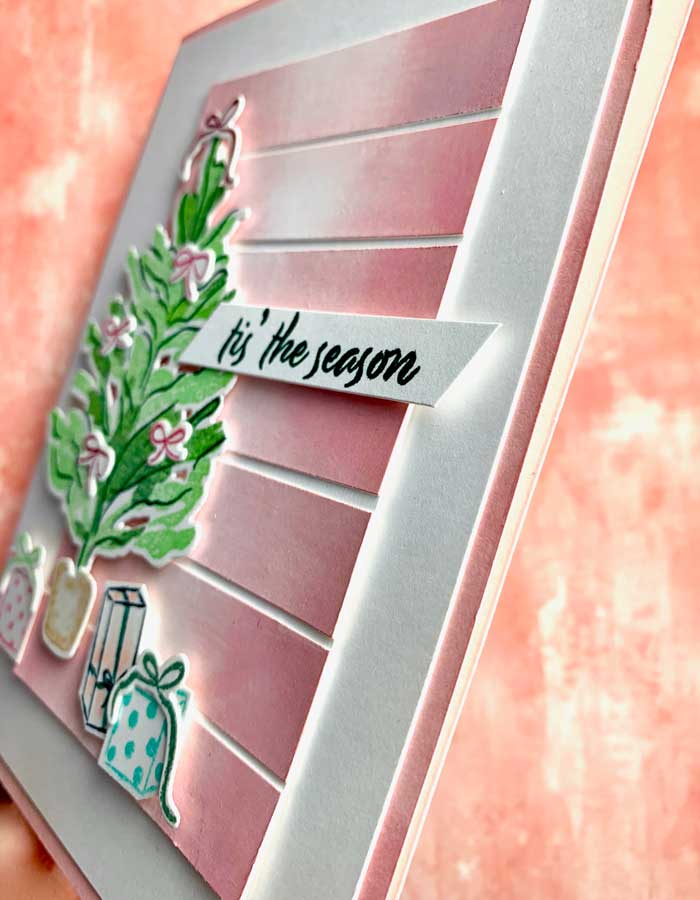
It was now time to trim the blended pink panel I made earlier into a smaller rectangle, then cut it into 5/8″ strips. These strips were then adhered off-center onto the card. Next, the tree and presents were added, some with bits of foam tape to pop up and others directly on the front of the card.
The final step was to add the sentiment strip… and there we have it! Another Christmas card for the sending – YAY!
~ ~ ~ ~ ~ ~ ~ ~ ~ ~ ~ ~ ~
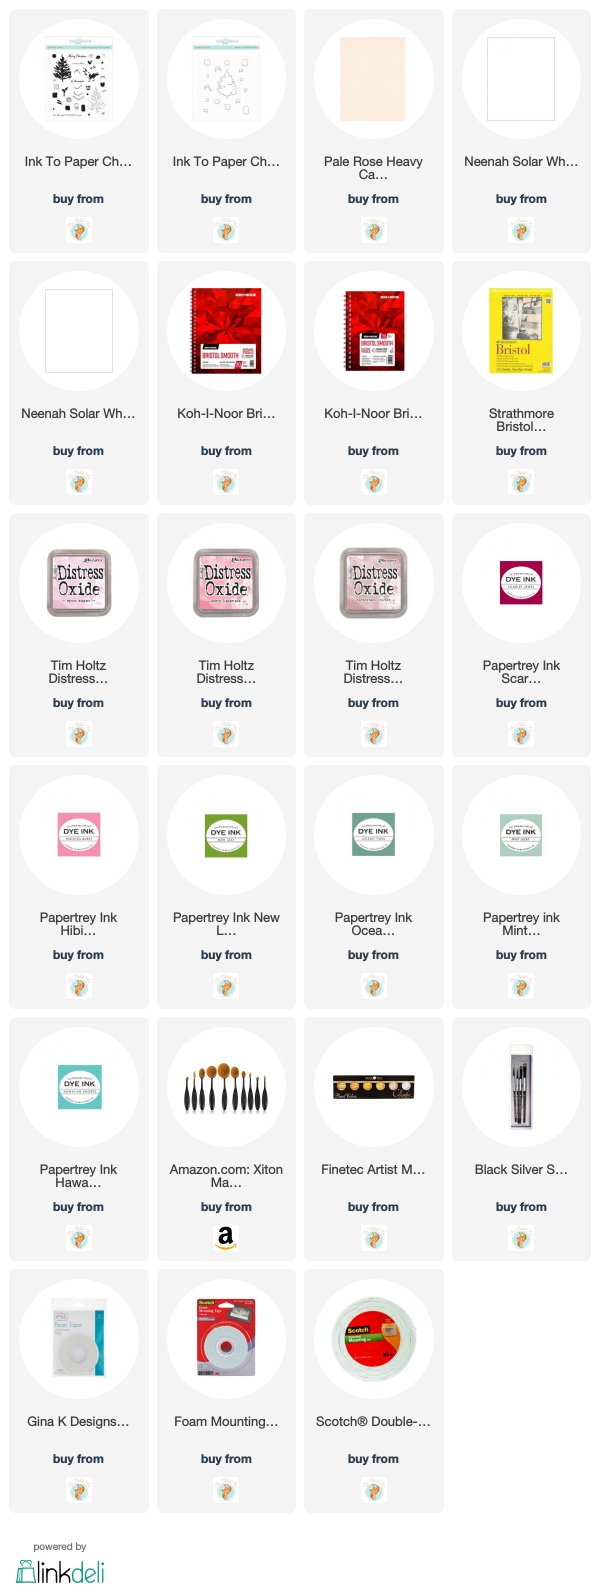
Goodies Used: