A Furever Friend and His Home by Rosali
Hi there,
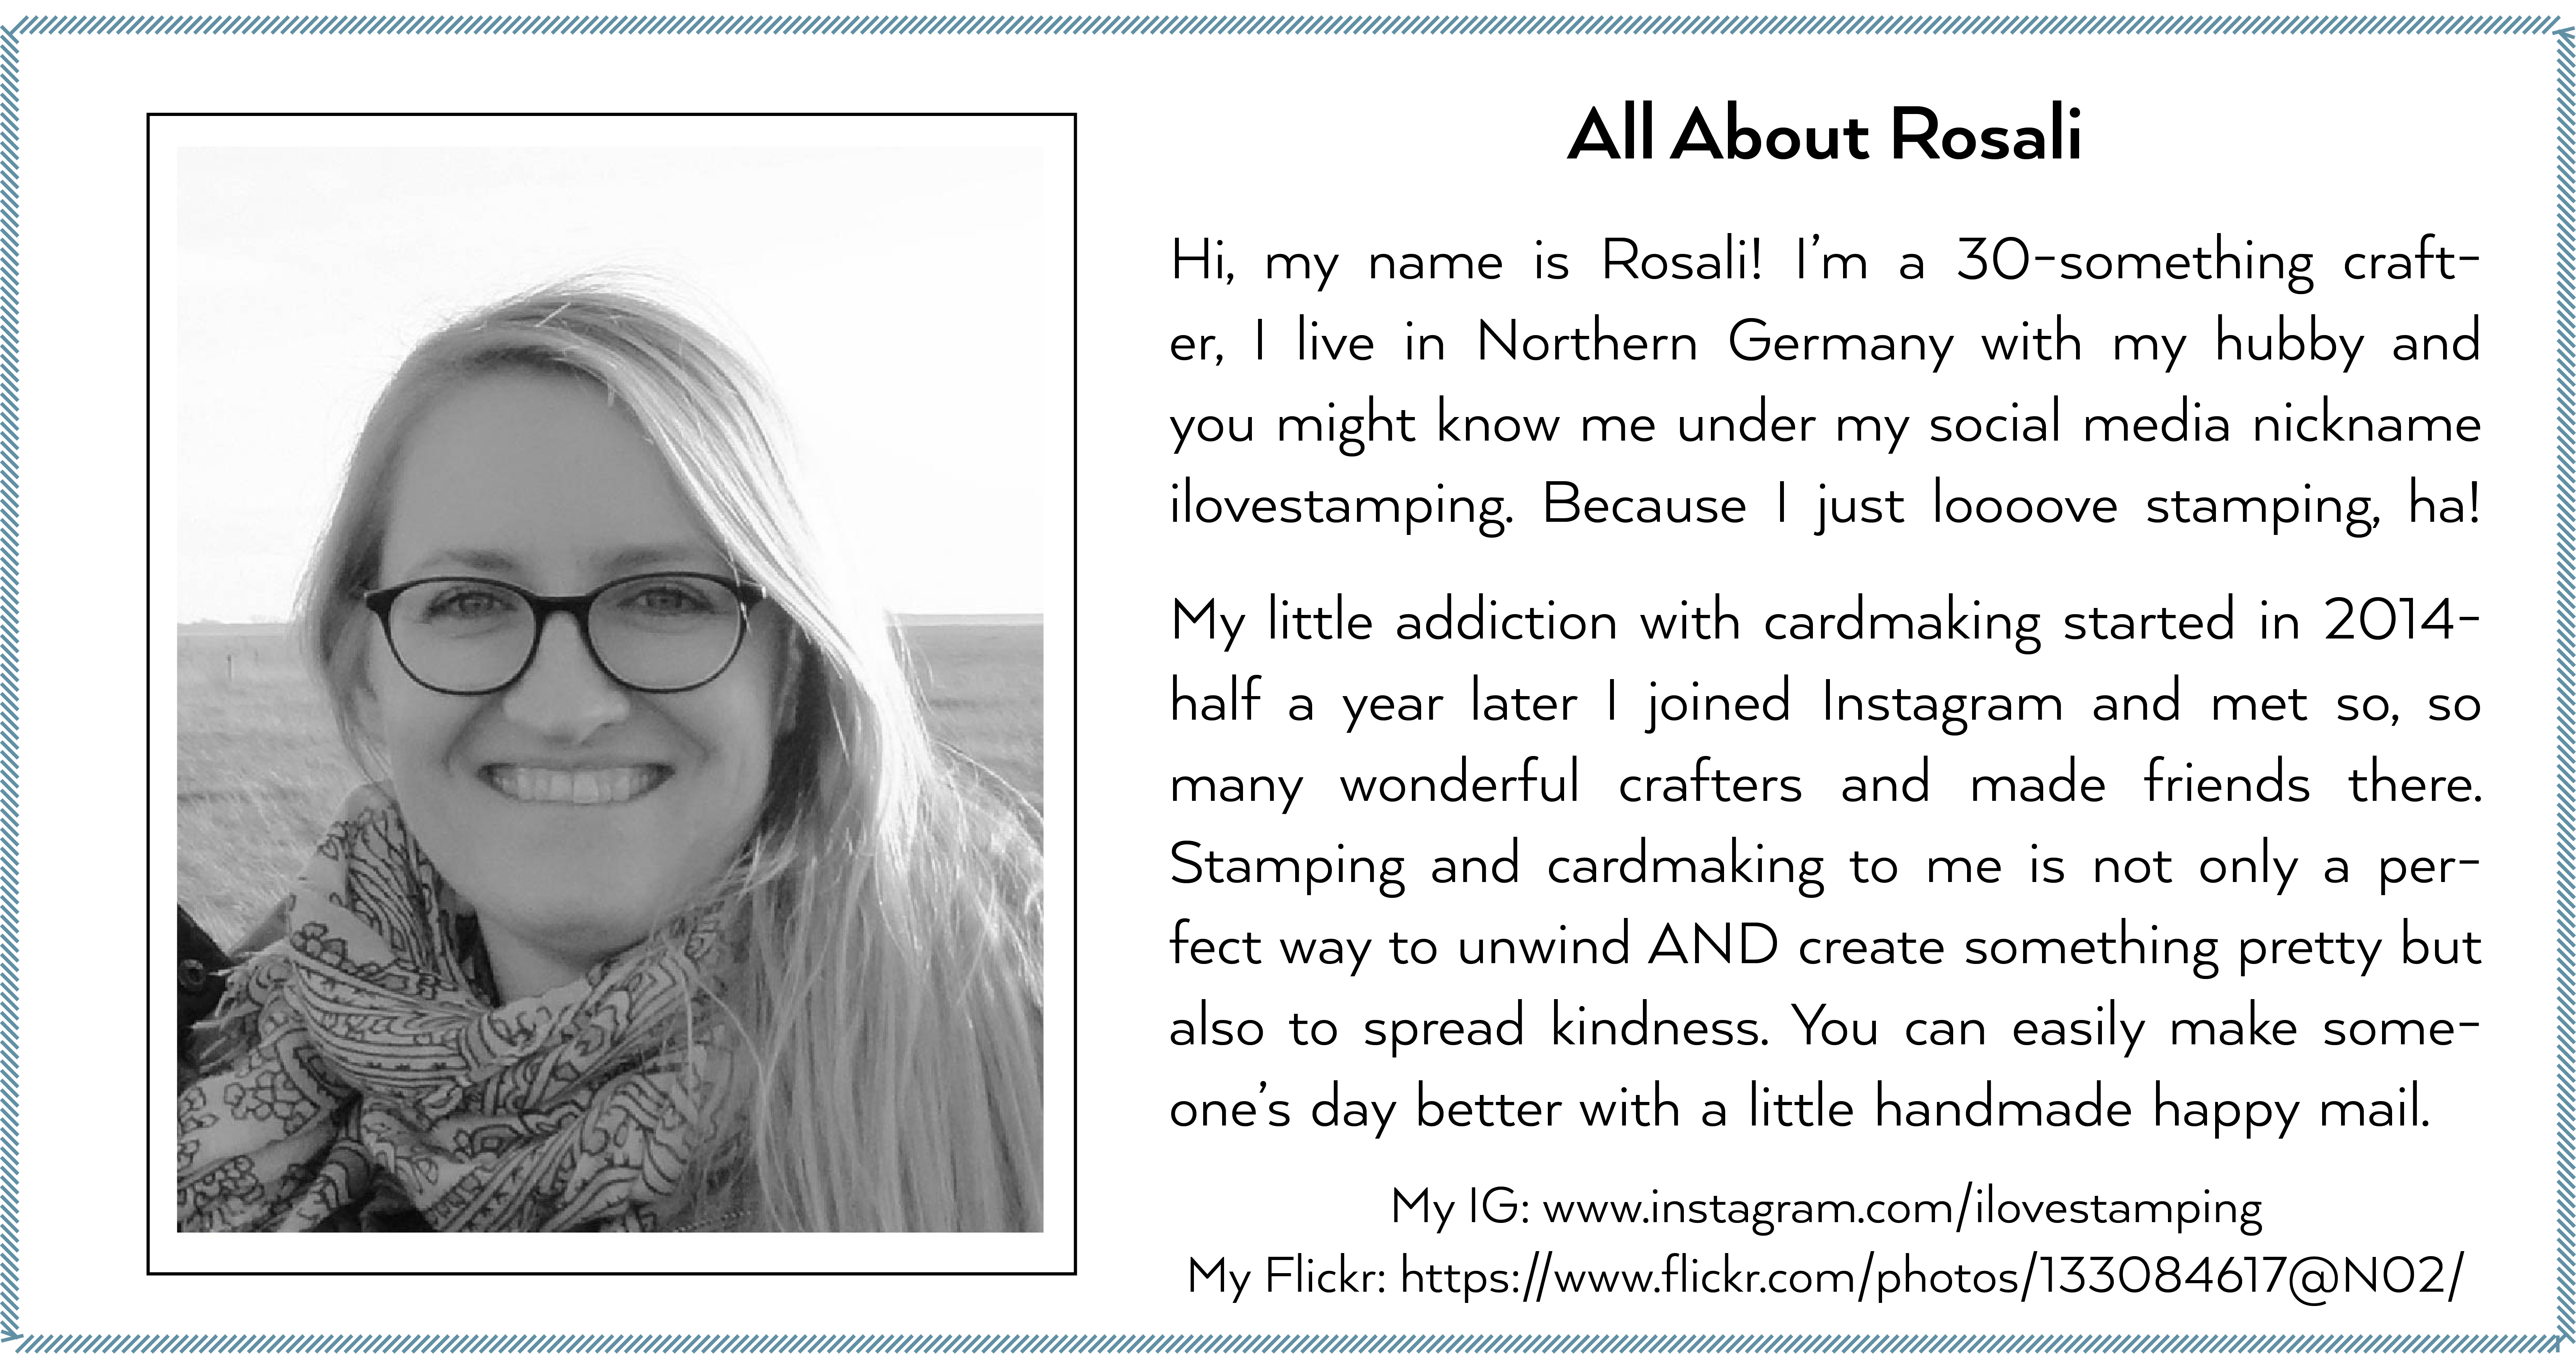
Woohoo! We have exciting news! Rosali, the one you all know and love, has started her own blog, I Love Stamping. You can catch up with her here. Be sure to sure give her some love by saying hello and subscribing! Rosali is such a talent, you will not want to miss any of her posts!
In the meantime, check out her adorable card below. As always, she has created the cutest “Furever Friends” scene.
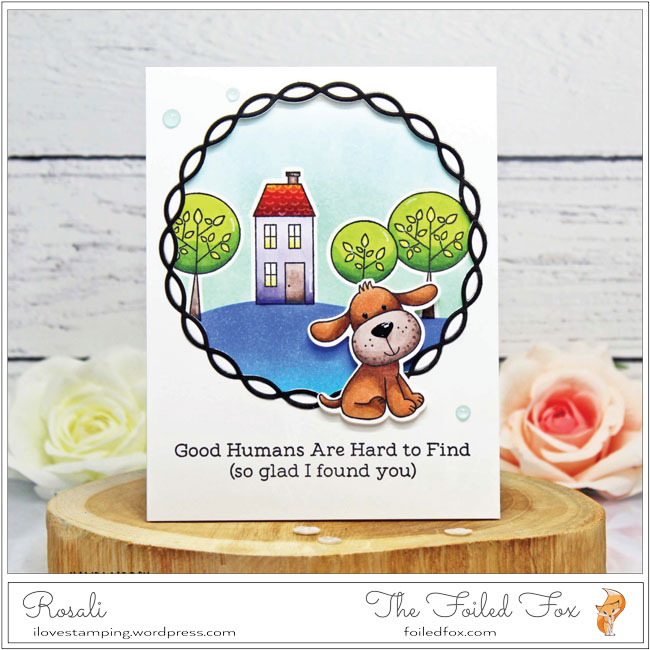
Hello everyone! I hope you had a very nice Easter! I’m back today on this blog with a cute card for all of you pet lovers and fans of simple card scenes out there! ☺
My chosen set for the project was “Furever Friends” from My Favorite Things. I can’t get over how adorable these dogs look with their long ears! And I knew they would be fairly easy to color because there are a lot of bigger areas on these critter images.
I wanted to include a simple background scene for my dog and the trees and houses in the “Town Bear” stamp set from My Favorite Things seemed perfect for that. To frame my scene and give my entire card a rather clean look I also chose to use the biggest of the “Linked Chain Circle Frames” from My Favorite Things.
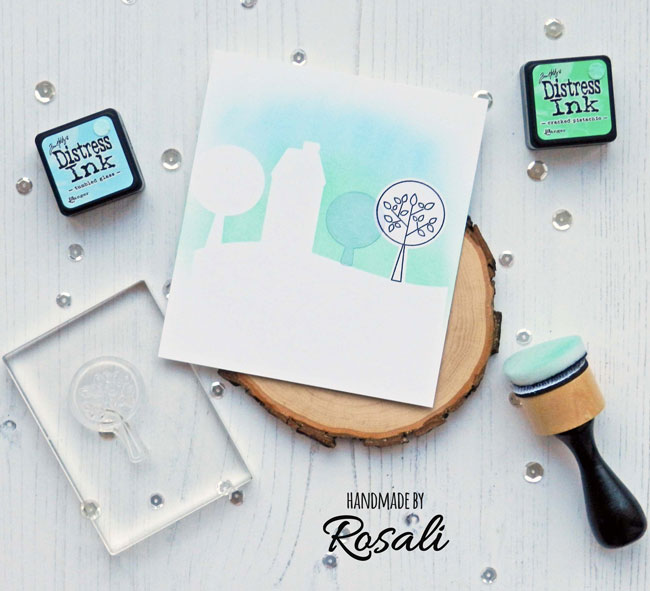
But let’s start from the beginning – with my background scene. There is a great way to quickly create a masked scene with stamp images that requires no fussy cutting! It’s to use the coordinating dies to die cut your images from masking paper. The only thing you have to remember is to stamp AFTER you have done your ink blending over the masking paper because it would be hard to line up the die-cuts with an even border around the previously stamped images.
Below is a picture that shows you my ‘work in progress’. I had die cut my images and a hill border from masking paper stuck them all down onto my paper and did some ink blending over them with Cracked Pistachio and Tumbled Glass Distress Inks. Then I removed my masks except for the middle tree that I wanted to be in the background and stamped the right tree:
On the hill, I used Blueprint Sketch and Peacock Feathers Distress Inks for ink blending. I stamped and die cut one of the dog images and then colored all of the images.
These are the Copic markers that I used:
- Dog’s snout, tree trunks, door: E70, 71, 74, 77
- Dog’s body: E13, 23, 57, 27, 29
- Tree tops: Y13, YG13 (leaves) + YG13, YG17, YG67, G28 (rest)
- House: V20, 22, 25, 28 (wall) + 0, YG 13 (windows) + Y26, Y38, R08, E09, R89 (roof)
To add a few highlights, I used a white gel pen on top. I also carefully put Black Ebony Nuvo Drops onto the dog’s eyes and nose to make them really black and shiny. So cute!
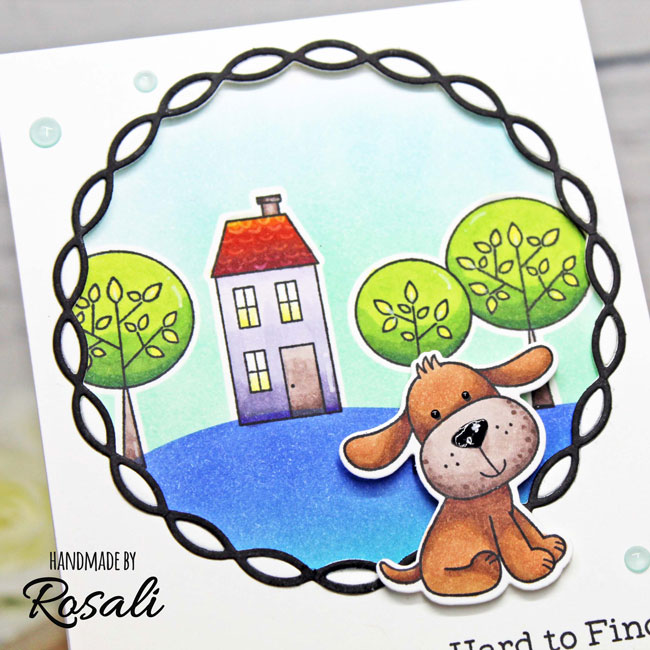
I die cut the largest “Linked Chain Circle Frame” from an A2 sized piece of white Neenah 110 lb. cardstock for some stability. I wanted to keep all those white pieces in between the chain so I put regular Scotch tape on them, from the backside. I die cut a second chain circle from black cardstock and glued it on top of the white chain. I picked out a sentiment from the “Furever Friends” set and stamped it down below the chain circle with the help of my stamp platform. Now that my card front was finished I foam mounted it to my background piece and card base.
Lastly, I added the dog to the card – with a double layer of foam tape on the parts where he is inside the circle. Three Nuvo Jewel Drops for a bit of extra interest on the white card front and my design is finished!
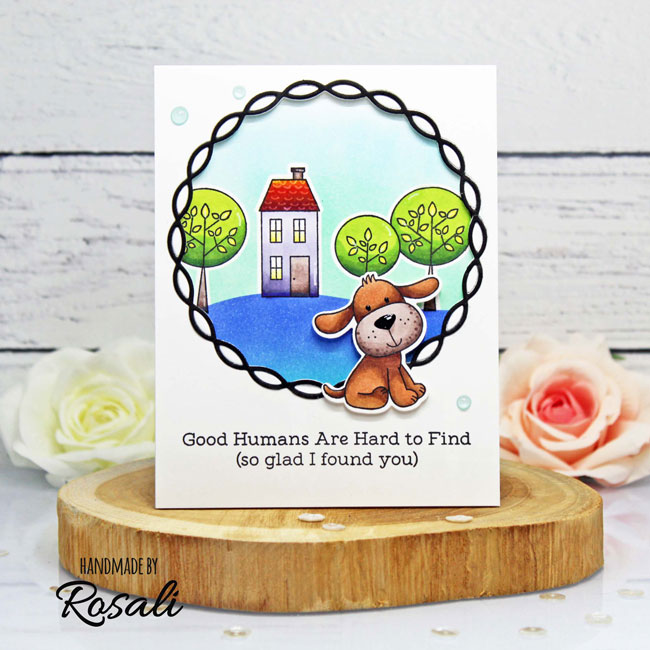
I hope you like my card. See you soon! ♥
Rosali
![]()
Goodies Used:
Sorry, the comment form is closed at this time.




April 11, 2018
SuzyQ
OH, SO ADORABLE. For those of us who are dog lovers this adds another beat to our hearts. Thanks a Bunch!
April 17, 2018
Rosali
Thanks so much, Suzy! 🙂