Camping Adventures…that actually light up!!
Hi Everyone,
I finally got onto the Chibitronics bandwagon and have an electrifying treat. It was created especially for my daughter’s birthday. She loves to get out on the road and explore. She has quite the wanderlust ‘bug’ so she pulls a trailer around the countryside in search for her next adventure.
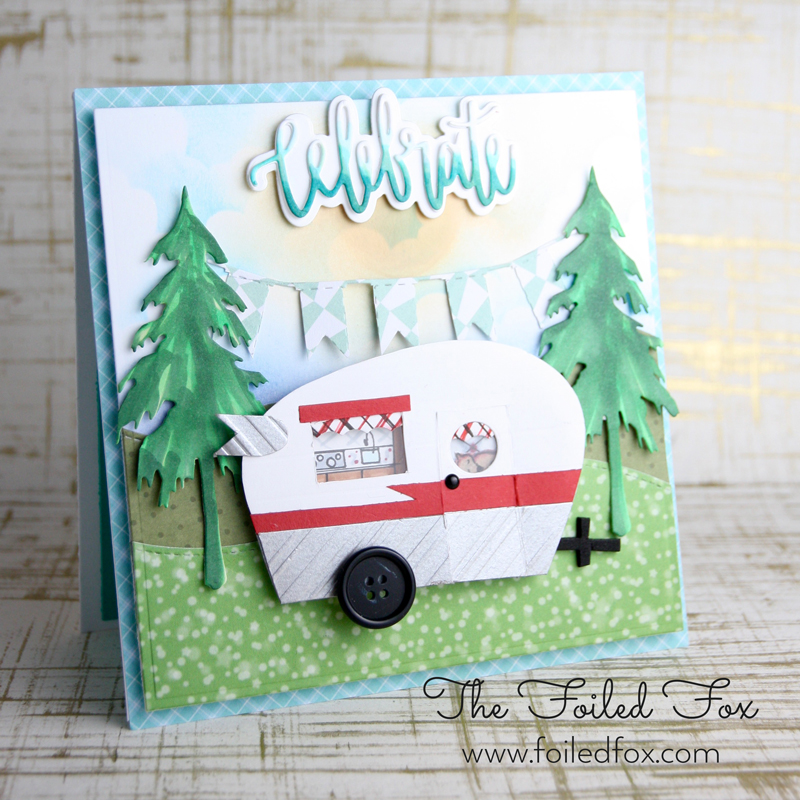
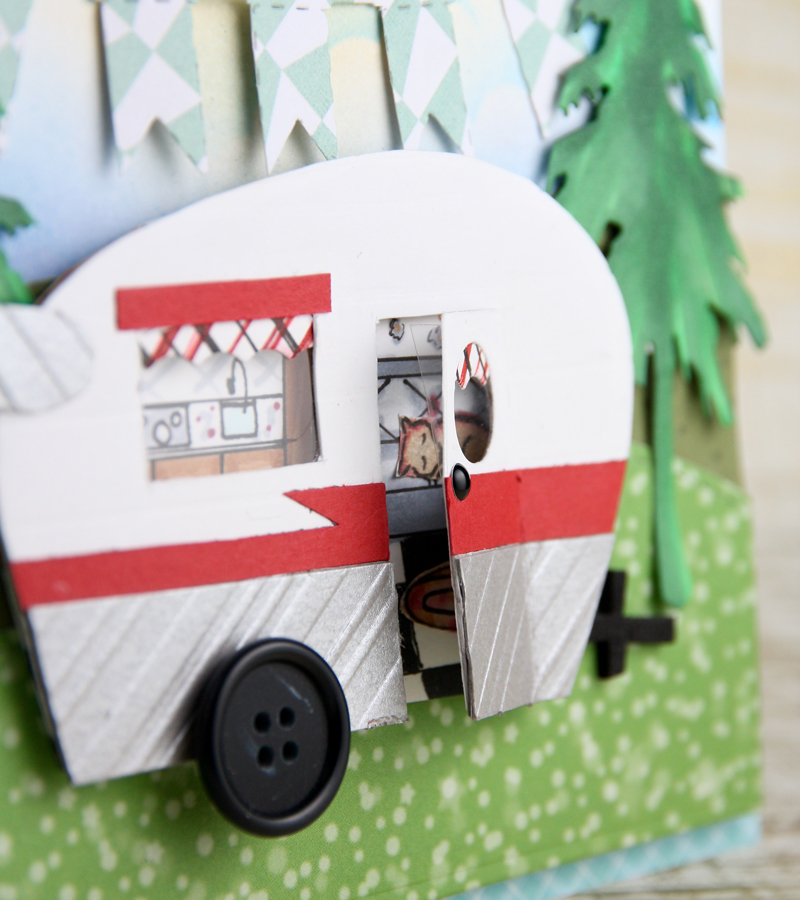
This card is like most cards, it has a scene and a sentiment. But the extra surprise was that the interior lit up when the door was opened. This was all done with the magic of the Chibitronics LED starter set.
I didn’t have a die or stamp for the trailer. I know they are out there, I just didn’t have one. Luckily, a trailer is a simple shape so with the help of Google Images, I was able to find a picture of the shape I wanted and just drew it free-handed.
Now that I had the size and shape in hand, I cut two trailer cut-outs from white card stock. One would be for the back (or interior of the trailer) and the other for the front. The back is where I sketched in the kitchen and a sofa with her beloved chihuahua, Mugsy sleeping away.
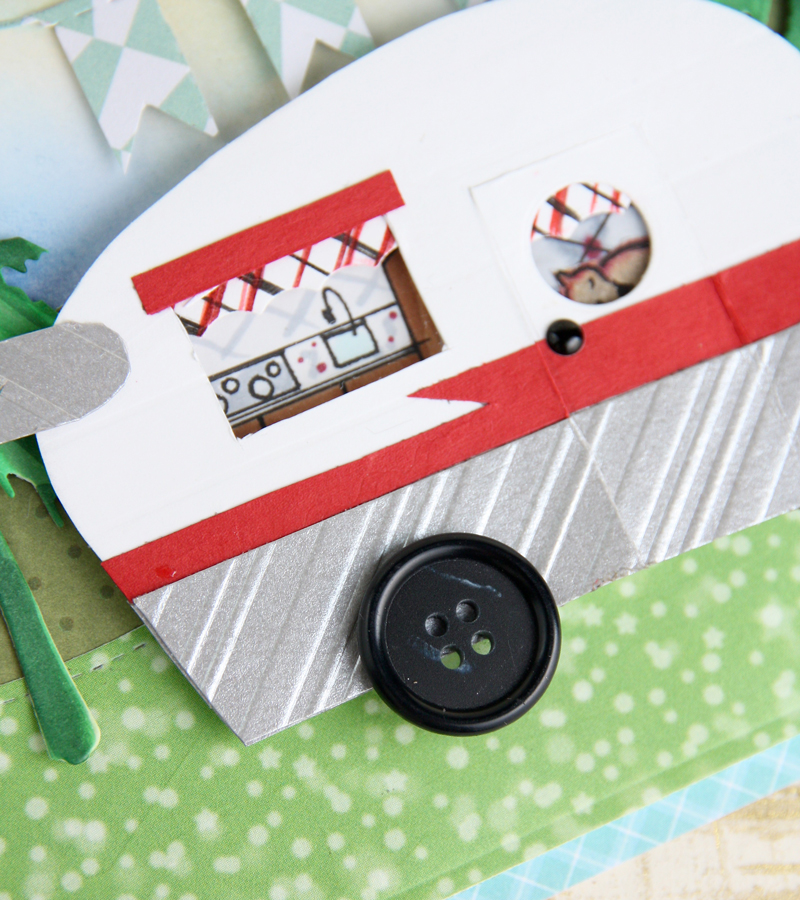
With the second trailer cut-out (the front or exterior), I wanted a retro look since Sara is really into that era so I scored some horizontal lines into the white cardstock, then added, over the top, the horizontal strip of red cardstock as you can see in the photos. For the bottom, I embossed a scrap of silver cardstock with an embossing folder and added to the bottom and trimmed it all to conform to the shape of the trailer.
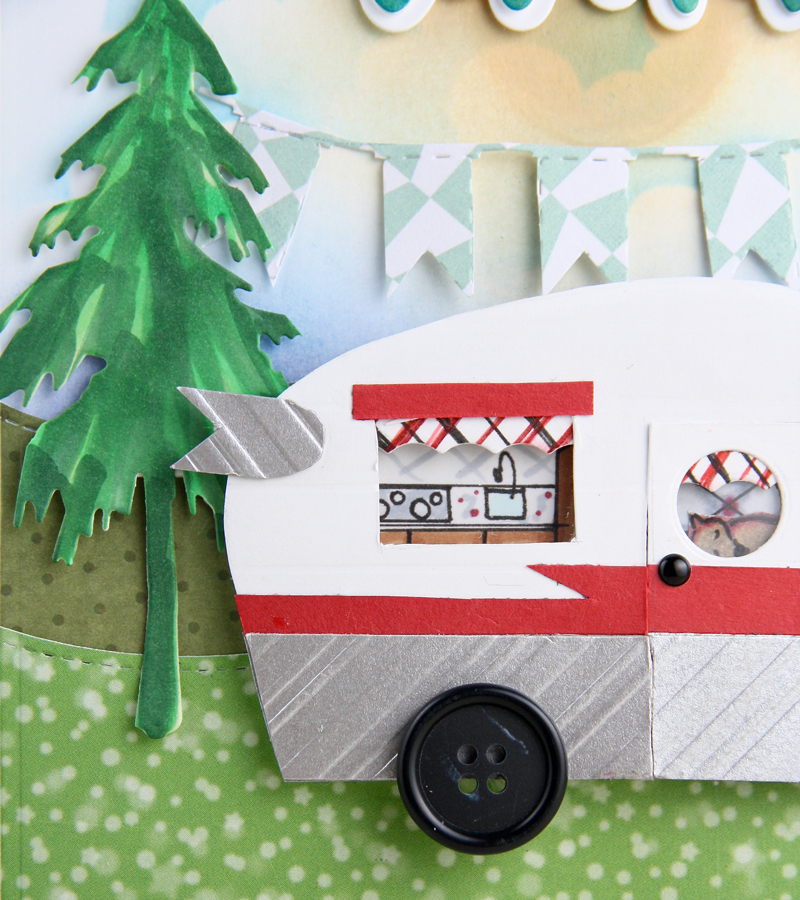
Next, I determined where the door and window should go, then cut them with an exact-o knife and scored the ‘hinge’ of the door so it would open. The window in the door was done with a circle die. The wheel is an extra button from one of my husband’s suits…shhhh, don’t tell anyone!
To finish off the trailer, think shaker card. It is the same priniciple…I cut a fun foam shape of the trailer and cut the center out, leaving only a 1/4″ ‘frame’ to glue around the back of the trailer (interior). Carefully following the Chibitronic instructions (with some deviations … email me if you want to know more), I mounted the tiny LED lights and copper tape connection, being careful to avoid the door and windows so it wouldn’t show. It was so exciting when it actually worked and the tiny lights served as overhead lighting in her little trailer.
The rest of the card was standard card making procedure by starting with a white card base, then adding a plaid panel on top. The next layer began with a piece of white cardstock and the sky added with distress inks and a blending tool. With the help of Lawn Fawn’s Stitched Hillside Dies and two complimentary scrap pieces of green patterned paper, the hills were created. The trees were die cut from Fir Trees by Impression Obsession and colored with green Copic markers and the banner from Memory Box Banner Parade was added to give a more festive birthday celebration look.
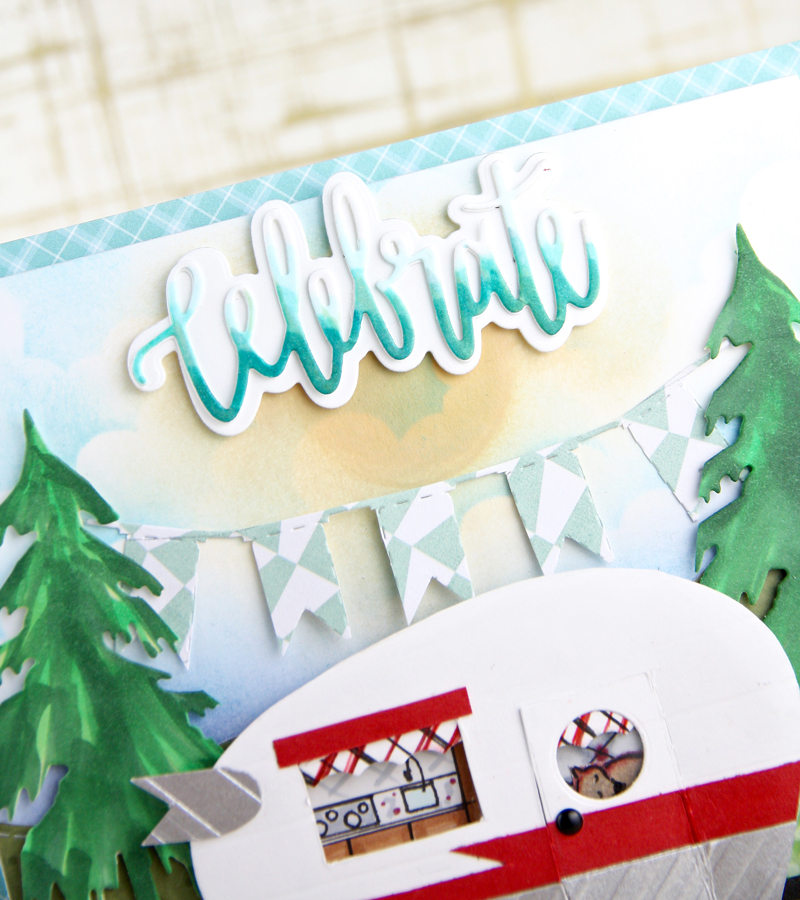
The final touches were to add the “Celebrate” die-cut sentiment. The ombre coloring of the “Celebrate” was done with Copic markers… they blend soooo nicely!
The trailer was put into position and the electrified trailer was in action!

Supply List:


