Just Ducky Interactive Card by Lisa Tilson
Hi there,
We have a very special guest today, Lisa Tilson of the My Card Trip blog. She is an extraordinary designer and today’s design is BRILLIANT! So, without delay, I will turn it over to Lisa – be sure to watch her video, it’s awesome!
Hello there crafters!
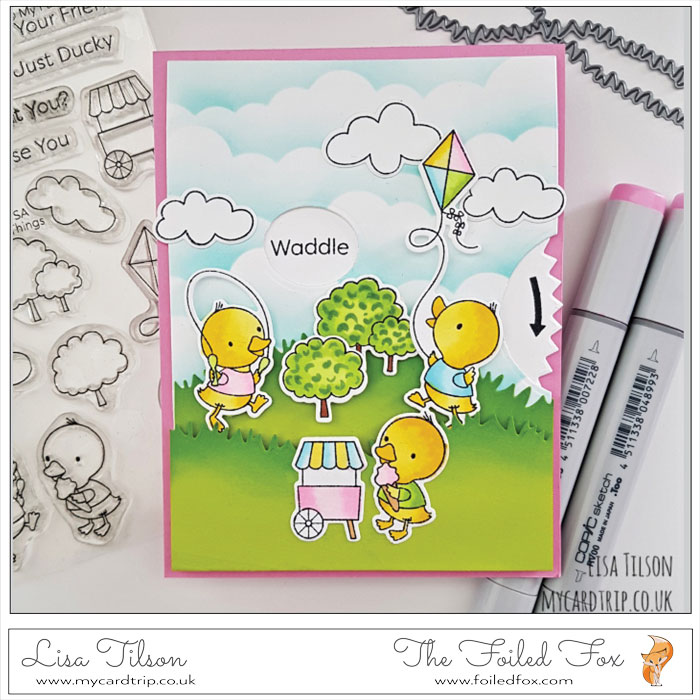
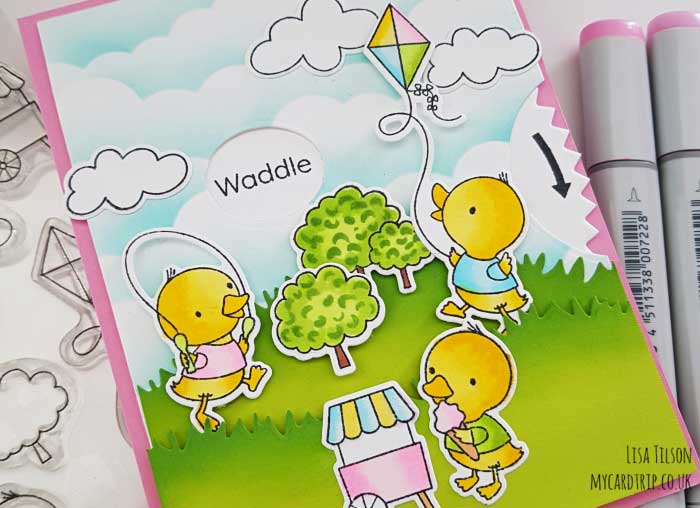
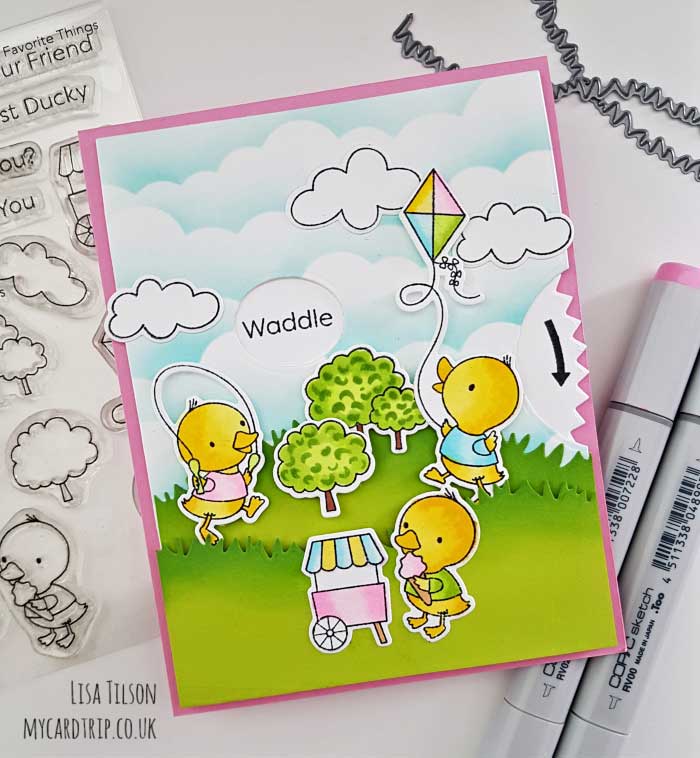
I am delighted to be back as a Guest Designer here at Foiled Fox today and I have a fun and cute interactive card for you. I have been wanting to use the My Favorite Things Peek-A-Boo Wheel Die-namics for some time now and thought I could pair it up with the recently released Just Ducky stamp set.
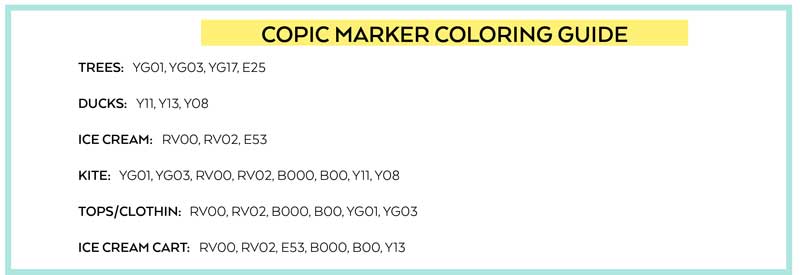
And as this is an interactive card, I have filmed a video for you 😊. It is always easier to watch an interactive card come together, so I hope that you find it useful. There are also a few hints and tips below to help you along the way if you fancy having a go at making one yourself. I have kept the focus of the video on the creation of the wheel itself and the assembly of the card as that is what is important here. I have not shown the colouring of the images, but I have listed the Copic numbers below if you are interested in seeing what I used.
So, here is the card that I have created today.
And here is the video for you. I do hope that you enjoyed watching the card come together! I liked how it turned out and it puts a smile on the recipients face!
I often think that people shy away from making interactive cards as they seem complicated. As with most things, it’s a case of getting stuck in and having a go and a little bit of practice goes a long way into getting a successful result! The card you see in the video was the second card I created – the first one did go together pretty well, but I changed a few things for the video that I thought improved it.
Hints and Tips
Plan ahead! I know that doesn’t sound like much fun at all but I promise this will save you time in the long run! As with all interactive cards, they can take a little while and you can really minimize any mistakes by thinking about your layout ahead of time.
Stamp, colour and die cut your images at the start – this will help in the planning of the card. I always stamp more than I need. Even if you don’t colour them at the start, you can at least have them ready in black and white ready to position on the card whilst you work out the different elements.
Work in sections – do all your colouring in one go, your die-cutting all at the same time and any other elements of your card that are repetitious. This can really cut down on time. For this card, I did do that although, for the purposes of the video, they are shown at different stages to help you understand the process better.
Take a photo of your card layout so that you can refer back to it – I do this with many cards, not just interactive. This is particularly helpful for cards that contain lots of images.
Enjoy the process – often when you first create an interactive card it can take a long time. The more you do, the quicker you will get and the more fun they become to make!
Remember that you do not have to have a written sentiment in your Peek-A-Boo Wheel – you can include images that reveal as the wheel turns. And don’t be restricted by always having your turning mechanism on the right-hand side – you can place the wheel to have it’s turning mechanism at the bottom of the card, or even to the right, or the top, whatever suits your design.
Thank you so much to Foiled Fox for having me as a guest today and thank you also for joining me here on the blog. I will be back with another guest project for you in a couple of weeks. In the meantime, happy crafting!
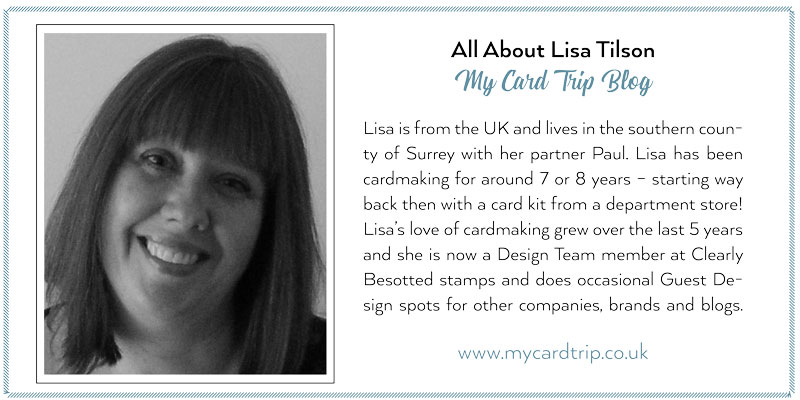
Here’s a little bit about Lisa:
Goodies Used:
Sorry, the comment form is closed at this time.




April 20, 2019
Amy Tsuruta
Lisa, this is ADORABLE!