Love You… A Valentine for your Valentine!
Hi Crafty Friends,
Here is the last card design showing off the new My Favorite Things Heart Art stamp set. I love the conversation heart idea and most of the all the shiny, red enamel-like heart in the last blog post so I borrowed that technique for the ‘Love You’ sentiment and added a few new ones.
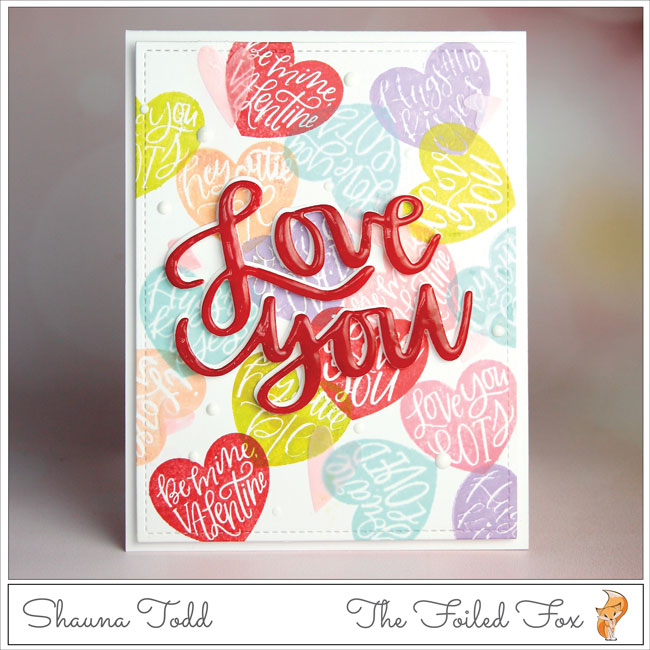
Let’s start with the front panel. With a piece of Neenah white cardstock, I randomly stamped multi-colored hearts using the same ink colors as yesterday: My Favorite Things ink colors, Wild Cherry, Tickled Pink, Cotton Candy, Periwinkle, Limelight, and Berrylicious. I was careful to only overlap the hearts slightly so not to obscure the cute sayings. I saved the stamping of the red hearts for last. When done, I trimmed the sides and embossed a stitched line using the Lawn Fawn Outside In Rectangle lawn cuts and my die cutting machine.
After looking at the heart-covered panel, I thought it needed a little something extra, so using the new Neat & Tangled Heart Duo stencil, I randomly stenciled on a few different sizes of pink hearts. I used Ranger Transparent Gloss texture paste and a little Spun Sugar distress ink mixed in for color to make it happen. This texture paste is true to its title and gives a beautiful glossy finish – but beware, it does take a little while to dry!
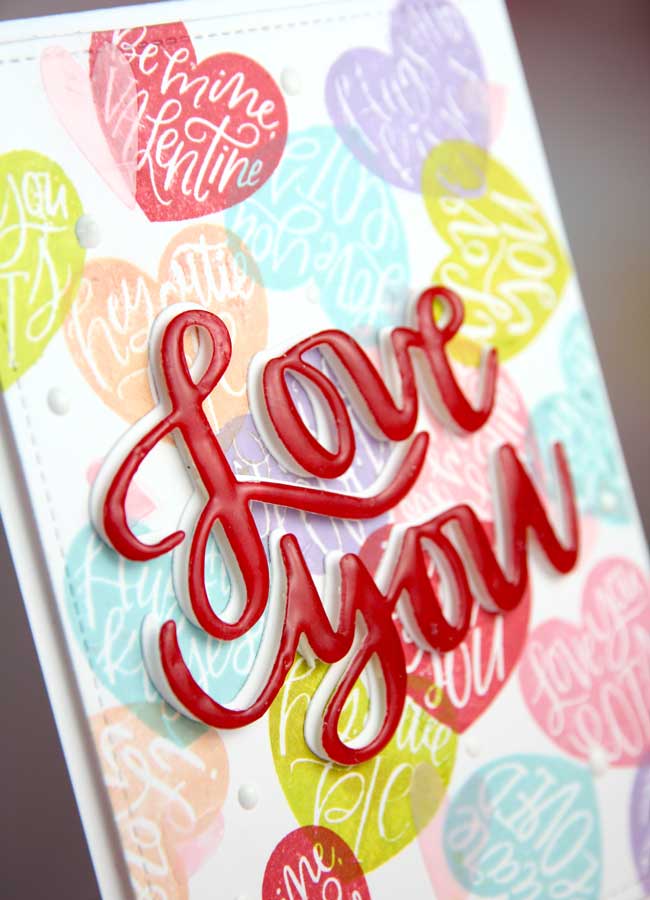
While the stenciled hearts were drying, I set to work on the sentiment. Neat & Tangled has a new scripty ‘Love You’ die. I cut two of these out of Neenah 110lb. white card stock. With one ‘Love You’ set, I swiped Wild Cherry ink over the top. You could use red cardstock of course, but I wanted it to be an exact match to the red in the panel.
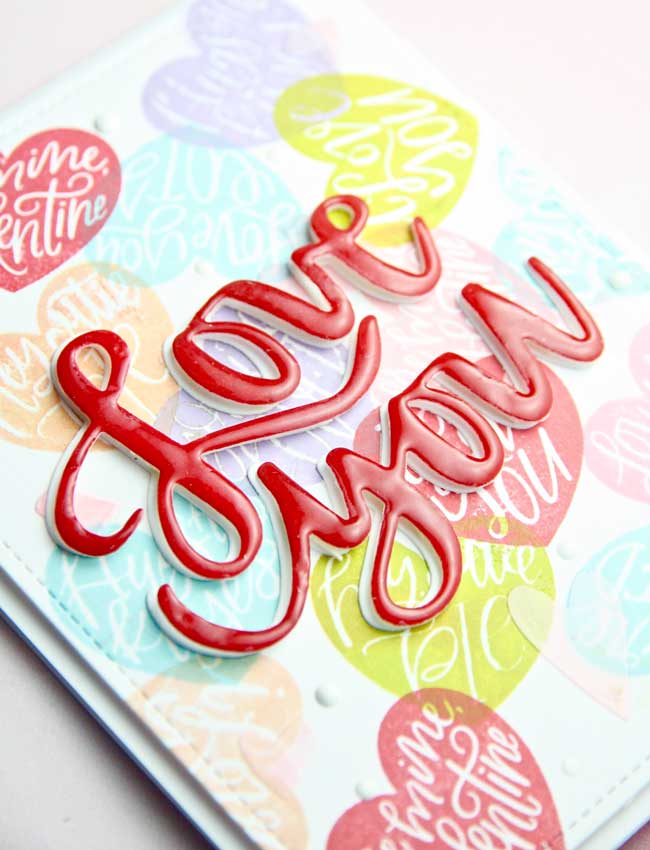
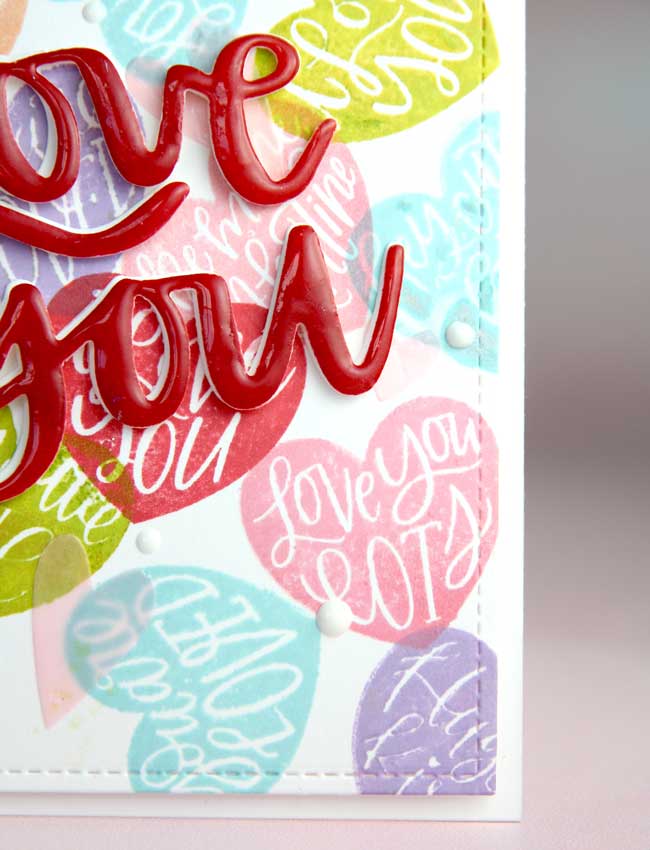
I gave the red ink a minute or two to dry, then generously pressed on Versamark ink to the ‘Love You’ saying, sprinkled WOW! Ultra High clear embossing powder and heat embossed. After giving it a few seconds to cool, I stamped the sentiment again right over the top with more Versamark ink, sprinkled the embossing powder and heat embossed it. I did this one more time, building up the glossy finish. By building up the glossy finish, it gives a super shiny look. Here is a close-up. The pictures don’t do it justice but trust me, it is so shiny and enamel-like!
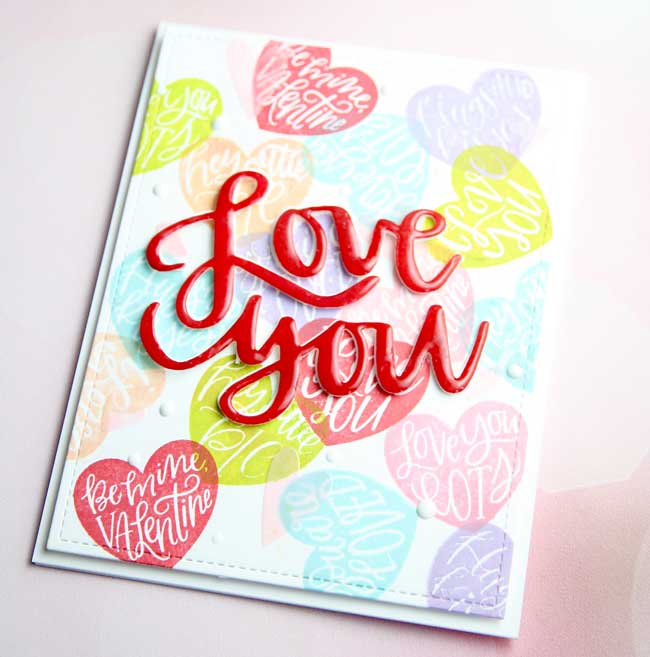
With the sentiment ready to go and the stenciled hearts dry, I adhered a thin layer of foam to the back of the conversation heart panel and then glued the panel to a slightly larger white card base. Next, I positioned the white “Love You” that was previously cut, onto the heart panel. Then, added slivers of foam tape to the back of the shiny red ‘Love You’, removed the release paper on the foam tape and pressed the red ‘Love You’ over the white sentiment, making it slightly offset so the white peeked through and the red ‘Love You’ was popped up.
Now, the card is nearly finished. The only thing left to do was to randomly add Nuvo Simply White enamel dots. Now, you can call it done! ♥
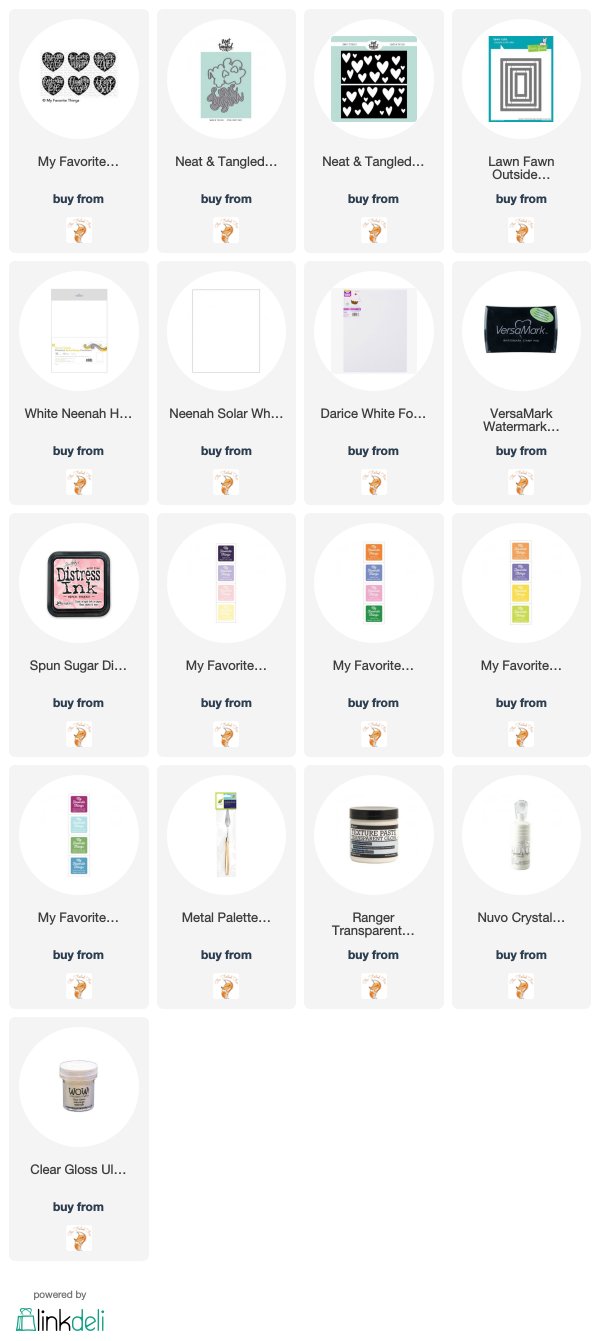
Goodies Used: