Making Two Holiday Cards In A Jiffy
HI there,
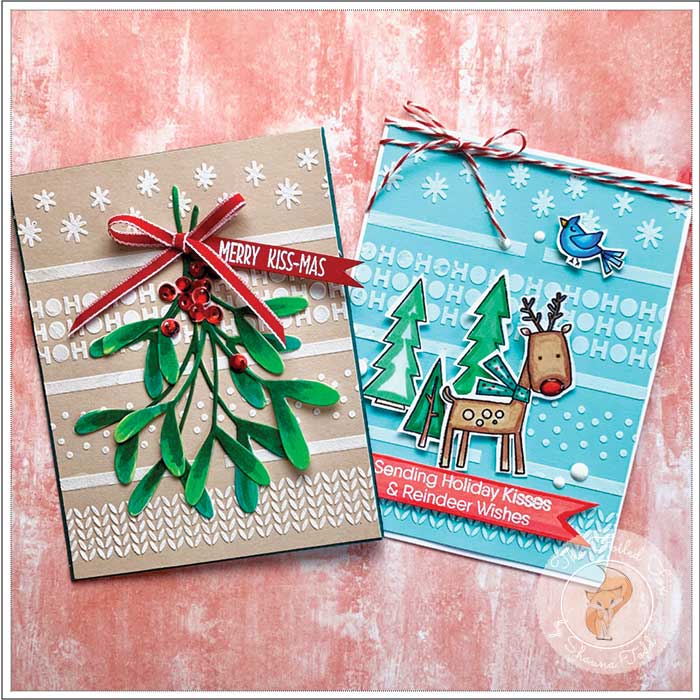
I am popping in with two quickie holiday cards that you can whip up in a jiffy! One is more traditional and the other has a bit of whimsy. Each of the cards uses the My Favorite Things Winter stencil to create a fun and festive background.
Let’s start with the mistletoe card. This design begins with a panel of Desert Storm card stock, MFT’s Winter stencil and Ranger Opaque Matte Texture paste.
With the stencil centered over the panel, the paste was spread evenly over the top with a palette knife, then gently peeled up and set aside to dry.
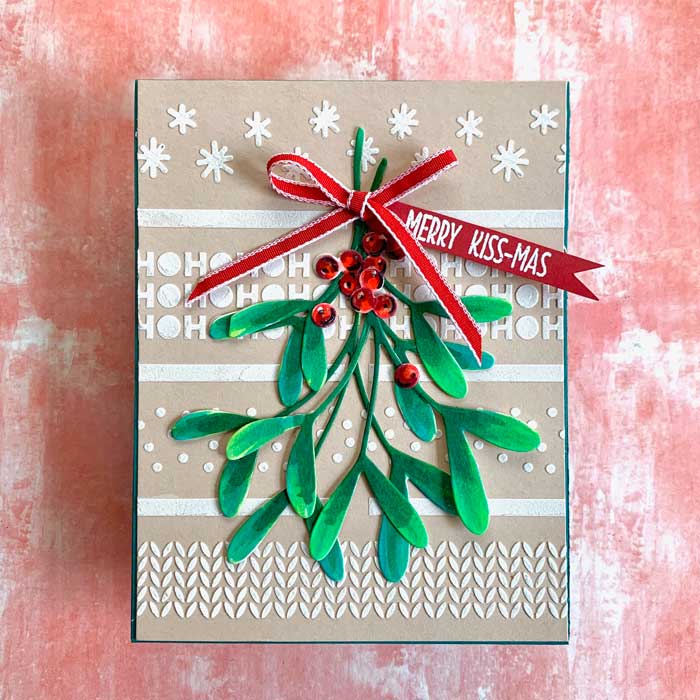
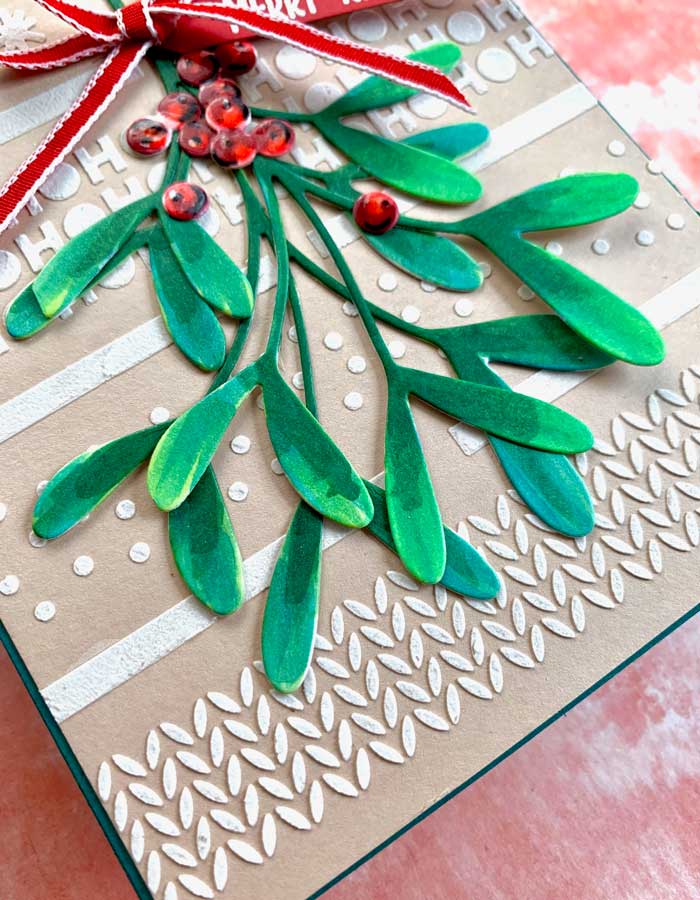
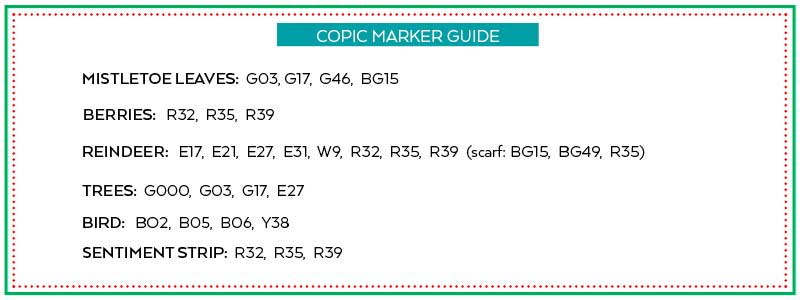
Next, I grabbed the Concord & 9th Mistletoe Messages die set and cut two mistletoe leaves and berries from Neenah white card stock. Before I separated the mistletoe leaves and berries from the card stock panel, I colored them with Copic markers (see marker guide below). This way I was not stressing or bending the delicate leaves or berries while coloring.
Can you believe it, the card is nearly done. All I had to do was make the sentiment strip and assemble.

To make the sentiment, I stamped “Merry Kiss-mas” from the MFT Sending Smooches stamp set using Versamark ink onto a strip of Peppermint cardstock, then heat emboss with WOW! Bright White embossing powder. Then, using an A2 dark green card base, I mounted the now-dry background panel, added the mistletoe, bow (made from narrow red ribbon) and sentiment.
VIOLA, the card was done – I think this sets a new record for speed for me!
~ ~ ~ ~ ~ ~ ~ ~ ~ ~ ~ ~ ~ ~
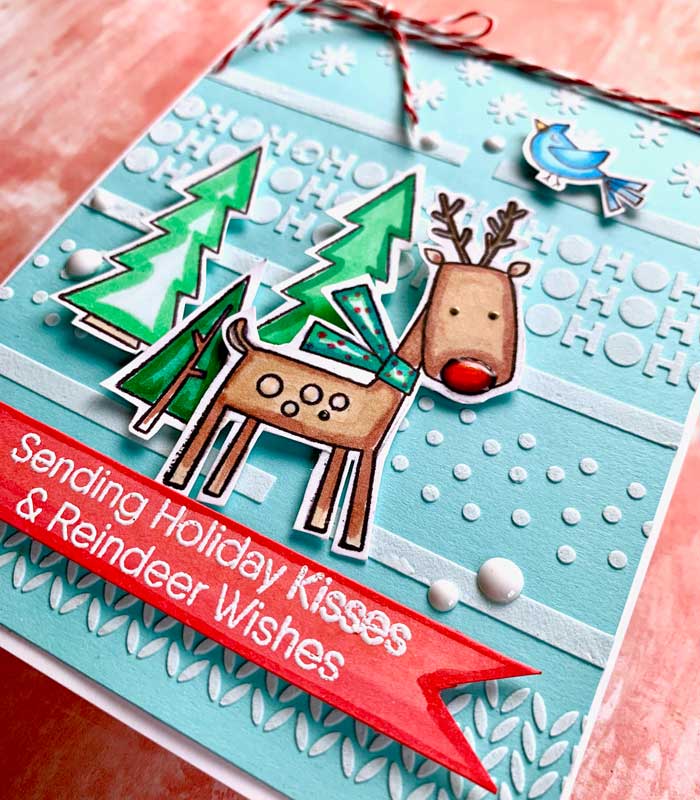
Moving on to the next card, I started the same way by using the same MFT stencil and spreading texture paste over a Robin’s Egg cardstock panel and set it aside to dry. Next, I stamped the reindeer, trees, and bird from the MFT’s Reindeer Games stamp set onto Neenah white card stock and colored them with Copic markers (see guide).

With the coloring done, the elements were cut out using the matching Reindeer Games dies and the now-dry background panel was adhered to a white A2 card base.
The reindeer, trees, and bird were arranged and stuck down with a bit of foam tape and the sentiment was stamped onto a strip of card stock that I had colored with R32, R35, and R39 Copic markers. I used Versamark ink for stamping the sentiment, then sprinkled WOW! Bright White embossing powder and heat embossed.

For a little extra pizazz, I added red and white twine tied at the top and glossed over the nose, eyes, and beak (and the red berries) with clear irRESISTible Pico Embellisher for a dimensional, shiny look. Lastly, I added a few white enamel dots.
And there we have it – nearly instant holiday cards ready to send! 🦌
Goodies Used: