Mosaic Happy Birthday
Hi Creative Friends,
A week or so ago I shared a ‘love you’ card with a colorful mosaic background. Since I had cut out the mosaic pattern from each of the colors used, I had oodles of pieces leftover! So, in an effort to be tidy and also use some of these pieces, I made another mosaic background. This time, it is a colorful and cheerful birthday card.

If you checked out my last mosaic card, then you would know that I cut out an A2 panel of each of my chosen colors of cardstock (see supply list below) using the Modern Mosiac die. I then cut an A2 panel from ordinary copy paper, centered the Modern Mosiac card front die over it, and ran it through my die cutting machine using the rubber mat I use for embossing. This gave me a base to mount the pieces on and an imprinted pattern to follow all at the same time!
This time, I was using some of the pieces that were left over so the look was a little different. The amazing thing is that you use six different colors for the mosaic. That means that you could make six different cards using up all the pieces you cut and each one would be a little different color pattern. That’s awesome! Just think of all the possibilities!
Anyway, to make the mosaic pattern, I started on a short end and arranged the different colored pieces to the top of my copy paper pattern until I had gotten to the other end and all the pieces in place. Once satisfied with the pattern, I carefully glued them down with liquid glue, making sure the intersections met cleanly with one another, and each piece was completely covered with glue.
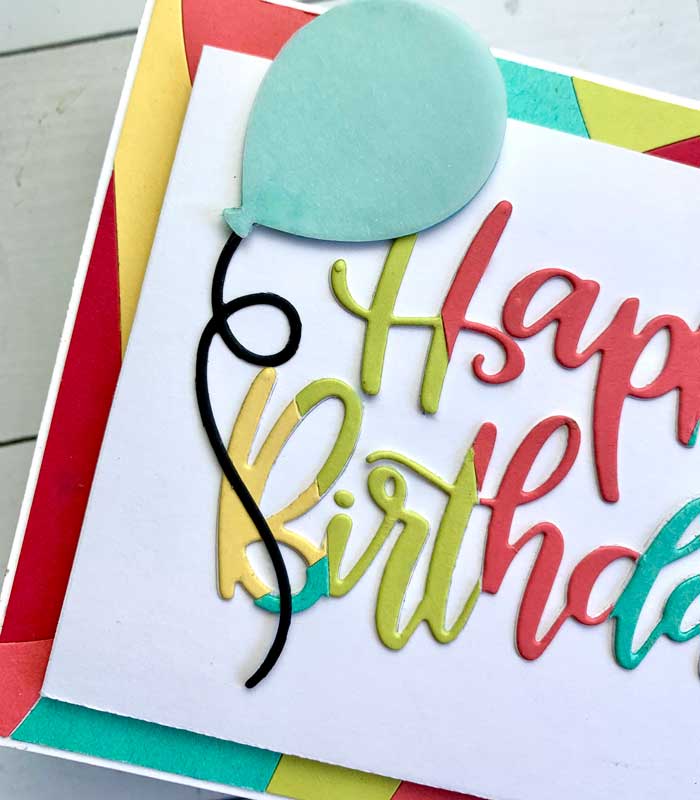
Once the glue was set, I mounted the My Favorite Things Happy Birthday die in the center and ran it through my die-cutting machine. I carefully removed the words so that the negative space was still pristine and intact.
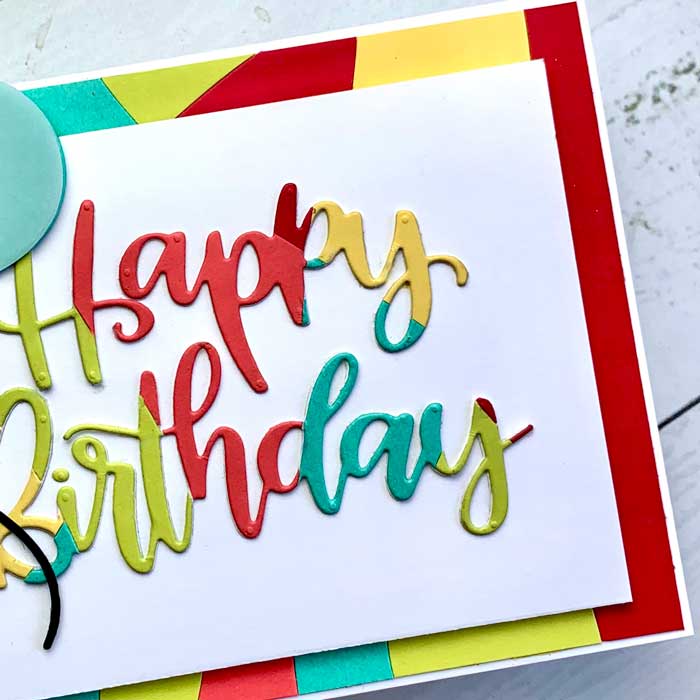
Now it was just a matter of mounting the mosaic border to a white card stock card base. I like to use Neenah 110lb. card stock for this. Then added another smaller white panel on top and popped it up with some foam tape.
Next, the mosaic ‘Happy Birthday’ was added. A ‘Pool’ blue and vellum balloon were each cut using the Lawn Fawn Party Balloon die set, along with a black cardstock ‘string. The vellum balloon was mounted on top of the blue one with a little invisible Mono Adhesive, then the whole balloon was added to the card front.
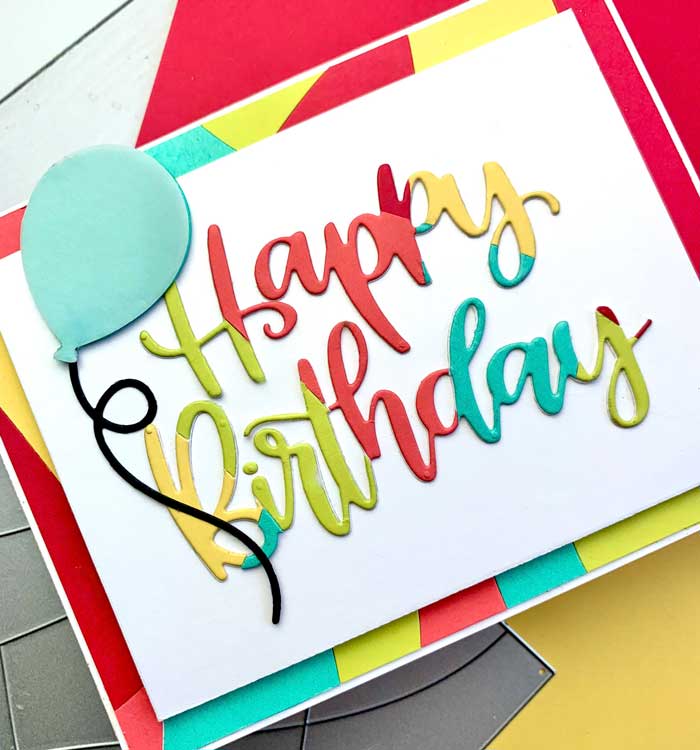
That finishes the birthday card. Just think, you can easily make 5 more from the mosaic pieces and have them ready for the next birthday on your list! ♥
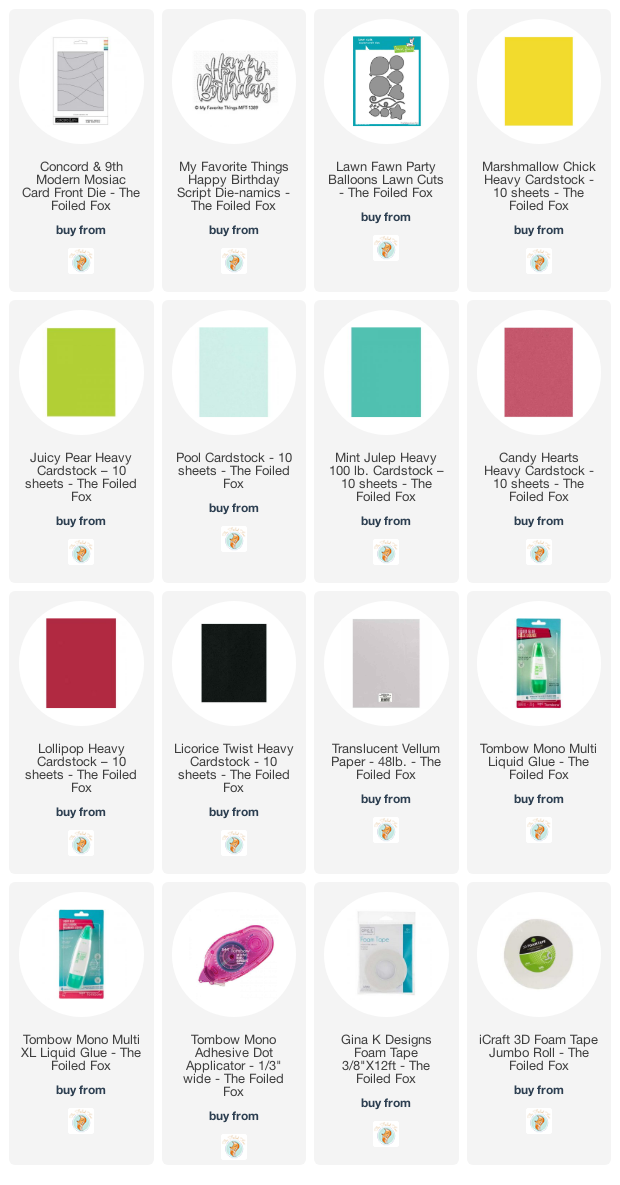
Goodies Used:
Sorry, the comment form is closed at this time.

September 22, 2021
Stephanie Clapper
What a great idea and your technique really makes it so much easier. And like you say Shauna, there are soooo many possibilities. I really like how your card turned out! 😊
September 22, 2021
Shauna Todd
I hope you will give it a try! It is a lot of fun!