Holiday Poinsettia Flowers – 2 ways
Hey, hi there,
This is Amber and I am super excited to be back to share with you a 2fer – two different cards using the same PoppyStamps Poinsettia die set. This die set can be used to stack the layers for a truly dimensional flower or keeping them separate for a simpler flower. Take a look how each card has it’s own flavor and dimension.
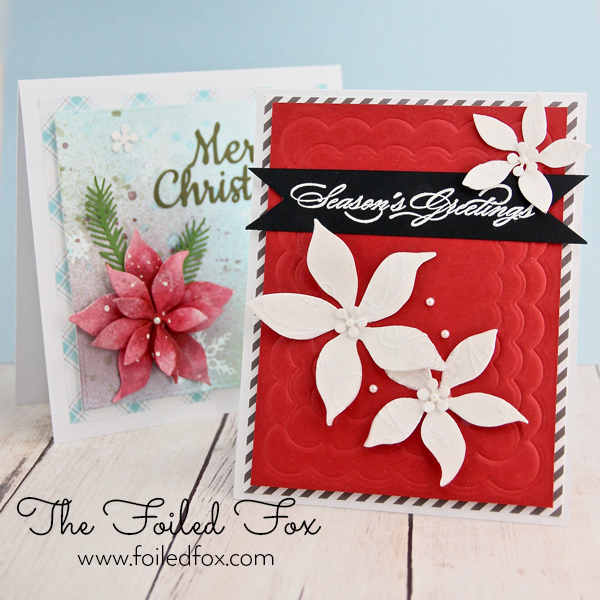
Let’s dive in. First up is the red and white card.
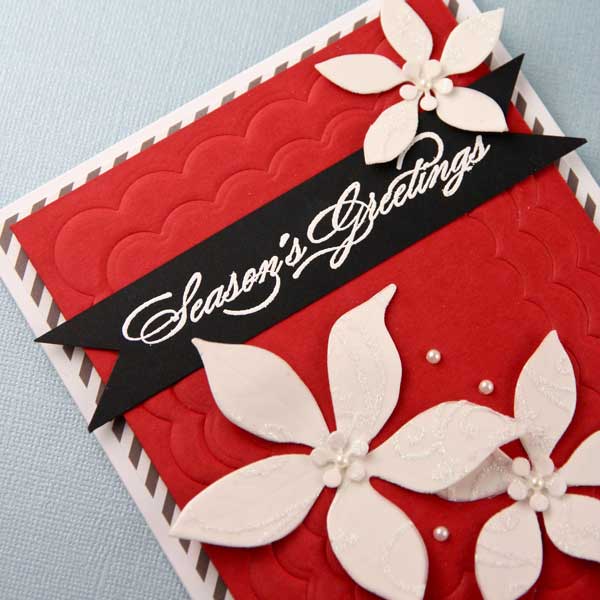
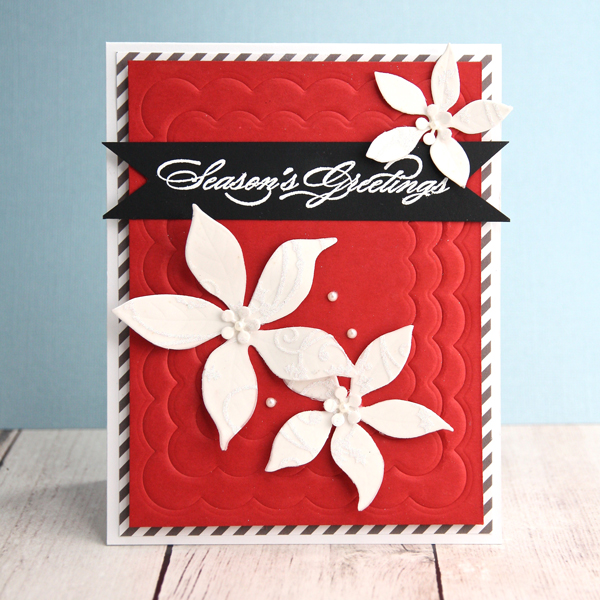
This card was fast and simple to come together with using a few techniques. Starting with the red panel, it was easily created with the use of the Scallop die set by Neat & Tangled. I nested each of the scalloped dies in this set onto a piece of Peppermint card stock, kept them in position with a little low tack tape and ran them through my Big Shot die cutting machine using a rubber mat. Placing the rubber mat under the paper while die-cutting prevents the die from cutting through the paper. A tip for good results is to use a heavy weight paper so it just embosses. The card stock used here is 100lb. – one of my favorite weights of paper!
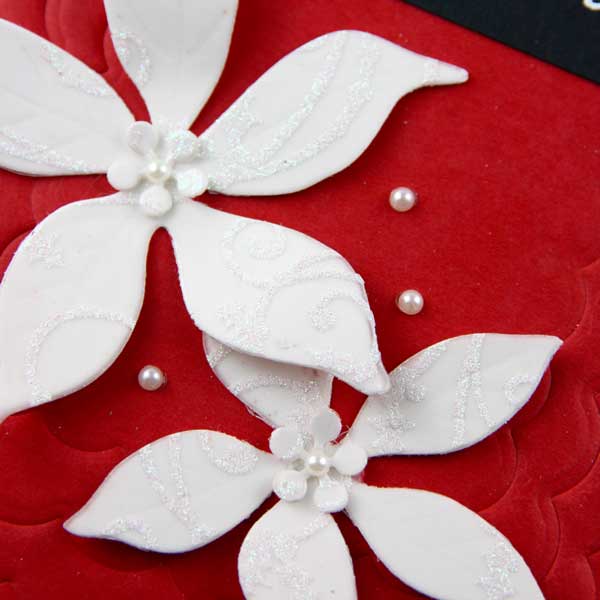
Next, I cut the flowers with the Poppystamps Poinsettia die set. I originally cut them with the gorgeous Glitter Holly Flourish paper. I just loved this paper with its raised glittery pattern! But after they were cut, I discovered that just the vellum alone was not enough impact. So…I cut another set of flowers using white card stock that had a layer of Stick-it double-tack paper applied on the top. After the flowers were die-cut, the release paper was peeled off and then the vellum flowers were layered on top. Of course, you can be smarter than me and start with the white cardstock, add the Stick-it layer and apply the Glitter Holly Flourish paper and cut once through all the layers. I added the centers and a little pearl embellishment for the centers. You can really see the beautiful detail of the paper.
All that is left now is the stamping the sentiment with Versamark ink onto heavy black card stock and embossing it with white embossing powder and assembling the card. Add the diagonal black striped paper to the white card base, pop-up the red panel with a layer of foam sheet, adhere to the striped layer, position the flowers and sentiment and you are done. Oh, I added a few more pearl embellishments for good measure.
••••••••••••••••••••••••••••••••••••••••
On to the next card …
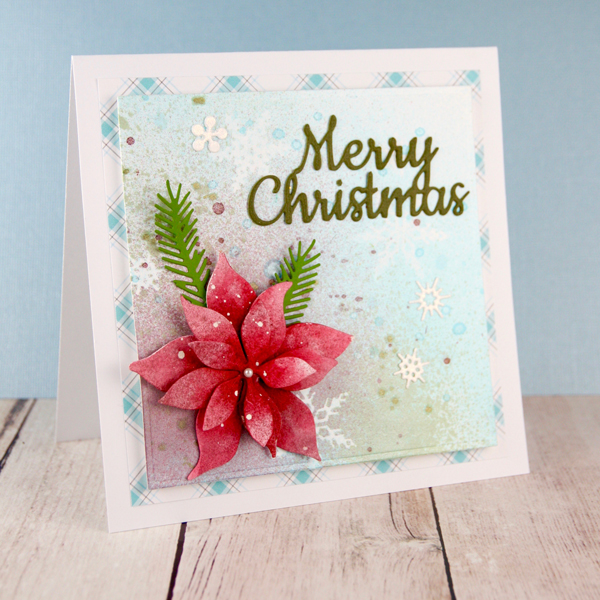
In contrast from the last card, this one has the soft pastel colors of Christmas. I started by making the flowers. They were cut using the same Poinsettia die set and a piece of watercolor paper splattered with masking fluid and allowed to dry. The flowers were then watercolored in a lovely red-pink and set aside to dry.
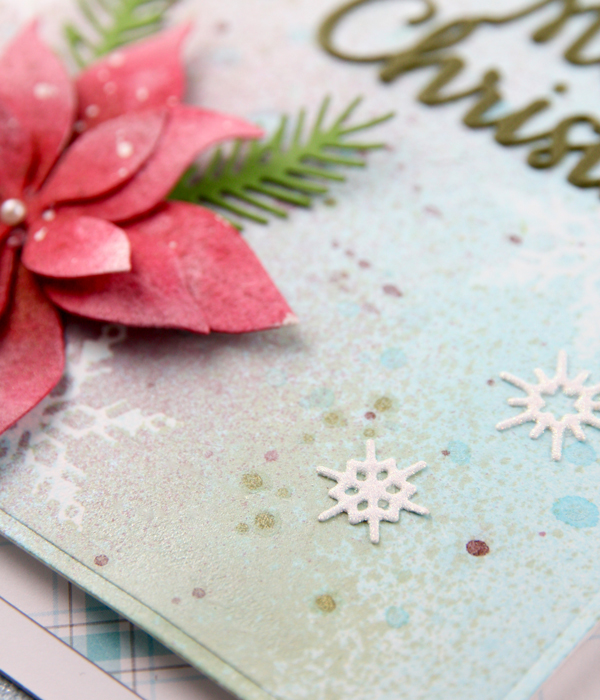
While the flowers were drying, I die cut some snowflakes from masking paper, adhered them to a square panel of card stock and lightly spritzed some Shimmerz sprays. I started with the Jeni B Blue and then spritzed a burst of Quit Er Wine-N Vibez spray and added some Bamboo Leaf for green in the corner. These were very light spritzes so watercolor paper was not necessary. Then some splatters of the same colors were added.
After the panel was dry (which was in almost an instant), I peeled off the snowflake masks and revealed the snowflake designs underneath.
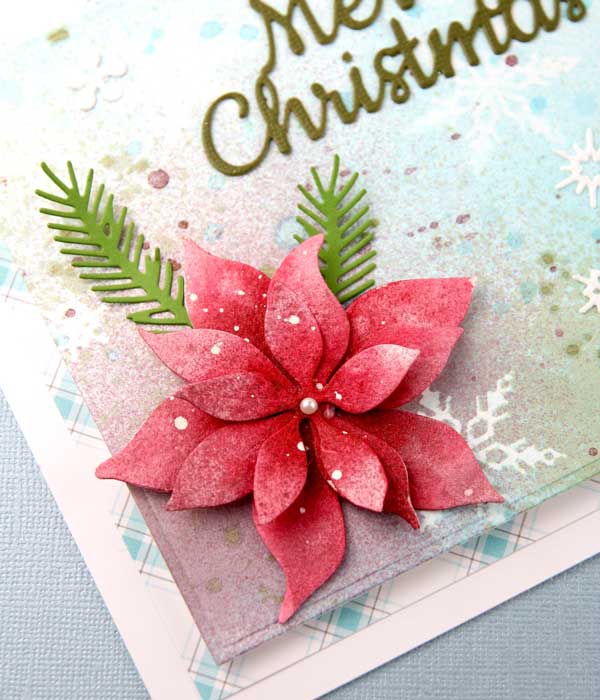
The flower pieces were dry by then, so it was time to rub off the masking fluid splatters to reveal the white specks and layer the flower pieces on top of one another. I finished it off by adding a pearl embellishment for the center.
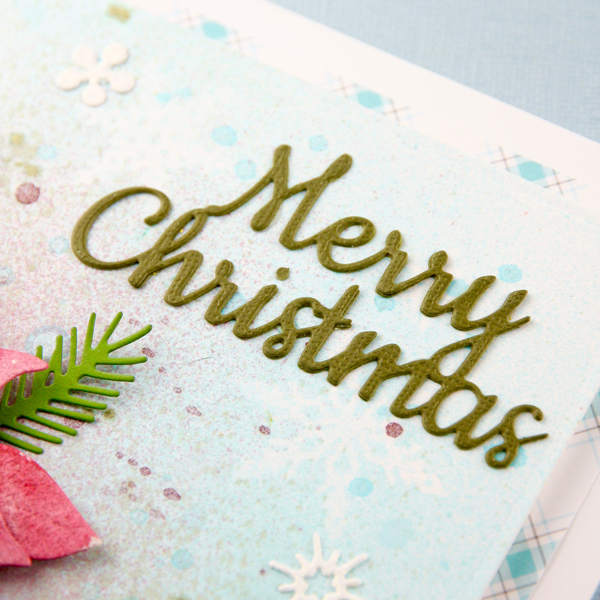
The only thing left was to die cut the Merry Christmas, a few sprigs of pine from green card stock and some white glittery snowflakes – then we will be off to assemble.
Starting with a white card base, I added a plaid layer from the Perfectly Plain Winter paper pack from Lawn Fawn. Next, layered the main, spritzed panel (after adding a foam square to pop it up) onto the plaid paper, Then added the sentiment, flower, green sprigs and extra snowflakes. YAY! it’s done. Below, you can see all the layers and the glittery snowflake additions.

Supply List:
 Poppystamps |
 Neat & |
 Penny |
 Impression |
 Impression |
 Neenah 110lb. |
 Neenha |
 Peppermint |
 Dots & |
 Lawn |
 DCWV |
 Papermania |
 Masking |
 Stick-It |
 Mask |
 VersaMark |
 Hero Arts |
 Jeni B |
 Shimmerz |
 Shimmerz |
 White
|
 ATG |
 Multi |
 Self |
 Kuretake |
Sorry, the comment form is closed at this time.

November 17, 2016
Cheryl Robertson
Great cards! I love poinsettias.
November 18, 2016
Kathy Schweinfurth
Your cards are so beautiful! Love the different looks you created 🙂
November 18, 2016
Denise Bryant
Gorgeous cards! Love both of these pretty poinsettias! The layered white version is so elegant and the red one is lovely! Beautiful details on these fabulous cards!