Posies for Mom
Hi there,
We are well into Spring and for most of us, the flowers are blooming… just in time for Mom. Here is a card filled with bright and cheery flowers from the My Favorite Things Springtime Blooms stamp and die set.
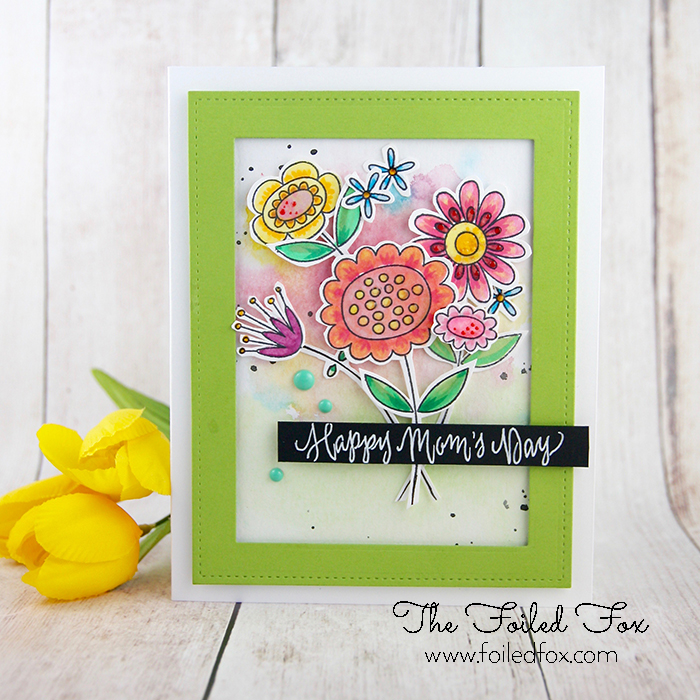
To start, the background was created using watercolor paper and watercolor paints. This was easily accomplished by dropping loose, watery colors onto the watercolor paper that had been first brushed with clear, clean water. After the paint had dried a bit, black paint was splattered.
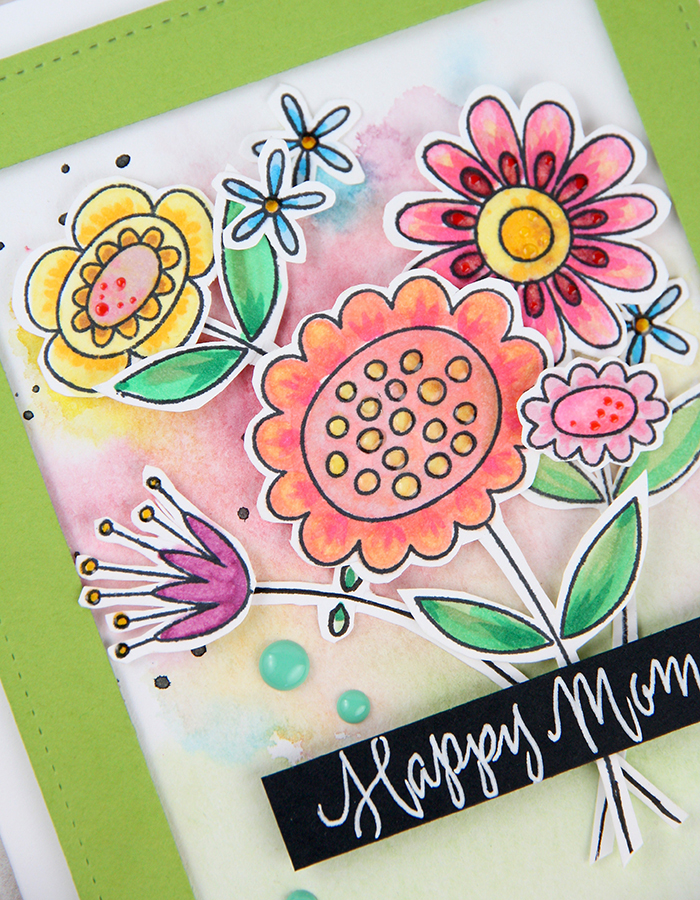
Next, I stamped all the flowers with Memento Tuxedo Black ink. You will notice in this stamp set that there are only a few flowers with stems. Since I wanted to have it look like a bouquet of flowers, I stamped a few more of just stems and lengthened them by drawing in a longer stem with my Pigma Micron marker. I used the .20mm – 005 size since it draws a fine line!
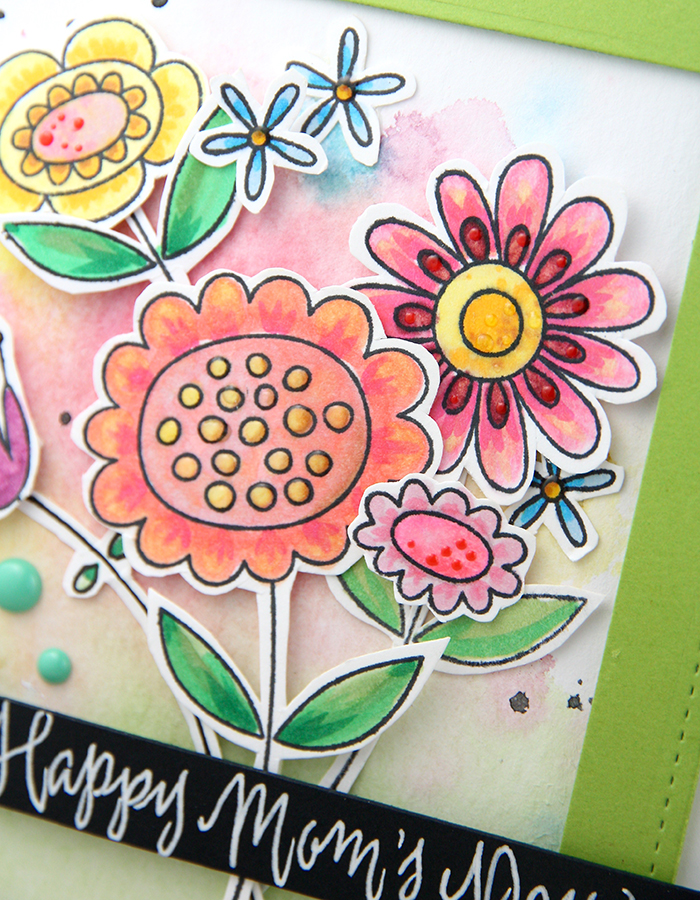
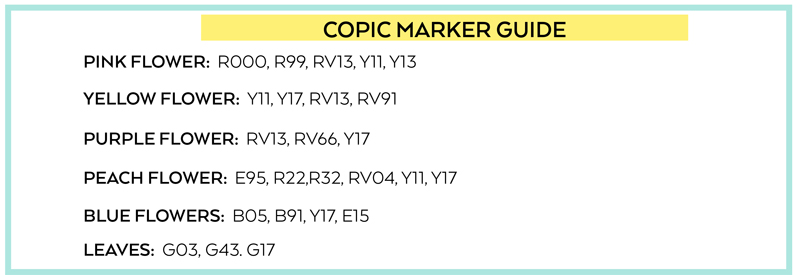
All the flowers were colored with Copic Sketch Markers. I just love the bright colors and the unique blending you can achieve with these wonderful alcohol markers. Check out the list of markers used for each flower in the guide below.
After all the flowers were colored, they were cut out. This set has a complete Die-namics set (dies) for easy cutting using your die-cutting machine. You will want to fussy cut the longer stems though so the dies won’t cut the stem too short.
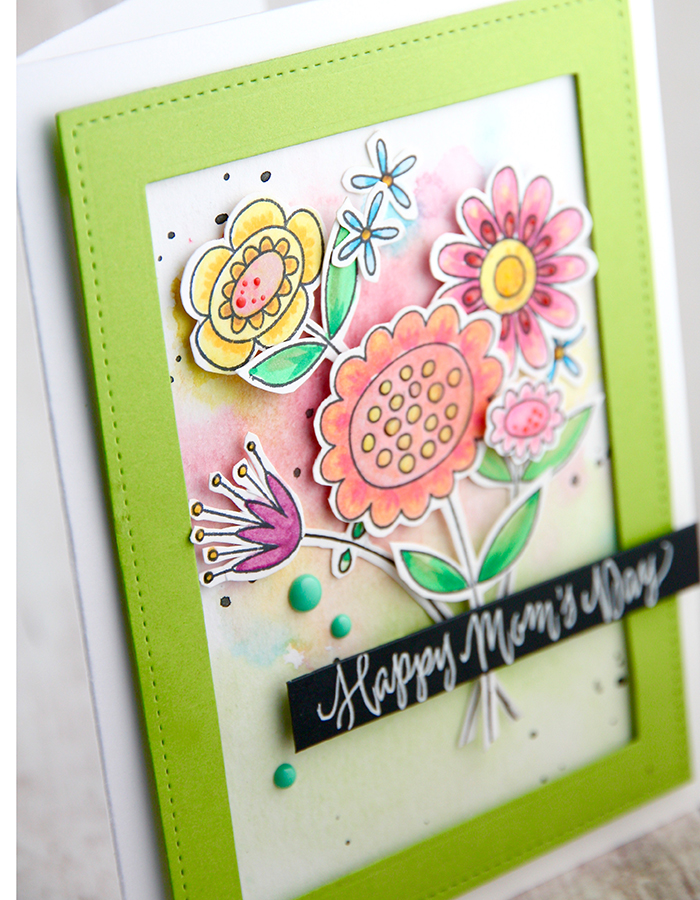
A green border frame was created using two of Lawn Fawn’s Large Stitched Rectangle Stackables. I like using these frames. The largest frame is a full A2 size and gives you a large opening for your flowers to fit. Foam tape was added to the back of the frame and the adhered to the watercolored background.
Next, the flowers were arranged and positioned with a little glue, but mostly with foam tape for dimension.
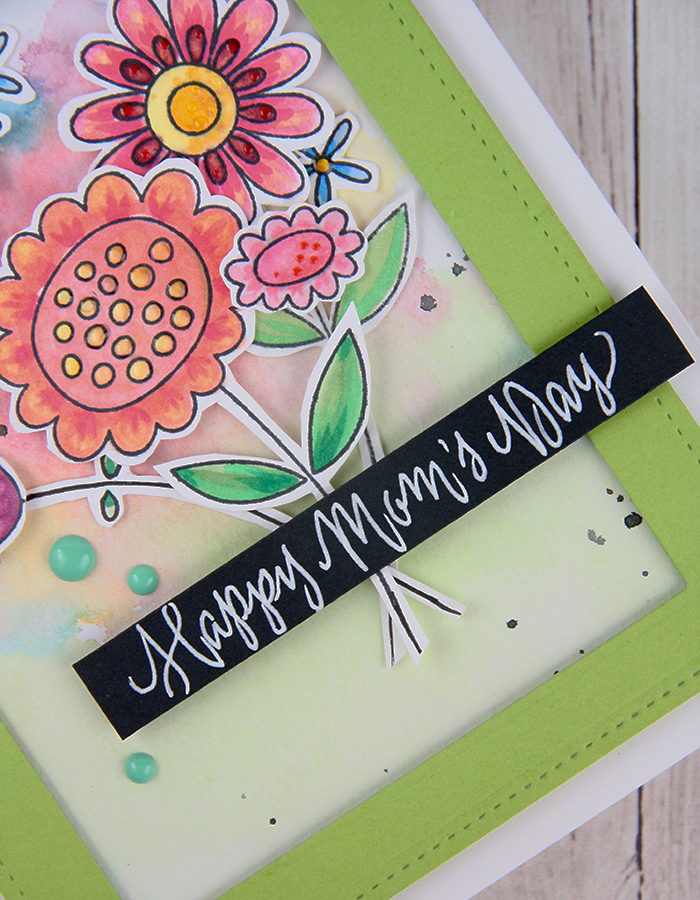
Now that the frame is attached to the background with the flowers, the whole part was adhered to a larger white card base. I didn’t have the sentiment I was looking for, so I trimmed a piece of Licorice Twist black card stock (I love this card stock, it is a fantastic weight @ 100lb.) to 1/2″ wide and just simply wrote “Happy Mom’s Day” with a white gel pen.
The sentiment was attached with foam tape. The final touches were enamel dots from the Hooray Adhesive Enamel Shapes by My Mind’s Eye and Nuvo crystal and jewel drops were added to the center of flowers for extra fun and embellishment.
… and VIOLA, a mom’s day is done.
I hope you have enjoyed this project. I will see you again real soon.
![]()
Supply List:


