Sending Lots of Love
Hi there,
Happy New Year to you all! We want you to know that we so appreciate each and every one of you and we are sending you lots of love and good wishes for 2018!
We want to make this year extra special for each of you so all of us here at The Foiled Fox have been taking a little extra time planning fun things for the year!
We have lots of stellar guests, how-to videos, challenges, special offers and giveaways scheduled for this year so the new year is shaping up to be a good one. We hope to see you at each of our new projects and events!
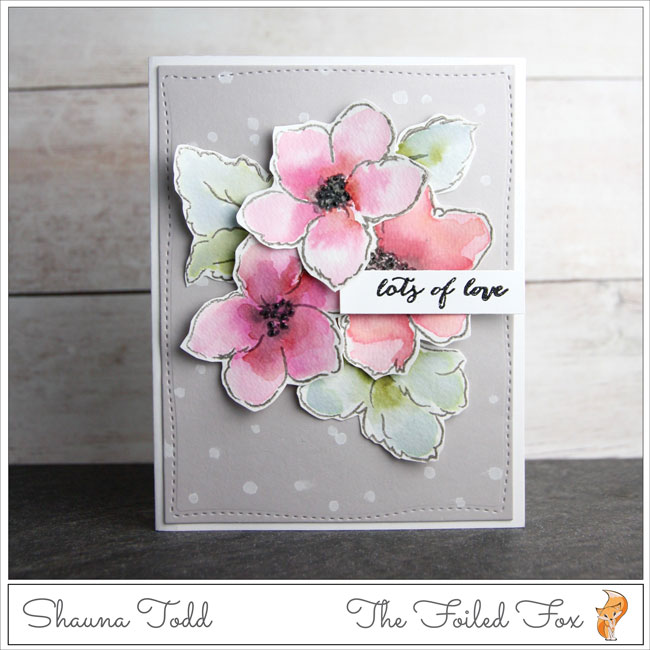
So, let’s jump in with this new project by first cutting a panel from Neenah Antique gray cardstock, using the Hand Stitched Rectangles by Whimsy Stamps. Then, using the Snowfall stencil by My Favorite Things, Lawn Fawn Yeti stamp pad, and an inexpensive makeup sponge applicator (click here or see in supply list below), bunches of dots were colored onto the panel.
Just a hint, the stencil is heavily populated with multi-sized dots. I did not color them all in since I didn’t want to overpower the panel. Once done, the panel was set aside to dry.

Next, the flowers and leaves from the Altenew Hibiscus Bouquet stamp set were stamped onto watercolor paper with Versafine smokey gray ink and then watercolored. I used a lighter weight watercolor paper than usual (Canson 90lb.) so the flowers and leaves would naturally curl a little when colored.
To color the flowers and leaves, I squeezed small puddles of each color of distress stains on a hard acrylic sheet and used that as my color palette. For the flowers, I used Worn Lipstick, Picked Raspberry, Aged Mahagony for one flower and then changed it up a bit for each flower by adding Seedless Preserves instead of Aged Mahagony and added a bit of Dried Marigold for the last flower. Black Soot was used for the centers of all the flowers and the leaves were colored with Iced Spruce and Forest Moss.

To make the water coloring easy, I first brushed on clean, clear water onto a flower and then added the darkest color in the center, allowing the water to diffuse into the outer edges of the flower. Then lighter colors were added to other parts of the flower as needed. When they were nearly dry, I added black into the center. I continued with this technique, coloring each flower and leaves separately.
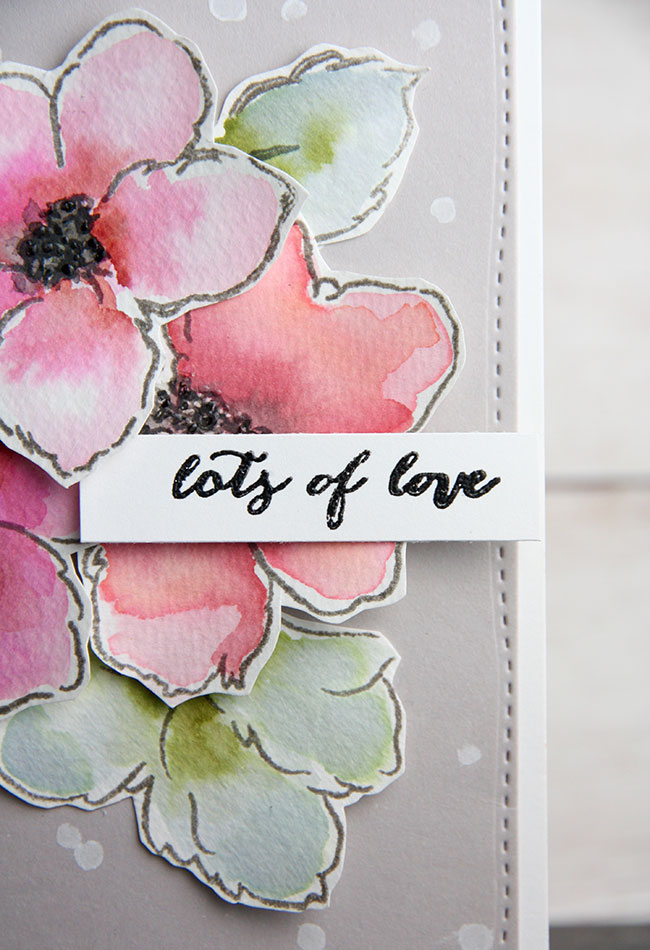
While the water coloring was drying, I stamped the sentiment onto white card stock with Verafine Black Onyx ink and clear heat embossed it. Next, I fussy-cut the flowers and leaves, leaving a narrow border beyond the stamping line. Now, it is time to assemble.
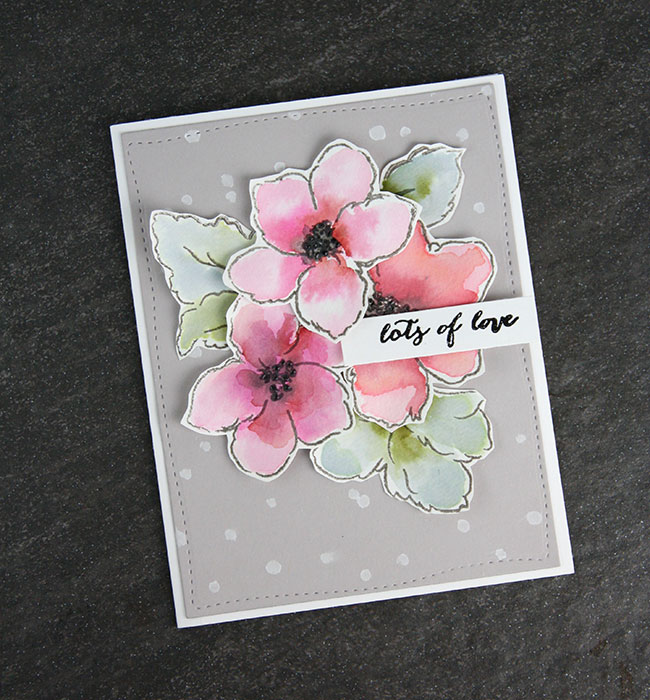
Starting with a slightly larger white card base, the gray polka-dotted panel was applied to the top. Next, the flowers and leaves were arranged and adhered with a little foam tape for the flowers and attaching the leaves with a tape runner. The final step was to apply the sentiment with foam tape and add clear beads of IrRESISTilbe Pico Embellisher to each of the flower centers for extra dimension and shine.
And there we have it, a pretty little card ready to spread some love to your favorite people.

Supply List:
 Altenew |
 My |
 Penny |
 Neenah |
 Neenah |
 Canson |
 Whimsy |
 Versafine |
Hero Arts |
 Worn |
 Picked |
 Aged |
 Tim Holtz |
 Dried |
 Iced |
 Forest |
 Black |
 Lawn Fawn |
 Versafine |
 Makeup |
IrRESISTible |
 Foam |
 Tombow |
Sorry, the comment form is closed at this time.

January 9, 2018
Lisa T
What an absolutely beautiful card! Happy New Year to all of you at The Foiled Fox ☺
January 9, 2018
Shauna Todd
Thank you so much for your kind words!! Best wishes for the New Year!
January 12, 2018
SuzyQ
Lovely card! It exudes caring and beauty. Love the colors and composition. I am inspired.