Snowy Winter Magic Scene
HI there,
I am sharing another way to use the versatile Winter Magic kit. You may have seen Lisa Tilson’s rendition, which was awesome (if you missed it, click here). Here is another.
I used the charming cottages and other accessories to create a winter scene. You get to decide if you prefer a clear winter day where you want to go out and play in the snow or a blizzard-y day to stay inside with a cup of cocoa. What do you like best?
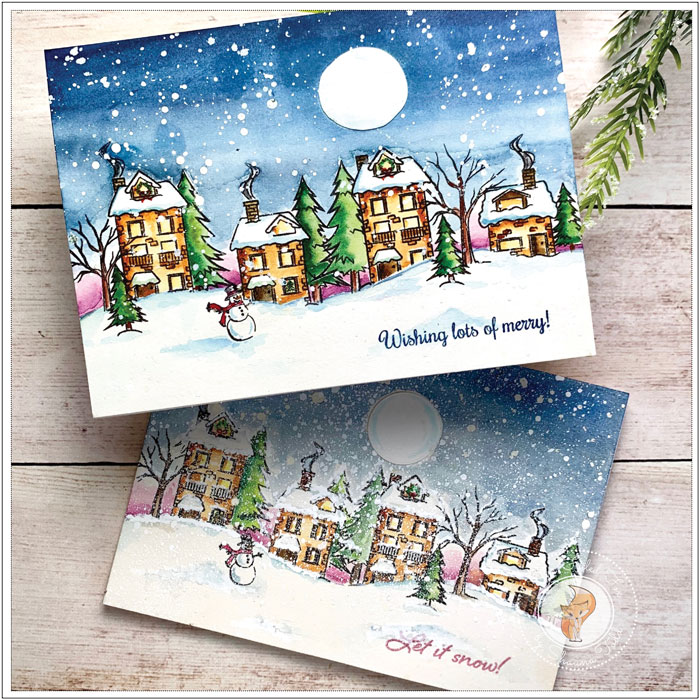
Both of these designs use the same scene with the same elements and watercolored. The only difference is the amount of snow. I couldn’t decide which I liked best so I am sharing both so you can decide.
I started off making the clear snowy day one first. So I began with a hot-pressed watercolor panel that I had splattered with masking fluid and let dry (really important to let dry thoroughly). Though I added lots of snow splatters later, I still wanted the ones that show up when you are all finished and the masking fluid is removed. There is something special about those!
![]()
Once the masking fluid was dry, I created a mask for the snowbank, then stamped the cottages with Versafine Black Onyx ink. Next, I made masks for the cottages by stamping them onto masking paper, cut them out, then placed them over the top of the houses. Now I was able to stamp the evergreen trees. By doing this, it placed the trees behind the cottages.
The masks were then removed, and the bare trees, a small evergreen, and the snowman were stamped, all using the same Versafine Black Onyx ink.
![]()
The scene was almost ready to paint but I wanted a moon. Now, this is where I messed up. I made a mask and burnished onto the panel. But in the end, the paint had seeped under the mask and my moon was only partially there. You will see later how I saved the scene but for now, here is the moral of the story. Paint the moon with masking fluid at the same time you are doing the splattering of the fluid, then let it dry. That way you are assured that there is no seepage… lesson learned!
Ok, let’s get on with the painting. I used Daniel Smith watercolors for this but you can use whatever ones you have on hand. I started with the sky by first brushing on clear water, then adding dark blue paint to the top and spreading it toward the cottages. I kept adding blue until I was satisfied with its intensity.
Once I got to about midway with the cottages, I switched to painting the rosy color at the snowbank, then worked up to meet the blue.
![]()
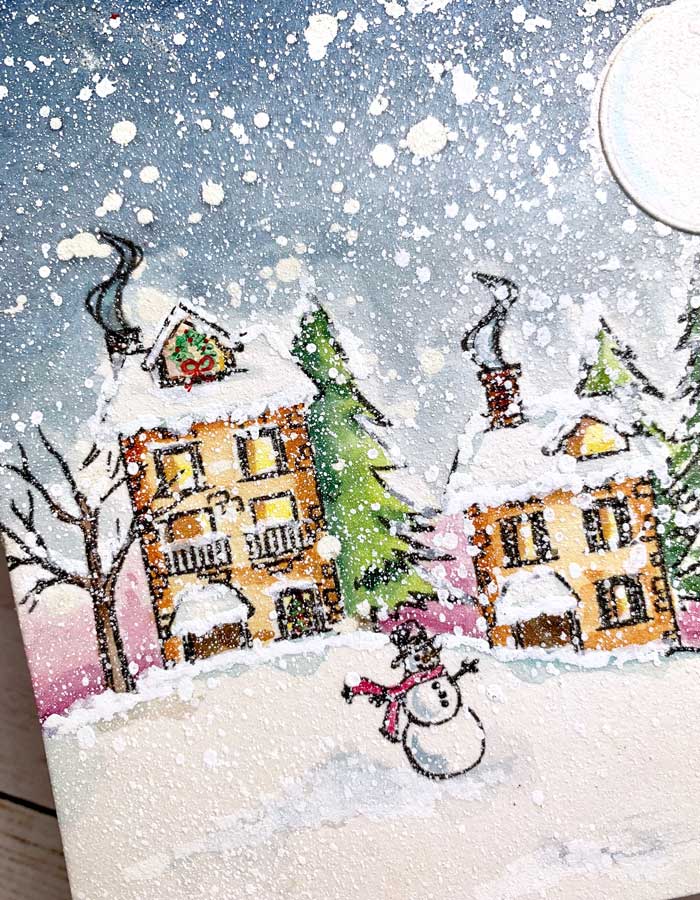
Once the sky was finished, with a small brush, I went on to paint the cottages and trees. Then, a little aqua-y blue was added at the snowbank line and a few other places to show mounds of snow here and there. I also added a few wreaths with a tiny brush and paint, in a few windows. Luckily you don’t have to be exact with the wreaths, just the essence of them works.
When the paint was completely dry, I rubbed off the masking fluid and removed the moon mask (here is where I found my moon mess-up). With the moon mostly gone, I cut out a moon from the same type of watercolor paper and glued it on top. To flatten it more, I ran it through my die-cutting machine.
This next step is where the two scenes differ. With a watered-down mixture of Dr. Ph. Martin Bleedproof white ink, I splattered lots of white ink on the whole scene, plus painted on more (less diluted) at the edge of snowbank and trees.
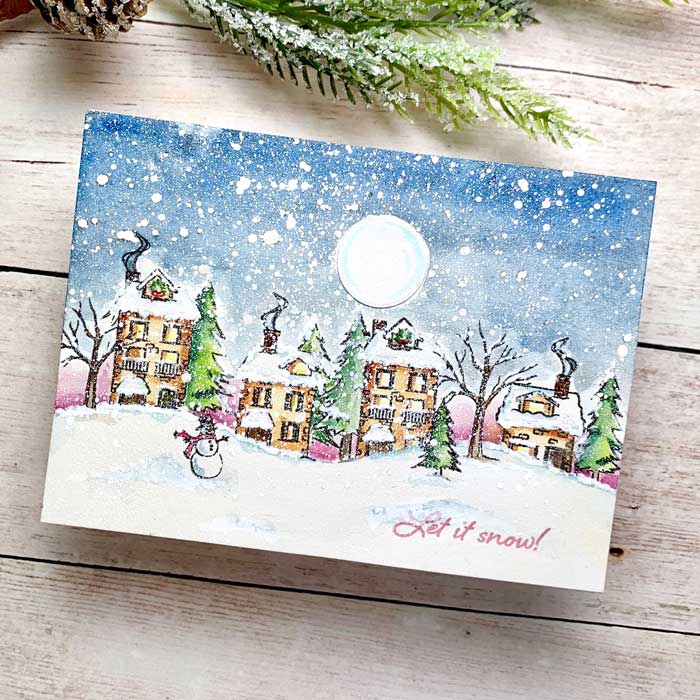
For the blizzard-y scene, I just added this watery mixture of ink to a mini mister, held it up high, and misted the whole panel until I was satisfied.
To complete, I stamped the sentiment. One with Enchanted Evening ink and the other with Lavendar Moon then mounted each on a white card base.
And there we have it, all done. Please let me know which you prefer, I would love to know.
Goodies List:

Sorry, the comment form is closed at this time.

December 4, 2020
Kim F
They are both great. But the blizzard is my favorite
December 4, 2020
Shauna Todd
Thanks for sharing! It is a real toss-up for me.