Thanks for Bee-ing There
Hello Everyone,
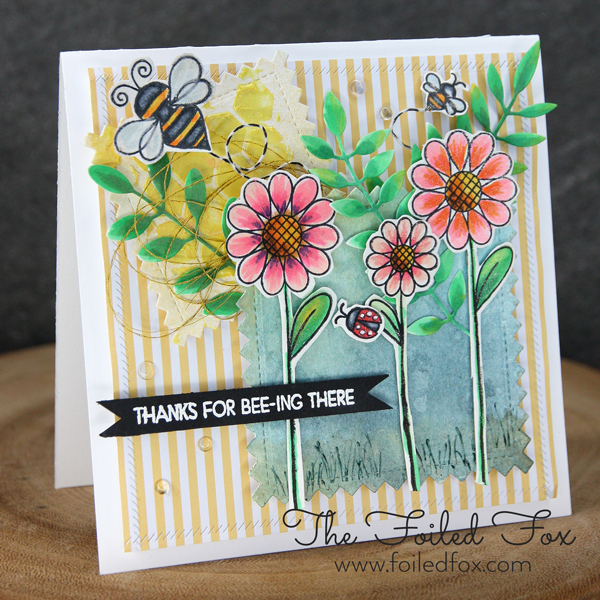
I couldn’t let the summer flutter away without sharing this card. Admittedly, I got a little carried away but nonetheless, I loved the cute saying and this kind of magical garden scene this card created, using the My Favorite Things LJD Fly-By Friends stamp and die set.
Usually, I mention every step in the description. With this card, I would be at it all day if I did so I am going to just ‘fly-by’ the steps. If you want more detail on something, please just shoot me an email or put it in the comments. I will get right back to you.

Let’s dive in.
This is a 5.5″ x 5.5″ folding card base made from Neenah Solar White 110lb. card stock. A yellow and white striped panel from the Rainbow Stripes paper pad by MFT was cut to 5″ x 5″ and the die cut edge was created by using the Lawn Fawn Stitched Borders. This first layer is adhered to the base by white foam. To do this, I cut a foam square slightly smaller than the 5″ x 5″ square and applied double-sided tape using my ATG (Advanced Tape Glider) applicator. I have a love/hate relationship with this tool. It is absolutely marvelous for applying double-stick tape (and boy does it stick!) but sometimes it doesn’t behave… then I want to throw it out the window. But so far, I am still using it and it is behaving – YAY!
My Favorite Things came out with these handy Die-namics Stitched Pinking Edge Square STAX about the same time as this stamp and die set. I thought they were a marriage made in heaven. So, using 2 different sizes, I cut 2 squares from watercolor paper. With the larger square, I spritzed it will some of my very favorite spray paints, Shimmerz Paints! I will list them at the end in the supply list, along with all the supplies used throughout. If you haven’t tried the Shimmerz Paints, you must! They are so beautiful and shimmery. I always use a few complimentary colors to add depth and interest. In this case, I used the greens at the bottom and the blues at the top.

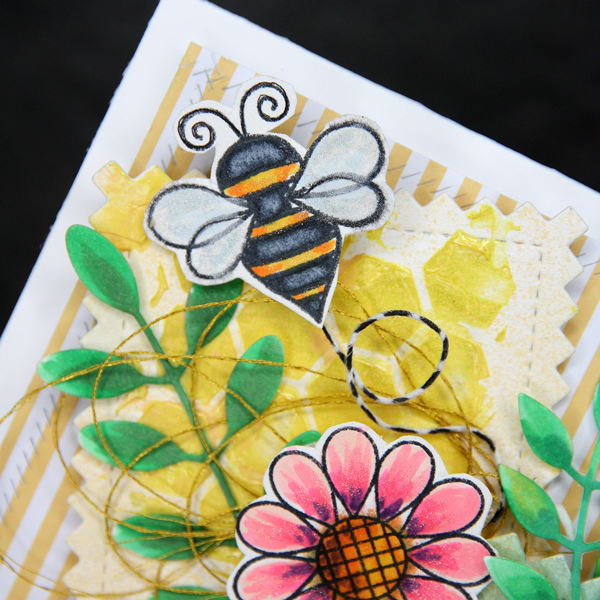
With the smaller square, I used Shimmerz Paints Lemon Drop Dazzlerz texture paste. Their texture paste is soooo creamy and beautiful. Using a palette knife and a honeycomb stencil, I spread the texture paste over the stencil. The honeycomb pattern was my interpretation of their beehive.
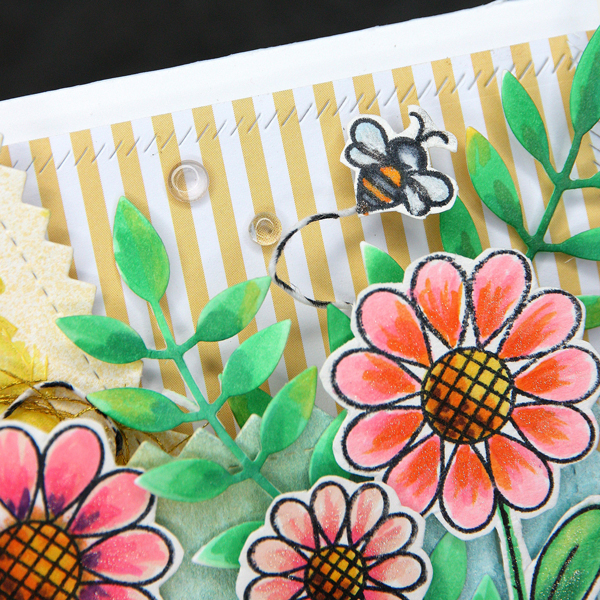
The flowers and the bees were stamped on Neenah white cardstock with Memento Tuxedo Black and die cut with the matching die set. I colored these with Copic markers and added a bit of shimmer by using the Wink of Stella pens for the petals and the wings of the bees.

The foliage I cut out in watercolor paper using Penny Black’s Leaves Creative Die Set. I use this set so much. I am tellin’ ya, it is the best all around foliage set around! I colored the leaves with watercolors.
With all the pieces done, the assembly was a snap! On top of the yellow and white striped paper, the larger, now dry, pinked edge square was placed, with the ‘foliage’ tucked under and around. The honeycomb square was positioned and tucked under the larger square a bit, sticking it down with a little double-sided tape.
For the finishing touches, the flowers and ladybug were positioned with glue dots, tousled gold DMC thread was nestled in and finally the bees. I really wanted the bees to look like they were flying, so I attached white florist wire to the back of each bee, marked on the dotted black line with a marker on the wire to show the path of the bee and placed them where I wanted them.

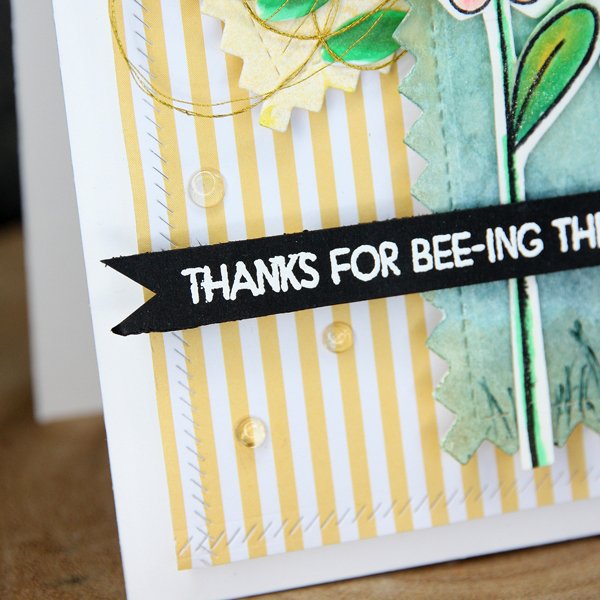
The only thing left was the sentiments. With the “Thanks for bee-ing there” stamped with Versamark ink on black card stock and heat embossing with white embossing powder, then the ends cut to a banner edge, the card was ready to go. Oh, wait… you have to have the dew drops… and the clear enamel dots were placed. Now, it ‘s done.

Supply List:
 Queen & Co |
Sorry, the comment form is closed at this time.


August 24, 2016
Sue Malone
GREAT CARD. LIVELY AND UPBEAT COLORS, GOOD VARIATION IN LEVELS AND TEXTURE! MAKES ME WANT TO SIT DOWN AND GET TO WORK ON MY OWN VERSION. I DEFINITELY NEED SOME SHIMMERZ PAINT/INK. IT RENDERS AN UPSCALE QUALITY TO THE OVERALL LOOK. HOW MANY COLORS DOES IT COME IN?
August 25, 2016
Shauna Todd
Thanks for the kind words. There are lots of colors. Stay tuned, they all will be on the website soon.