Hi Everyone,
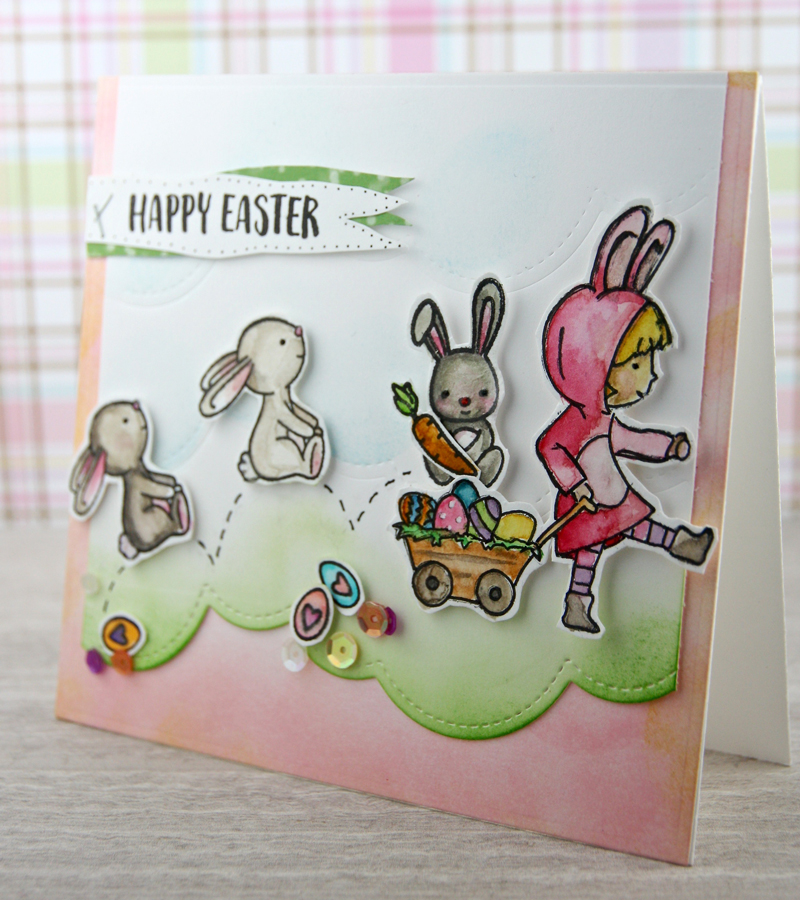
I am excited to share this fun and whimsical Easter card made using the Cottontail Cuties stamp and die set by Neat & Tangled. This stamp set is sooo cute. It has all the makings for a fun, cheery Easter card with the adorable bunnies and colored eggs.
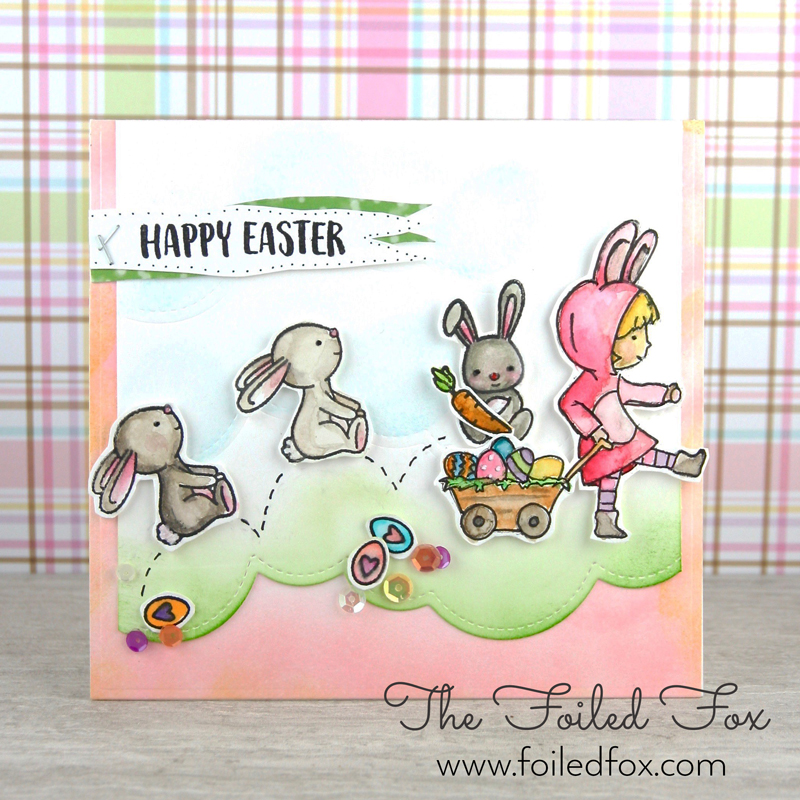
There are so many things you can make with this stamp set. A playful Easter scene is the one I chose for this card.
•••••••••••••••••••••••••••••••••••••••••••••••••••••••••••••
The card starts with a square white card base that has Spun Sugar and Wild Honey distress inks blended onto the front, making the colors deeper on the bottom and gradually lightening the color as I worked my way to the top of the card front. It was set aside for later.
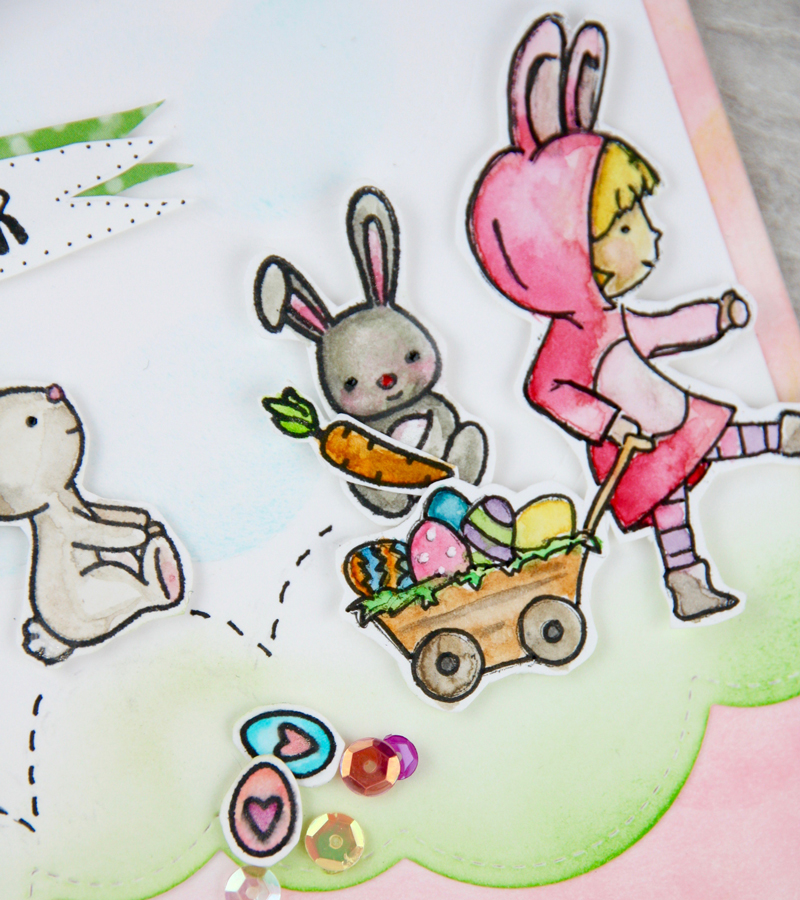
Next up, was the cutie little girl, bunnies and eggs. I chose to watercolor all of these creatures and props so they were all stamped onto watercolor paper using Versafine Onyx Black and then watercolored. After they were dry, I cut them out with the coordinating die set.
Hint: You might have noticed that the little girl is marching to the right and not the left. I wanted the girl and the bunnies to all head in the same direction so it required a little trickery. Well, really it is just the use of a stamp set called Mirror Blocks by Paper Smooches. You simply mount a mirror block onto an acrylic block. With another acrylic block, mount the little girl stamp and ink up the stamp. Now stamp the little girl onto the mirror block and then immediately stamp the mirror block directly onto your paper… and Viola! you have reversed the image. Check out this video by Jennifer McGuire to show you how she used this stamp set and her MISTI to do the trick.
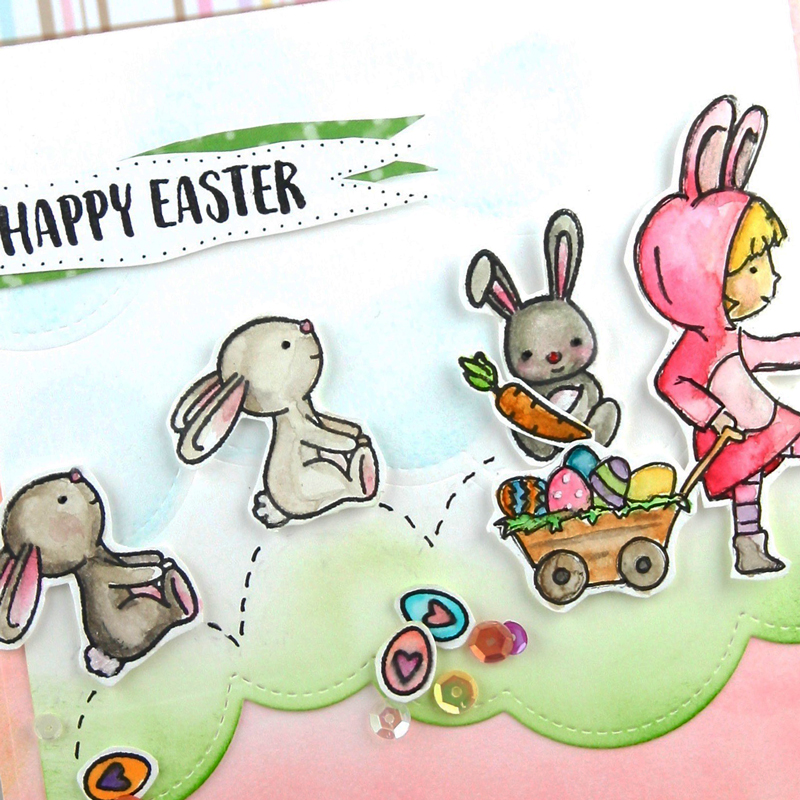
With the critters and Easter girl done, all that is left is to create the top layer and assemble. So, with a smaller square piece of white cardstock, I cut the bottom using one of Lawn Fawn’s Puffy Cloud border dies. Then…this is the fun part…using the same puffy cloud border die, I embossed the pattern in two places on this panel, working my way up the panel.
If you haven’t used a die to emboss and not cut, then give it a whirl. It is easy to do by adjusting your ‘sandwich’ for your die-cutting machine and using your flexible rubber pad. Take a look at this tutorial from the Operation Write Home blog for all the details.
To finish off this panel, with a blending tool, I colored the bottom with Mowed Grass distress ink and added little swirls of Tumbled Glass distress ink in the scallops of the embossed pattern.
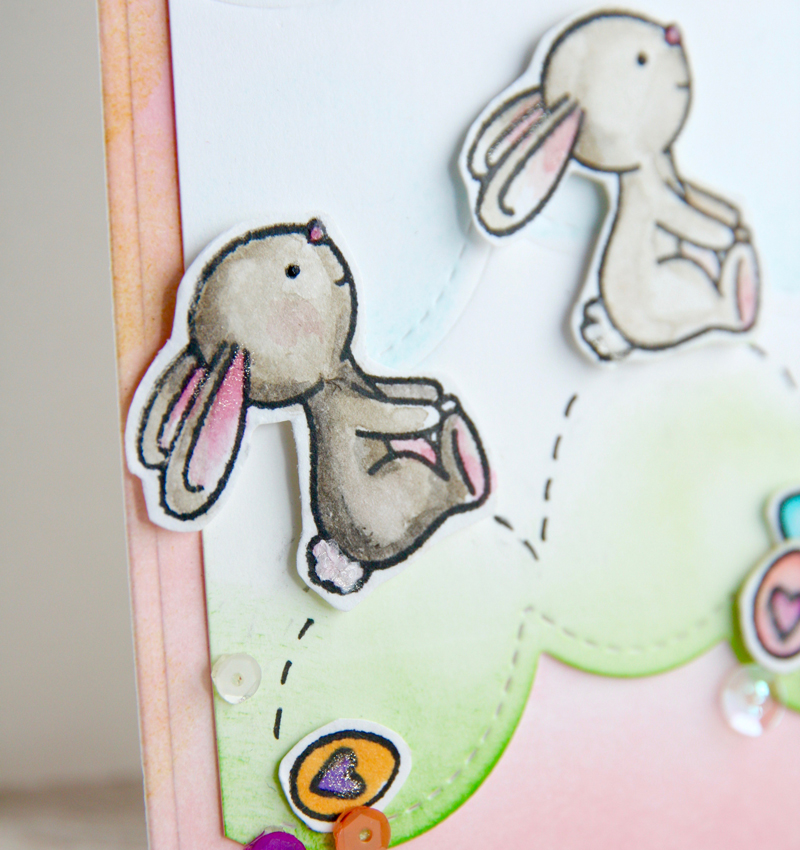
The embossed panel was added to the top of the card base and the bunnies and girl were positioned and adhered with foam tape. The dotted ‘bounce’ lines were added with a Pigma Micron pen, then the eggs and sequin were stuck on with glue dots, my favorite way to adhere sequins and tiny things.
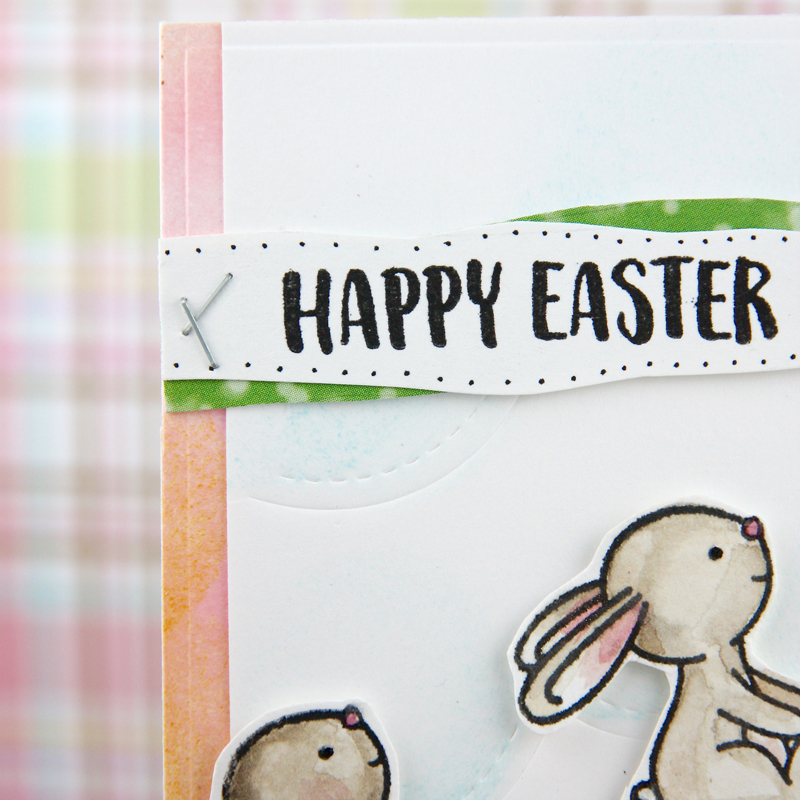
The “Happy Easter” was stamped onto white cardstock and then a banner shape was cut around the sentiment. I added tiny dots around the banner with my Micron pen and then cut a matching banner from a scrap of green patterned paper, layered them ascrew and stapled them with a tiny attacher.
I hope you enjoyed this project. I will see you soon …
•••••••••••••••••••••••••••••••••••••••••••••••••••••••••••••
Supply List:
 Tangled Cottontail Cutie Stamp Set |
 Tangled Cottontail Cutie Dies |
 Smooches Mirror Blocks Stamp Set |
 Fawn Puffy Cloud Borders Dies |
 Watercolor Paper |
 Solar White card stock |
 Gansai Tambi Watercolors |
 Distress Ink |
 Honey Distress Ink |
 Lawn Distress Ink |
 Glass Distress Ink |
 Tool |
 Micron Pen .005 (.20mm) |
 Onyx Black Ink Pad |
 Pixie Dust Sequin |
 Holtz Tiny Attacher |
 Tape |
 Glue Dots |

