Hi Everyone,
Today is a set of two cards using the same stencil but a slightly different color scheme. These cards are a snap to make and have a big impact.
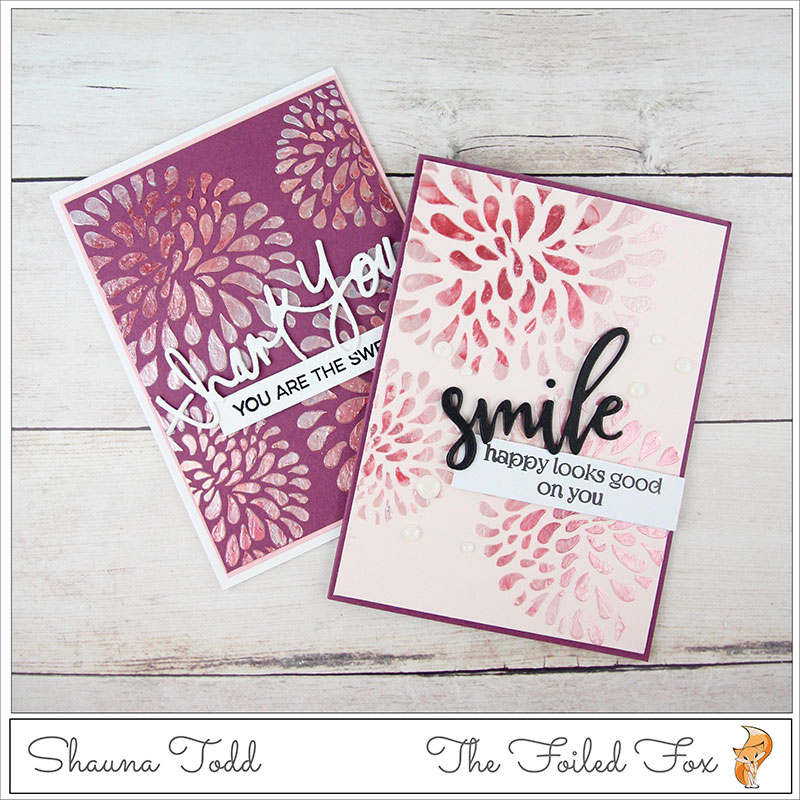
There are lots of texture pastes to choose from. My very favorites are the Viva Decor modellier cremes. They are super silky and smooth, besides drying really fast. But Shimmerz Paints have some fantastic colors too.
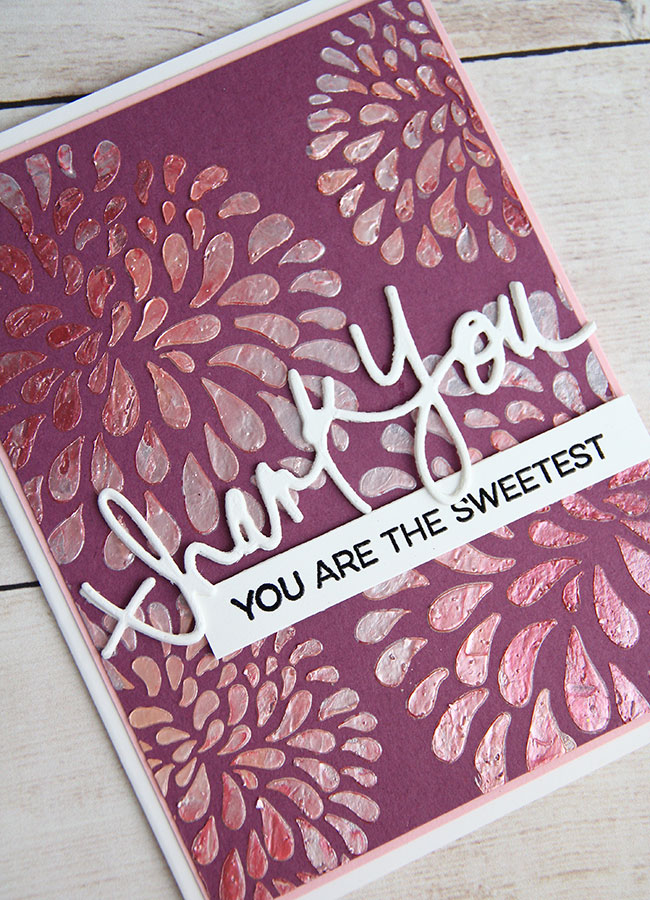
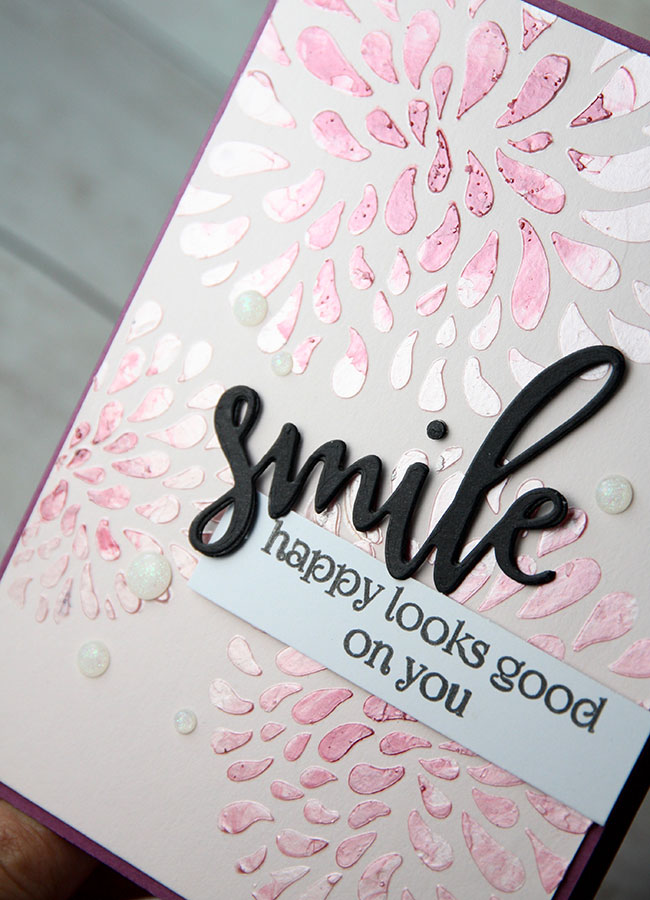
To make these two cards, I used the same Penny Black Patina stencil and a few texture pastes but different colored cardstock top panels and card bases.
To start, place the stencil over the card panel and lightly tape in place. I usually just place one piece of tape to secure it. Once you start to cover with paste, the paste alone will keep it in place.
With a palette knife, I start in the center with the dark color paste first, spread a little, then switch to another color, then another until I have worked myself out to the end of the blossom. Then, the same process is repeated until all the blossoms are done.
Don’t be afraid to overlap the colors a slight bit when changing colors. If you haven’t done this before, don’t panic! It will look like a hot mess until you peel off the stencil and the definition of the pattern is revealed.
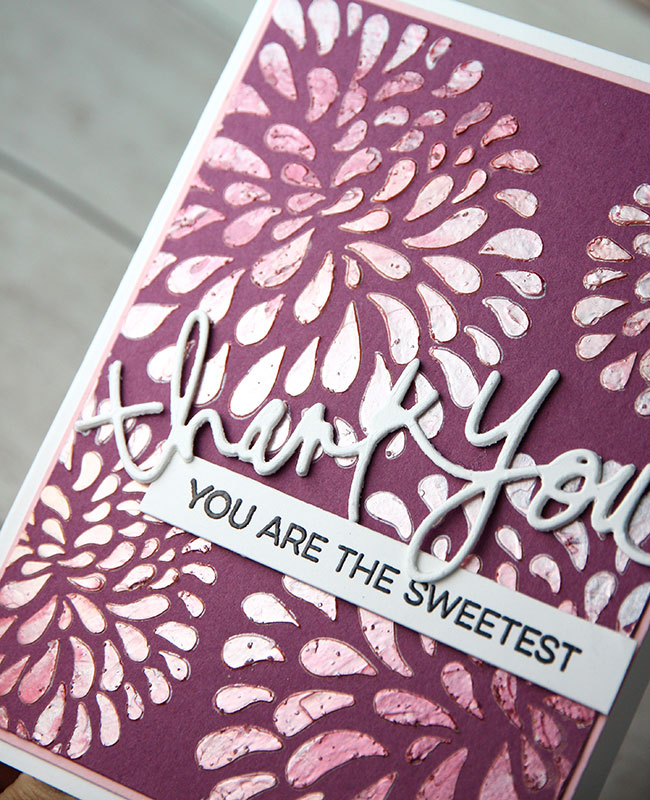
While I am waiting for the paste to dry completely, I choose my sentiments. They are then stamped onto white cardstock, heat embossed with Hero Arts Detail Black embossing powder, then trimmed into a strip.
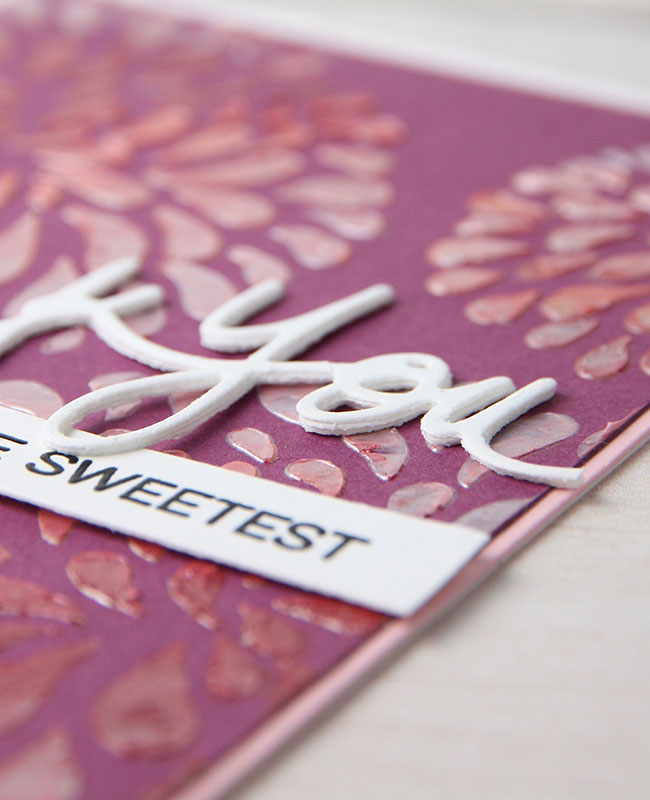
With white or black cardstock, I die cut the “Smile” and “Thank You” three times for each word and stacked them on top of each other, then glued them with a glue pen. This really gave them the dimension needed to stand out without adding foam tape to the back.
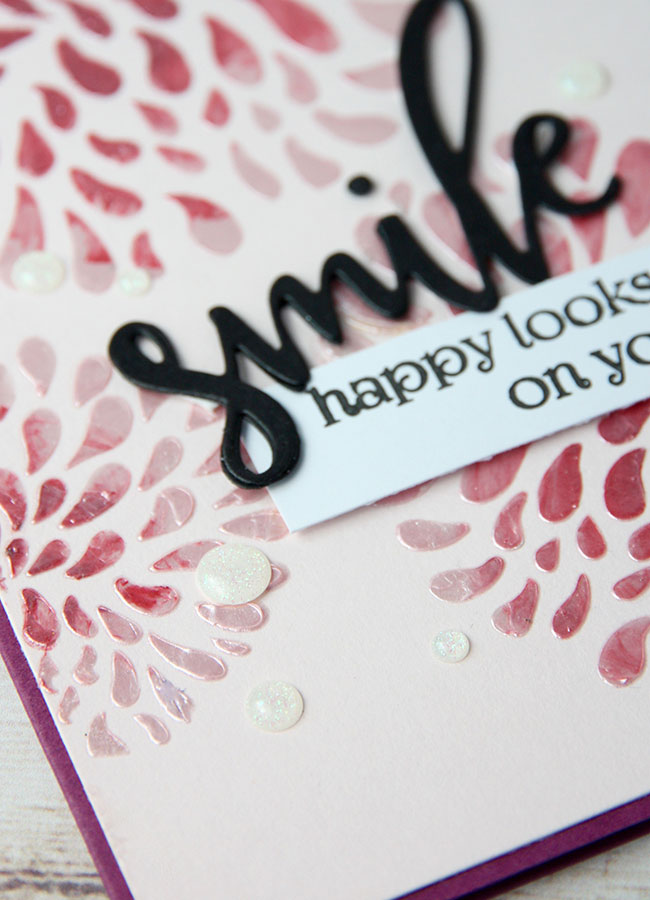
Once the paste is completely dry, I trimmed the panel and mounted it on a card base, mounted the sentiment with foam tape and the main word with a glue pen. A few glitter dots were added where needed.
And there you have it, two cards made in a snap!

Supply List:
 Black Patina Stencil |
 Creme Pearl Modellier Creme |
 Decor Raspberry Modellier Creme |
 Fruiti Dazzlerz Texture Paste |
 Pucker Up Pink |
 Knife |
 Obsession Smile Die |
 Swapp Thank You Die |
 110lb. Solar White card stock |
 Candy Cardstock |
 Heavy Cardstock |
 Black Happy Thoughts Stamp Set |
 Lily White Glitter Enamel Dots |
 Two-way Glue Pen |
 Dimensional Tape |
 Arts Detail Black Embossing Powder |
 Watermark Ink Pad |

