Hi Everyone,
It is nice to be back sharing with you today a sentimental card design that uses the brand new, super cute Ink To Paper I Heart You stamp and die set. It is a great way to say “I Love You”.
As you know, Valentine’s Day is right around the corner so what better way to get ready than making a card! But don’t think it is just for Valentine’s Day. It would be a great way to spread some love at any time of the year!
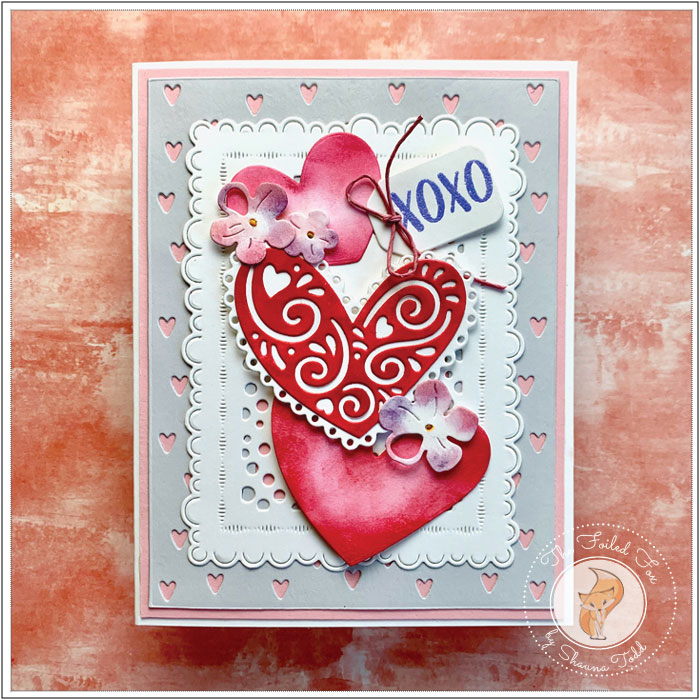
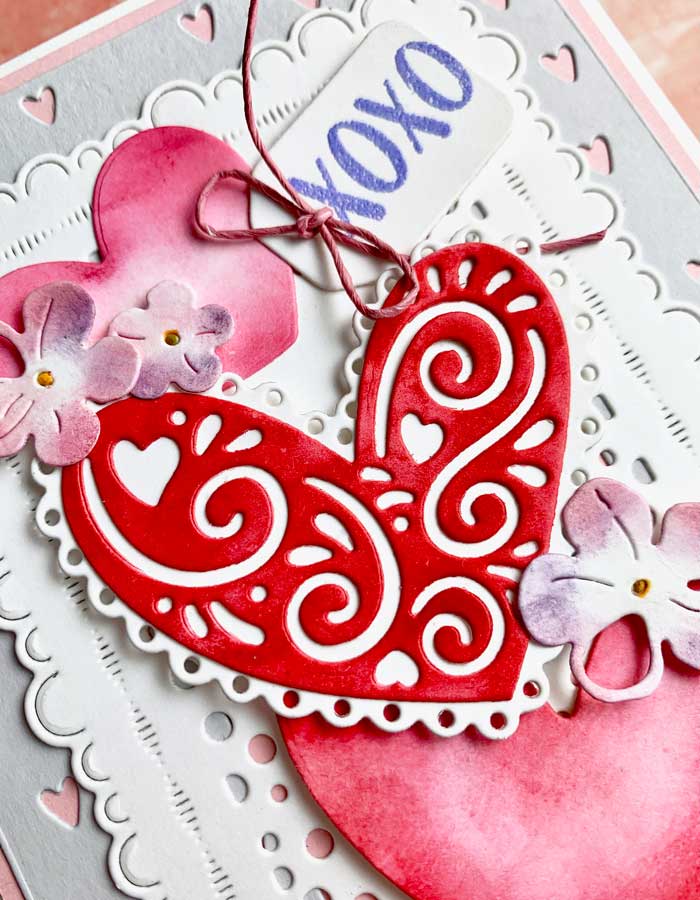
I wanted the I Heart You hearts to be the focal point so that’s exactly where I started. I cut out all the hearts in the die set from Neenah white card stock. Then, colored them by using a blending brush and a few Papertrey Ink cube inks. For the embellished heart in the center, I colored the cut-out insert first with Hibiscus Burst, then with Pure Poppy ink. You certainly could cut it out of red card stock but by coloring this way, it seems to give it more depth. The other two hearts were colored with Hibiscus Burst and Scarlet Jewel, then the Pure Poppy only around the edges. After the embellished heart was dry, I glued it to the white eyelet edged heart.
With the hearts done, I went on to create different backgrounds. This was the easy stuff since all I needed to do was cut out the heart border from Luxe Gray card stock using the Ink To Paper Border Basics: Border die, then the Border Bling: Tiny Hearts die. Next, I cut a white background using the Papertrey Mix & Match Confetti die. I LOVE, LOVE, LOVE this die! It is so pretty and versatile!
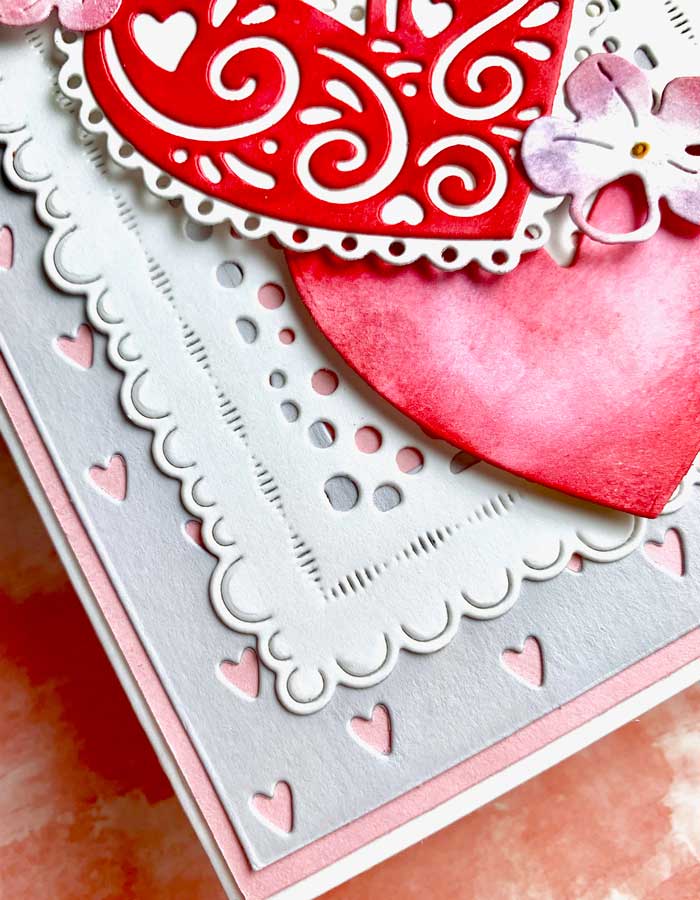
Now I needed a colored background for the tiny heart border and white confetti panel to rest on. I settled on a slightly larger Cotton Candy pink card stock panel.
This design was really starting to take shape! With a white card base, I layered the pink panel, then the gray heart border and finally the white confetti panel. Now with the help of a little foam tape and glue, I added the hearts on top.
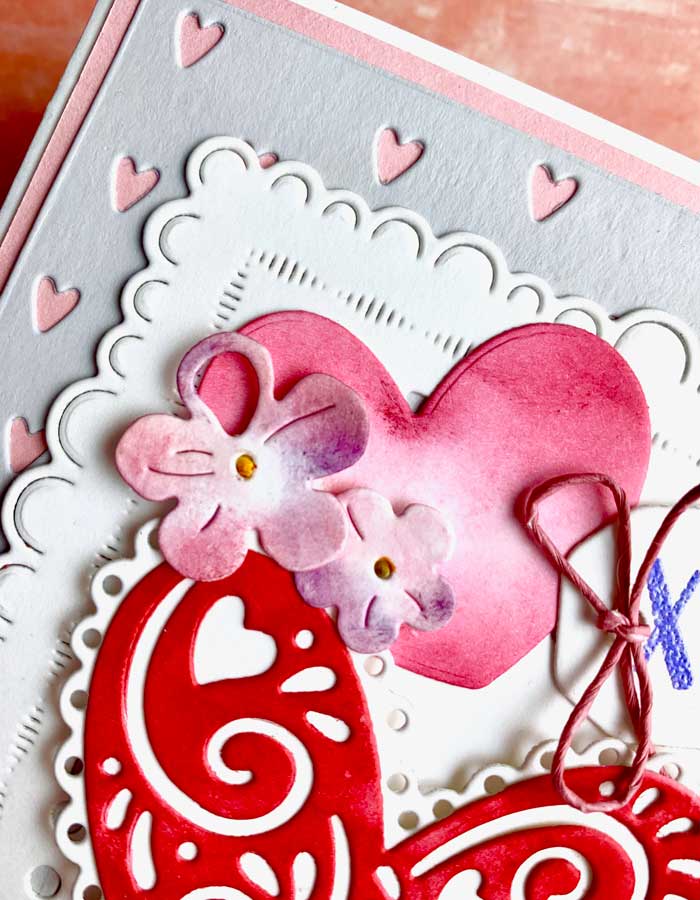
To my eye, something still seemed to be missing. This is where I used the cute flowers by Alexandra Renke. I cut them out of white card stock and lightly colored the edges with Hibiscus Burst and Plum Pudding. For the centers of the flowers, I made it easy on myself and lightly touched them with an orange Copic Marker.
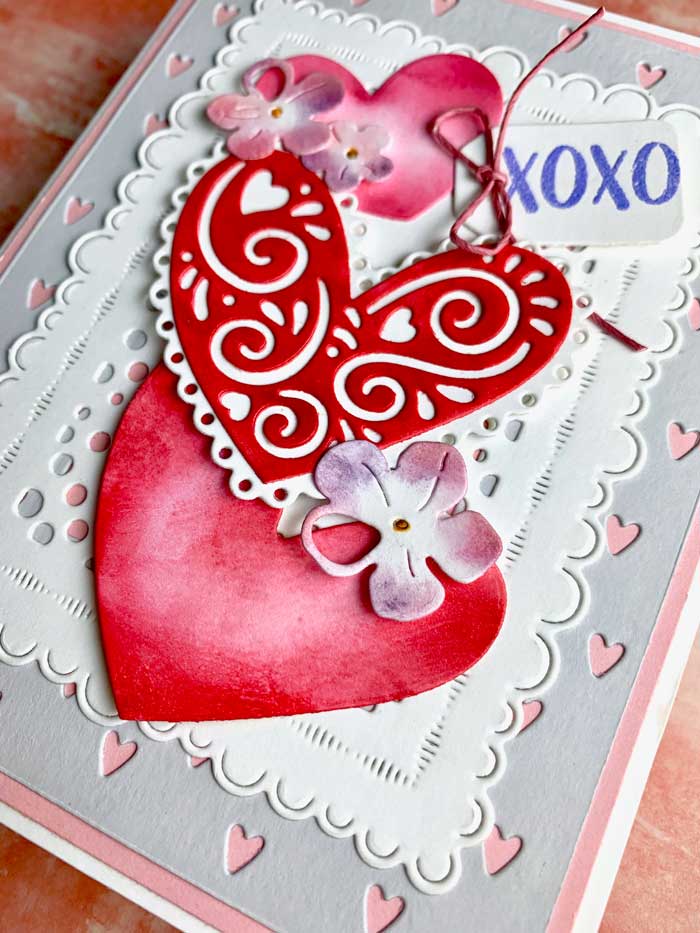
The flowers were arranged and adhered to the card. For the sentiment, I decided on the simple “XOXO” from the I Heart You stamp set. It was stamped with Versamark ink onto a small tag (this one is made from the Ink To Paper Cup of Love die set – but any would do or make your own!). The sentiment was then heat embossed with violet embossing powder and a tiny twine bow was added. The sentiment was pressed in place and there we have it – all ready to be sent to one of my favorite people! ♥


