Hi,
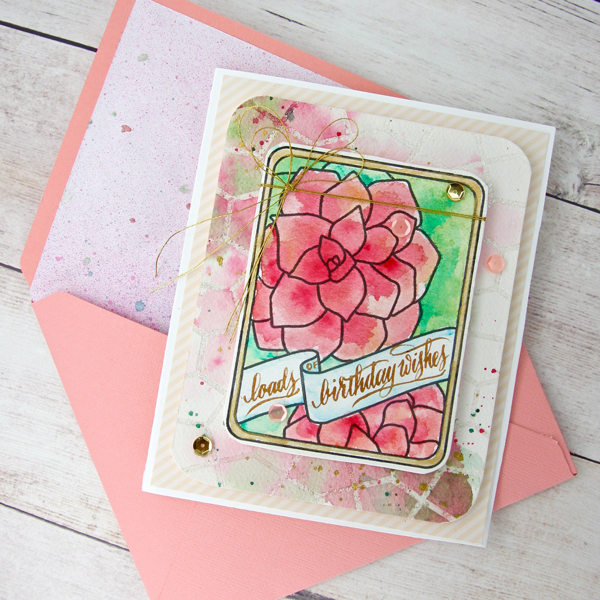
The card featured today is a card I had the pleasure of making with my sister, Sue who was visiting. She needed a special birthday card for a dear friend who has had a lot of medical heart-ache. We thought the Neat & Tangled Succulent Journaling Card stamp set would be a perfect starting point.
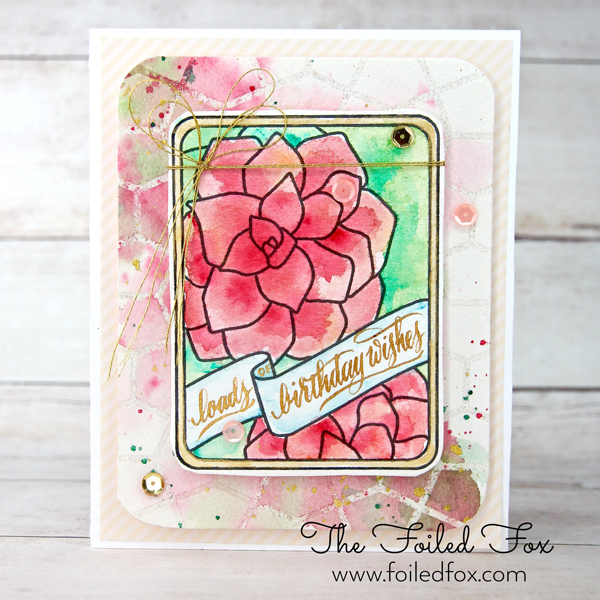
At the time, we didn’t look at the name of the stamp set. We thought it just had lovely flowers. Little did we know, it was really a succulent – haha. It just goes to show you that you create and use anything your mind’s eye can perceive. We think this stamp set works perfectly for a floral card too!
This stamp set also has a coordinating die, but for this card we just stamped the ‘flowers’ onto watercolor paper with Versafine Black ink and heat embossed it with clear embossing powder. From there, we just went to town water coloring, using the wet-on-wet technique. For those of you that are unfamiliar with this technique, it is where you first apply a film of clear water over all the area you want to color. Then add juicy droplets of watercolor paint where you want it the most intense. So in this case, we applied a thin film of water to the largest flower and then started adding rich, dark droplets of red/pink color to the center of the largest flower first. When you use this method, the water from the watercolors and the water on the paper mingle and the film of water carries the color outward. We continued to add droplets of intense color where we wanted a shadow and let the color move and fade outward to give the range color from dark to light. We used this technique throughout the card, adding greens for the background and a touch of blue on the banner.
There are so many wonderful sentiments included with this stamp set but none werejust right for the occasion, so why not create your own! Around the border, we used the Finetec gold paints and hand-lettered the sentiment “Loads of Birthday Wishes”.
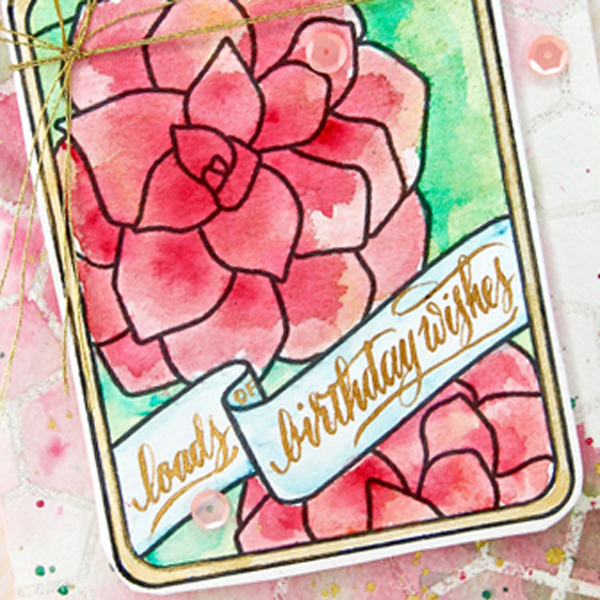
This succulent/floral stamp itself is a fairly small (4″ x 3″). We wanted a wee bit bigger card so what were we going to do? Well, we decided to ink up the Neat & Tangled Pentagon Stencil with VersaMark, laid it face down (ink against paper) onto a larger piece of watercolor paper and ran it through the die cutting machine. This pushes the ink onto the paper and embossed it at the same time.
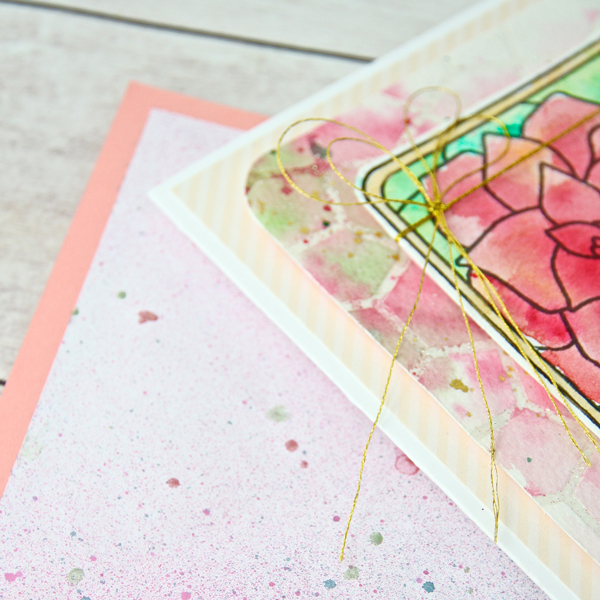
Working quickly so the ink doesn’t dry, we heat embossed the paper with Wow Clear Sparkle embossing powder. This created a sparkly embossed pentagon pattern and a great effect on the paper. From there, using the same wet-on-wet technique, we added the pinks and greens to the watercolor paper panel, splattered it with reds, greens and some of that gorgeous gold ink from Finetec.
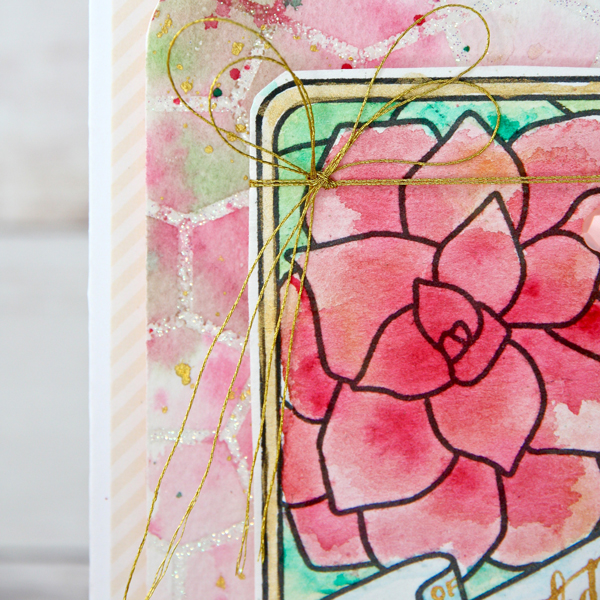
To finish the card, we created a white card base with Neenah Solar White (110lb.) paper, added a diagonal beige and white striped piece of pattern paper to the front of the base. Then, rounded the corners of the pentagon-patterned panel, added foam to the back and centered it on top of the striped paper. Finally, we added foam to the back of the flower and banner panel, then added a gold thread wrapped around the panel with a bow and a few sequin.
With the card finished and needing to get in the mail pronto, we created an envelope with our trusty Envelope Punch Board and lined it with copy paper that had been spritzed with a few Shimmerz paint sprays and added some splatters. Now we can call it done!

Supply List:
 Succulent Journaling Card Stamp |
 Pentagon Stencil |
 |
 Let’s Bokeh in the Snow Paper Pad |
 Watercolor Paper |
 Gansai Tambi Watercolors |
 Sparkle Embossing Powdedr |
 Artist Mica Watercolor |
 Pen Holder |
 Steno Nib |
 Gold Thread |
 Pixie Dust Sequin |
 Fun Foam |
 Tape Gun |
 Bamboo Leaf |
 Cotton Candy Spritz Spray |
 Envelope Punch Board |


Love the intensity of the rose color. The stencil almost creates the feel of an arbor in the background. Because of the name of the stamp, it didn’t occur to me that I could use it as a flower. The card is beautiful!