Hi Creative Friends,
I was smitten by the Honey Bee Stamps Lovely Layers Cupcakes & More die set and I had a special birthday coming up for my granddaughter. So… it was a perfect match for what I had in mind.
The very talented Keiko Ichikawa made a card using this set that I thought was brilliant. I followed in her footsteps!
I love the fact this card design is nearly all created by cutting out the pieces in the Cupcakes and More die set. The set has everything you need to create an adorable birthday or special celebration card. The only thing extra piece I added was the sentiment and the plaque it was stamped on.
So, with that in mind, I got busy cutting out all the pieces. I have listed in the supply list below the main colors of cardstock used but this is a great place to use your scraps!
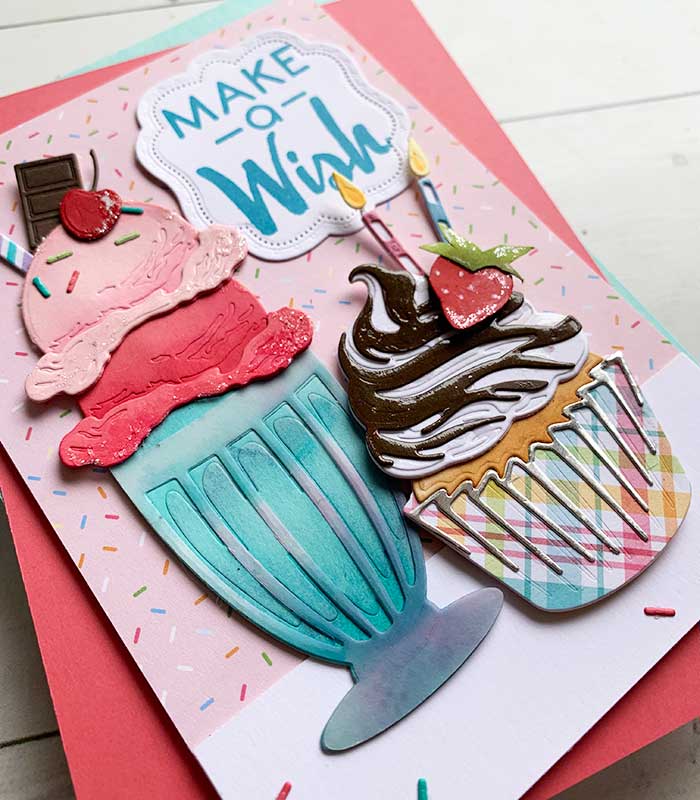
I started with the parfait glass. Like most elements in this set, there are two or more layers to each element. The multiple layers makes it extra special! So, the bottom layer was cut from a piece of Spellbinders Teal Topaz card stock and top layer from a piece of crisp, stout vellum. From there, I accented both pieces with Peacock Feathers distress ink and a dash of Shaded Lilac, then glued them together.
The ice cream scoops were cut from two different colors of pink card stock and lightly shaded with Picked Raspberry distress ink, then assembled.
A few sprinkles, the cherry, chocolate chunk, and straw were all cut using scraps of card stock. To make the stripes on the straw, I used two different colors of alcohol markers.
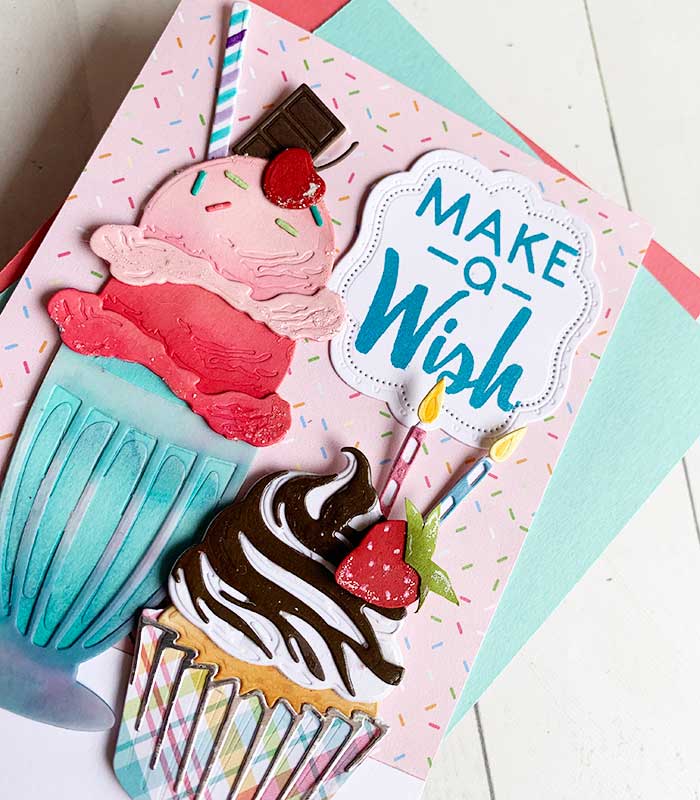
With the entire ice cream parfait finished, I cut out the cupcake pieces. Again, I used a scrap of plaid pattern paper, brown, white and silver foil card stock. The cupcake was assembled and the candles added. All the pieces for the cupcake are included in the set which I think is awesome! For extra dimension, I added Glossy Accents to the chocolate brown drizzle piece to make it shine.
I couldn’t find a suitable strawberry die so I was on my own to cut one out of scraps of red and green card stock.
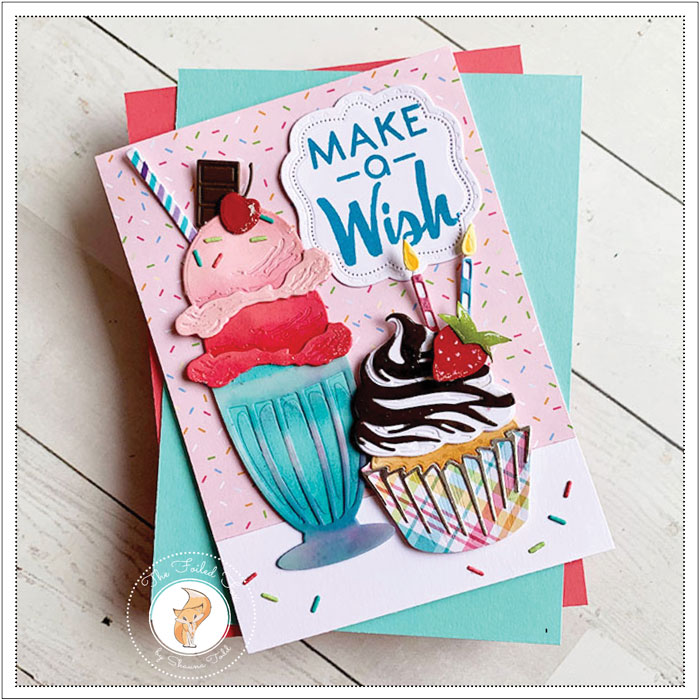
Ready to put everything altogether, I mounted a piece of patterned paper from the super fun Let’s Party paper pack onto a white card base, then added a white band at the bottom. All my completed elements were arranged and attached using foam squares.
For the sentiment, I chose a greeting from the You’re So Extra stamp set and stamped it onto a white card stock Love to Layer: Lovely Bracket using Versafine Clair Warm Breeze ink.
A few accents of glittery Stickles were added here and there, along with a few sprinkles to complete my project! Check out all the supplies used below! ♥
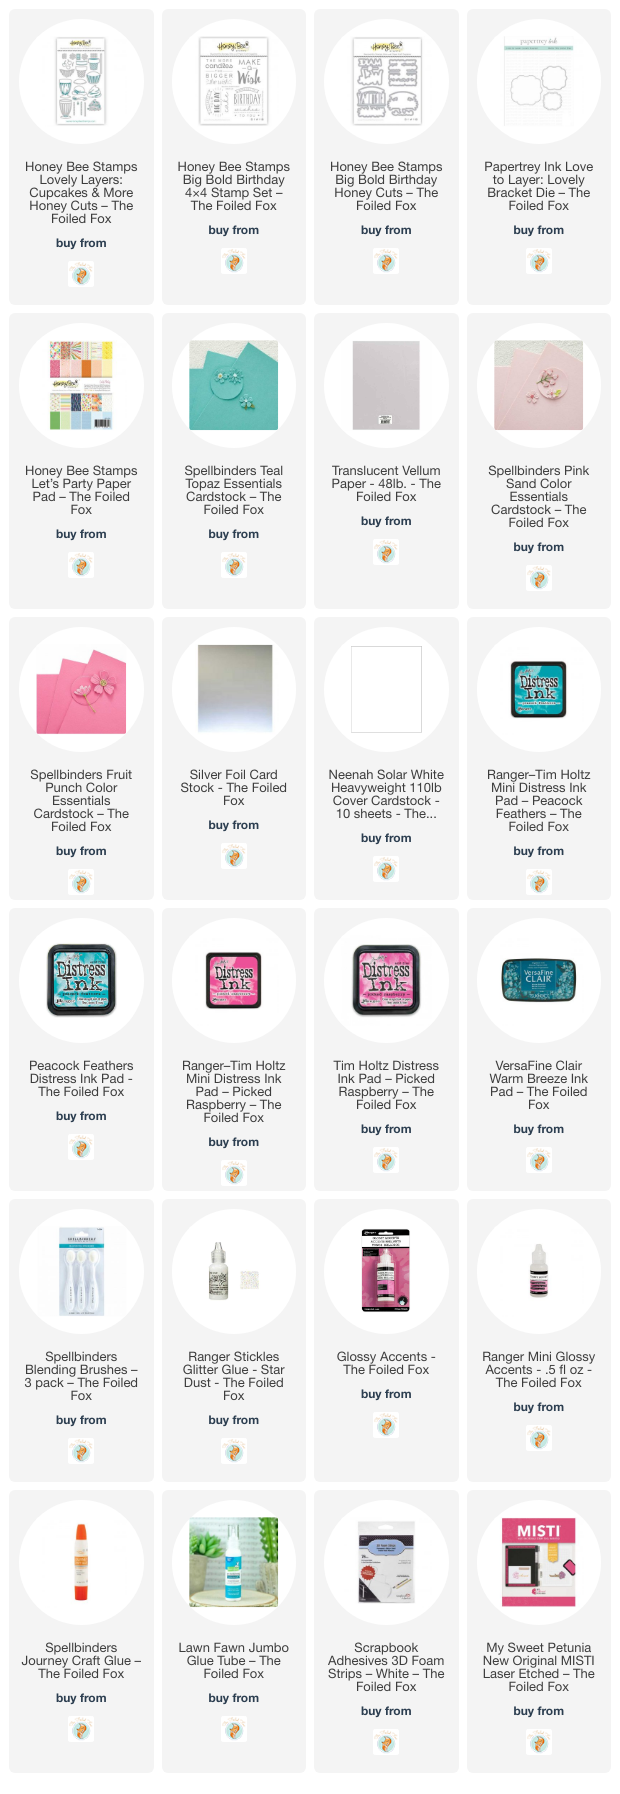
Goodies Used: