Hi Creative Friends,
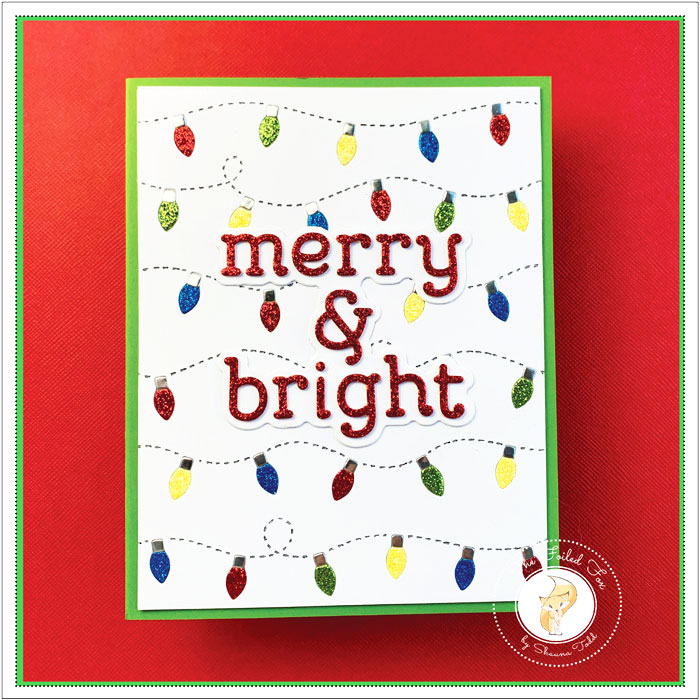
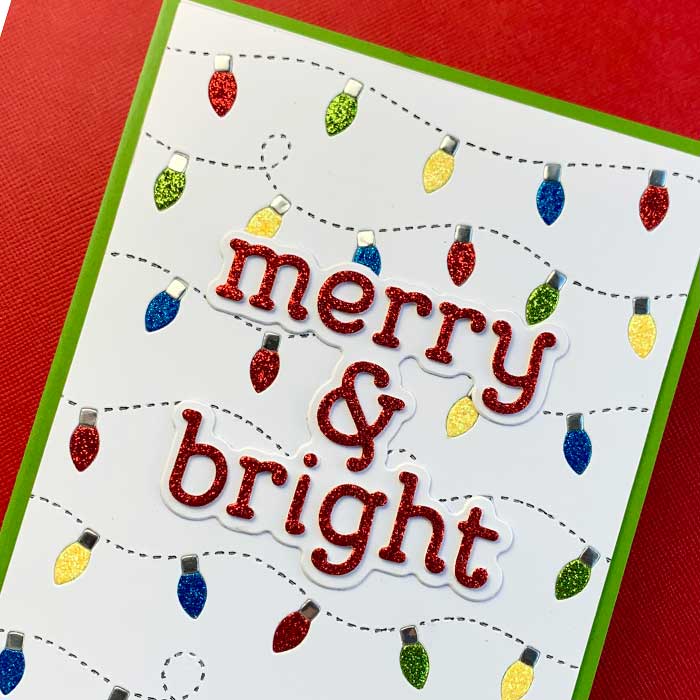
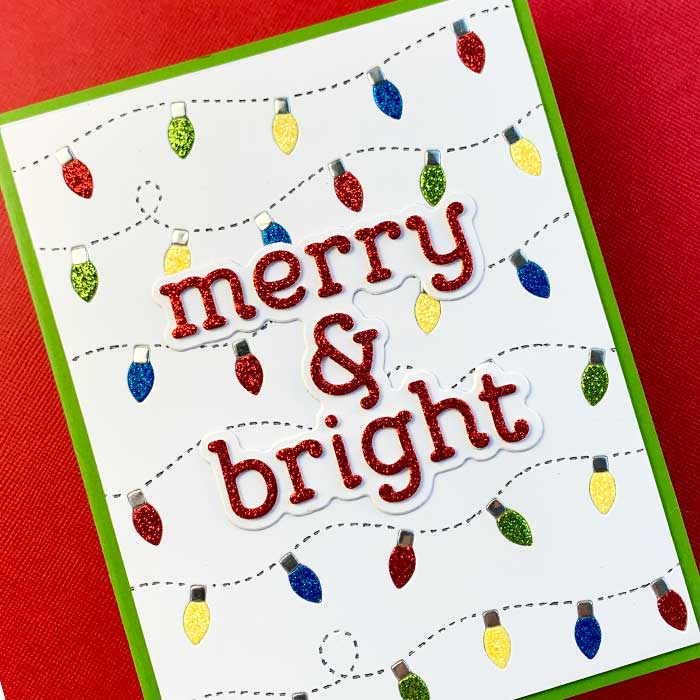
I am jumping to share a sparkly and festive holiday card design using the new Concord & 9th Christmas Lights Inlay die and the Jolly Holiday Greetings die set. This was a fun card to make and I love the sparkle!

Since the Christmas Lights Inlay die cuts out the background, dotted lines for the string of lights, and the individual lights all in one cut, it does most of the work for you!
So, I began by die-cutting the main panel using a heavy white A2-sized card stock panel. Then, popped out all the individual lights, leaving holes where the colored lights will go.
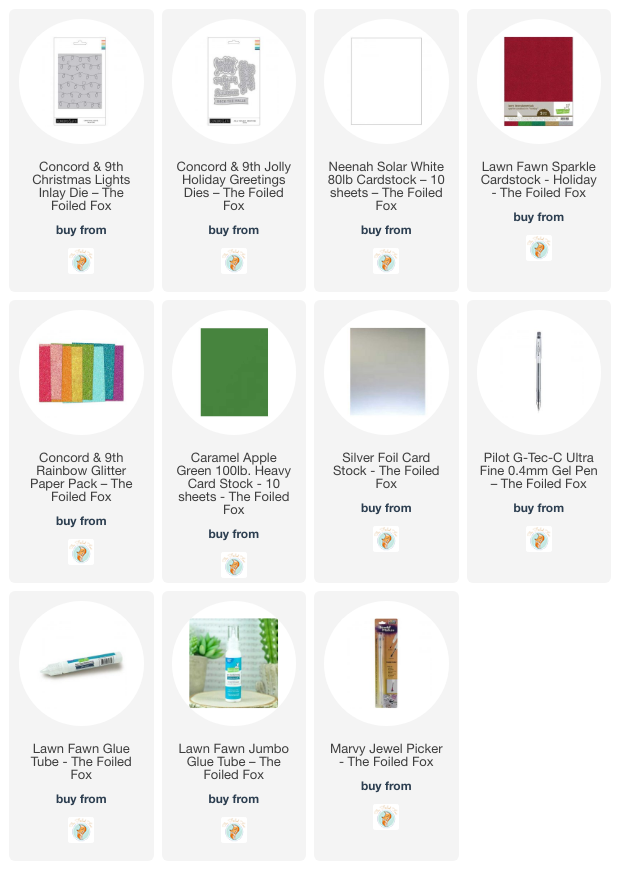
Then, using an extra, extra fine black pen, like the Pilot G-Tec-C Ultra Fine 0.4mm Gel Pen (see supply list below), I carefully inked each of the dashed lines to give them more definition and color.
From there, using another white A2-sized panel, I applied a layer of double-sided adhesive sheet to it, then peeled off the other side and pressed on the Christmas Lights panel. This left me with a nice stout panel and sticky Christmas light sections.

To prepare to add the colored lights, I cut another full panel using silver foil paper. This was for the tops of the lights only. Hint: every silver foil top is needed so keep them all at hand!
Next, I cut out the glittery lights. Since all the lights and tops were the same size and shape, I didn’t have to cut out a full panel of each of my four different colored glitter papers. I was able to preserve my glitter paper by only cutting out a section.
I was now ready to arrange and press each light section into place. The Marvy Jewel Picker tool makes it super easy.

With the panel complete, I mounted it onto a green card stock card base, then added my sentiment. The sentiment was from the Jolly Holiday Greetings die set. I used white card stock and red glitter paper.
The card was done, I had a blast making it. I hope you give it a try! ♥


