Winter Magic Christmas Tags
HI Crafty Friends,
If you are like me, you are still making Holiday cards. I love this time of year and I want to squeeze every minute out of it before it fades away for another year. Another way to do that is to make tags.
We always need tags to label and adorn our gifts. I have used the Winter Magic kit to show other ways you can extend the use of this holiday kit. By the way, if you haven’t bought yours yet, use the coupon WINTERMAGIC2020 for 15% off – YAY!

When I made my Winter Magic pop-up cards (see video here, card ideas here and here), I had a few pieces leftover that I hadn’t used in my previous projects. So, wanting to maximize my efforts, I decided the best way was to make tags. I always need them and it is a great way to dress up your package.
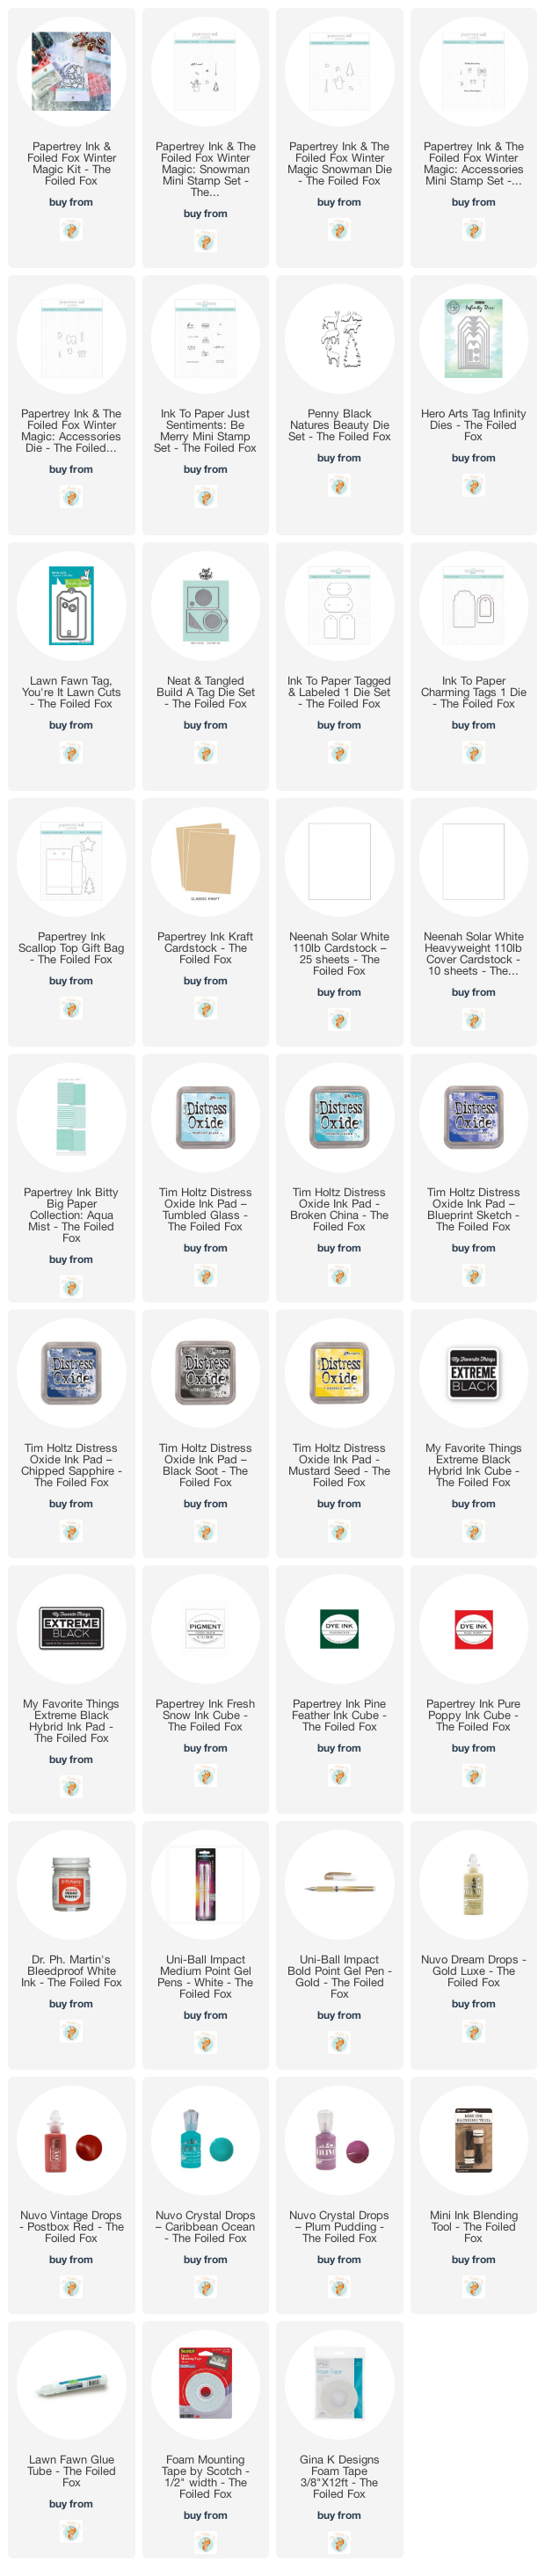
To start, I cut some tags from kraft paper, and the darker browns were from the thin cardboard inserts you find in some packaging. I have various tag dies, as you might have in your die collection, and cut a few out. By the way, if you want to add to your collection of tag dies (you can never have too many 🙂), I have listed a few in the ‘Goodies Used’ list below.
For the first tag, I stamped the snowman from the Winter Magic Snow accessories stamp set onto a kraft tag using Fresh Snow white ink, then used a white gel pen to draw in the hill and a few Copic markers to lightly color in a few key areas. I added a plaid top from my stash and a red reinforcing ring.

The next two tags are using the cottages and trees included in the Winter Magic kit. The base tag was cut from the thin cardboard packaging I mentioned. A hill was added to each tag by cutting out a hilly strip from Neenah white card stock using the hillside dies in the set and adhering it with a bit of glue. With that done, I either splattered white ink (Dr. Ph. Martin’s Bleedproof) or dotted ‘snow’ with my white gel pen for the sky.
From my Winter Magic stash of pre-cut pieces, I stamped and colored (with Copic markers) a few trees, cottages, a bow, and a tiny snowman (my favorite). Each was then glued and/or attached with foam tape.

The last tags were cut from white card stock, The sky was blended on using a few distress oxide inks. For the collection ‘Merry Christmas’ trees, I used Tumbled Glass, Broken China, and Chipped Sapphire distress oxide inks for the sky and then splattered Chipped Sapphire and white ink dots. A white hillside was added (just like the others above), then a collection of trees were cut and stamped with Pinefeather ink. The cute flying bird from the Snowman stamp set was stamped and cut with its matching die set, then colored with Copic markers.

Finally, I had a Christmas tree already stamped, cut, and colored with dimensional dots of Nuvo crystal drops for ornaments. This would be my focal point, but first I masked off the snowbank and colored a roughly round area of the sky where the star of the tree would be with Mustard Seed. Then, Broken China, Blueprint Sketch, Chipped Sapphire, and Black Soot distress oxide inks (in that order) were blended on to cover the sky. The sky was splattered with droplets of black soot and white ink and O Holy Night (Be Merry stamp set) was stamped in black. The tree was pressed on with foam tape and little snow bunnies from Penny Black’s Nature Beauty die were added too. For the finishing touch, gold rays were added with a gold gel pen.

Then, finally, finally, I wanted to share again this adorable treat or gift bag. This bag is perfect for little morsels of yumminess or a small gift. To make it, I used Bitty Big Aqua Mist paper for the body of the bag. Then, I added a snowbank and more Winter Magic cottages, trees, etc. to make a little scene. Added a ribbon and it was ready to be filled with little treats!

And there we have it, a few ideas on how to use your little bits to create quick tags and bags! ♥
Goodies Used: