Gilded Butterflies by Heather Telford
Hi there,
I am so happy to be back with you to introduce another one of Heather Telford (of the Heather Telford blog) glorious cards. Heather is a marvel!! She has an incredible eye for the beautiful. Take a look at this shimmering example of her work and learn how she accomplished this beauty.
Here’s Heather…
I am in the process of trying different methods for securing the flakes; the one I’m sharing today uses the Tsukineko essential glue pad. I inked the ‘Butterfly Charmer’ stamp from Penny Black with the glue pad and stamped on black cardstock. I did use the MISTI to make it possible to stamp twice but it probably was not necessary. The glue appears to be a milky blue colour when first applied but after it sits for a little while it becomes clear and is ready for gilding.
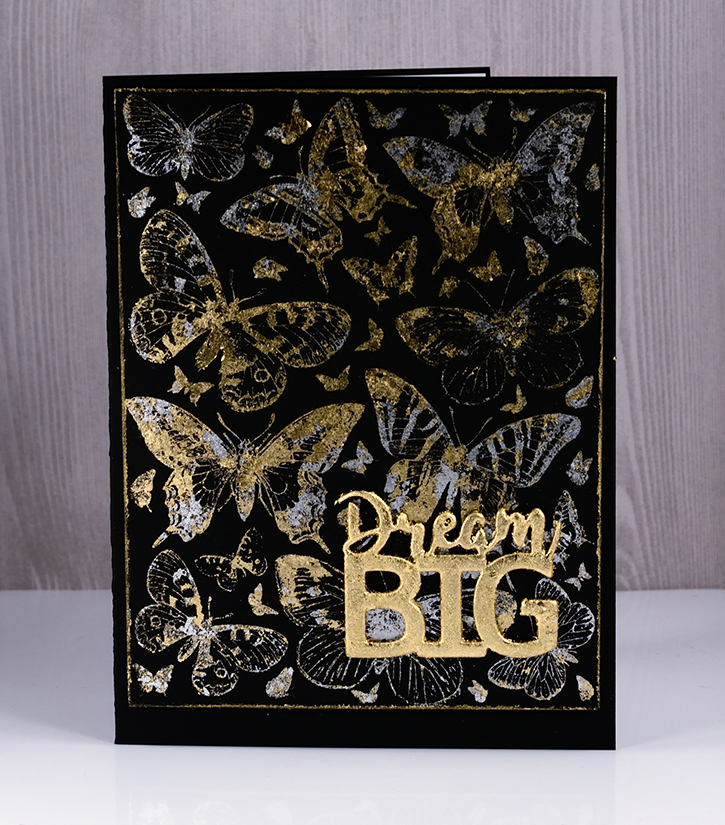
I used both the gold and the silver bullion gilding flakes and the radiant gold bullion gilding flakes from Nuvo. I sprinkled them over the stamped panel then pressed them gentle onto the glue with my fingers. I then used a ‘scrubby’ (just like a plastic pot scrubber – abrasive but no metal fibres) to burnish the flakes. The flakes that are rubbed off can be saved and used again. Because I used both silver and gold I saved mine in a plastic container which will be my ‘silver & gold gilding mix’.

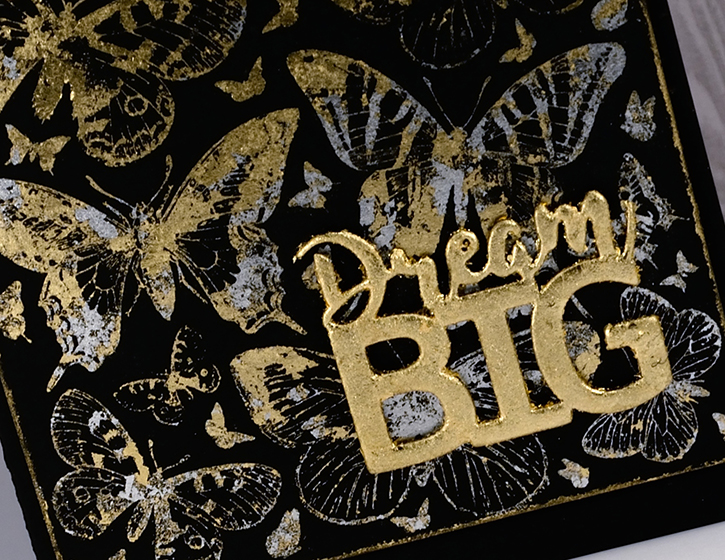
I created a subtle frame around my butterfly panel by swiping the glue pad round the edges of the panel then picking up gilding flakes on the thin line of glue.
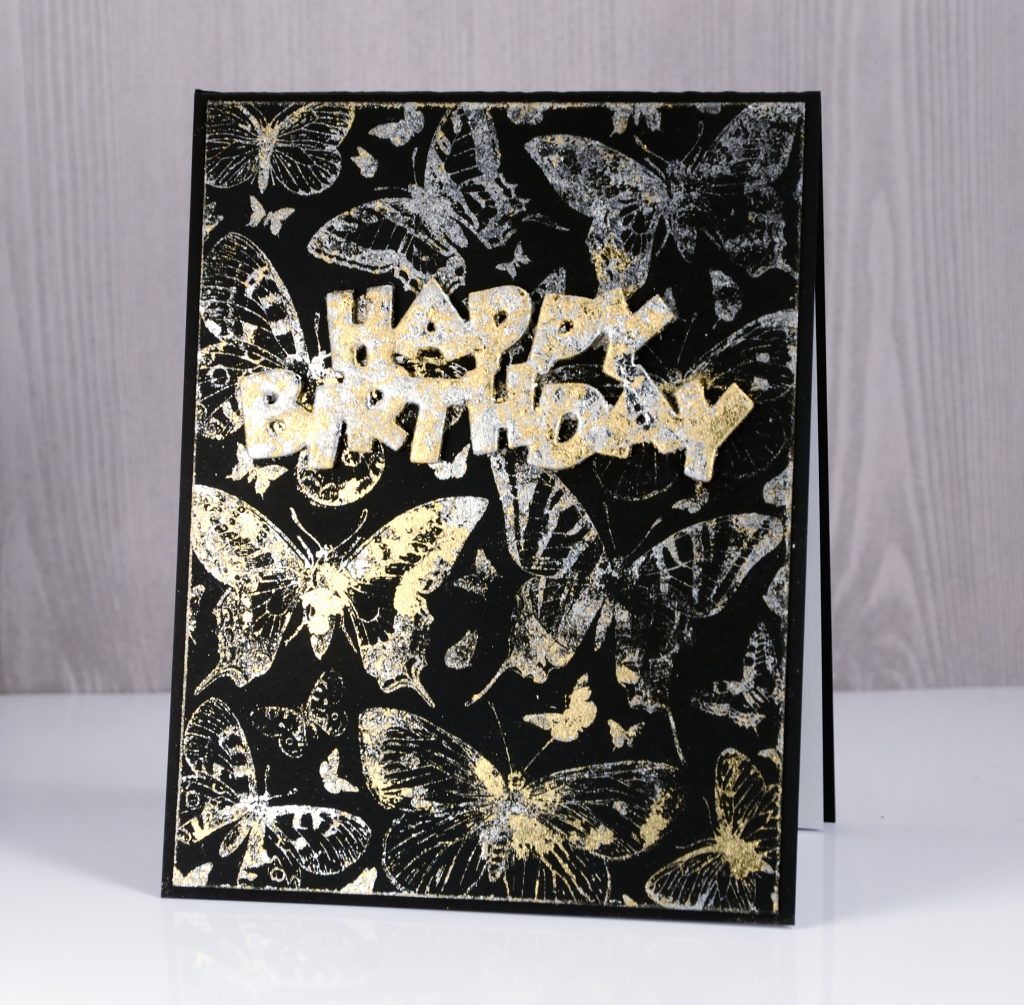
I used adhesive backed foam to create a raised die cut sentiment. Before die cutting I added ‘stick it’ adhesive to the side without adhesive then ran it through the die cut machine with the ‘birthday’ and the ‘dream big’ die. I removed the protective layer from the top of the die cut and pressed it into the gilding flakes. I pressed them on with my fingers then spent a little time rubbing the edges of the letters with a small brush to remove ragged edges. I love the look of the puffy but gilded letters.
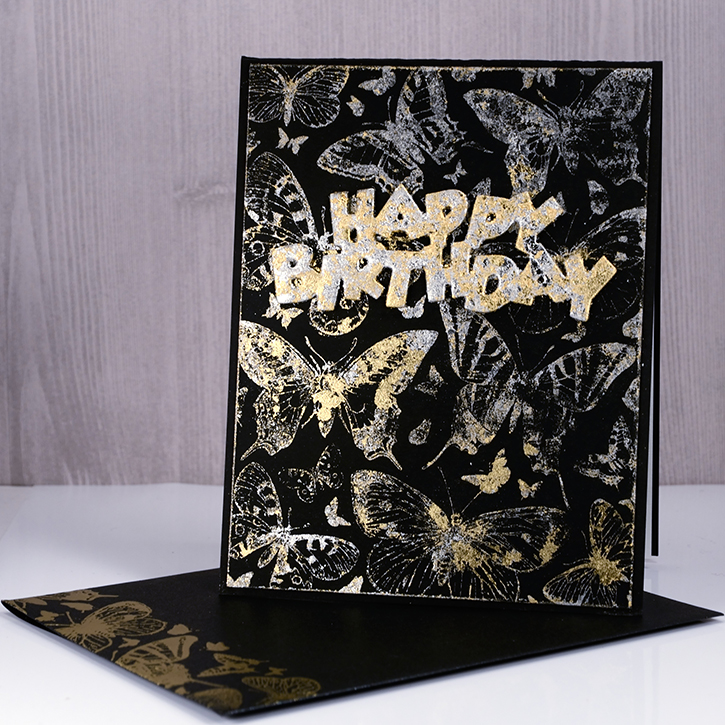
Because there was adhesive on both sides of the foam I was able to remove the second protective layer and press the sentiment directly onto the butterfly panel. The two cards are almost the same; I just varied the size and switched the sentiment on the larger one. I added a white paper panel inside the black card base to write on and even embossed a matching envelope with the butterfly stamp. The direction of the light on the gilding makes it appear that only part of the card is shiny but believe me all the gilding shimmers and shines!


Supply List:
 Penny |
 Penny |
 Penny |
 Nuvo |
 Nuvo |
 Tsukineko |
 Deco |
 Neenah |
 Stick-It |
 Inkssentials |
 MISTI |
Sorry, the comment form is closed at this time.

June 9, 2017
Shaz in Oz.x
Brilliant work Heather lovely effect, very imaginative use of Gilding.
Shaz in Oz.x
https://calligraphycards-shazinoz.blogspot.com.au/