Hi Everyone,
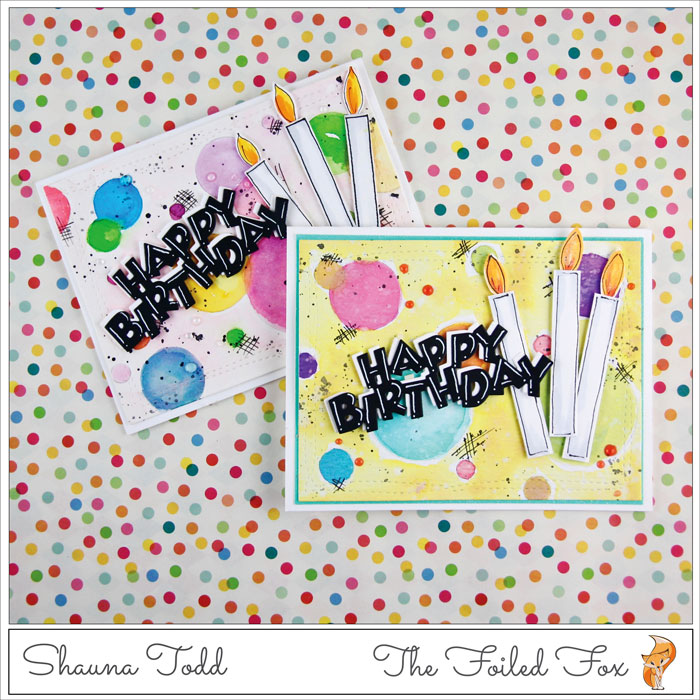
Today’s card that uses only a few supplies. I think these kind of cards are great to have in your “back pocket” so that when you need a card in a pinch, you have a go-to.
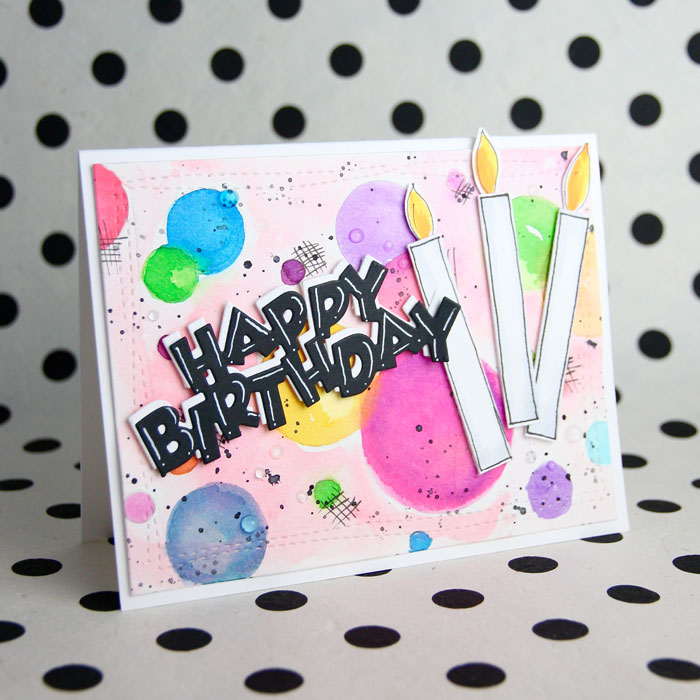
I made two cards, each one using a different color palate. We have a video for you today to demonstrate how this card came to be. The video features the yellow background and the photos below are mostly of the pink background. I hope this isn’t too confusing!

You can check out the video by clicking below or go directly to our YouTube channel here.
The video is a short one (YAY!) but if you only have a minute or two or your device is on the fritz, check out the brief description and images below. And don’t forget the complete supply list at the end!

As I mentioned, the still images have the pink background and the video is the yellow background. Both cards are made exactly the same, so choose your own palate and give it a whirl.
The card starts with making circles on a piece of watercolor paper. I lightly draw them in with a mechanical pencil and a circle template. After all the circles are drawn, the circles and background are watercolored using water-based inks. I used several Distress Oxide inks since they have a great water reactive quality to them.

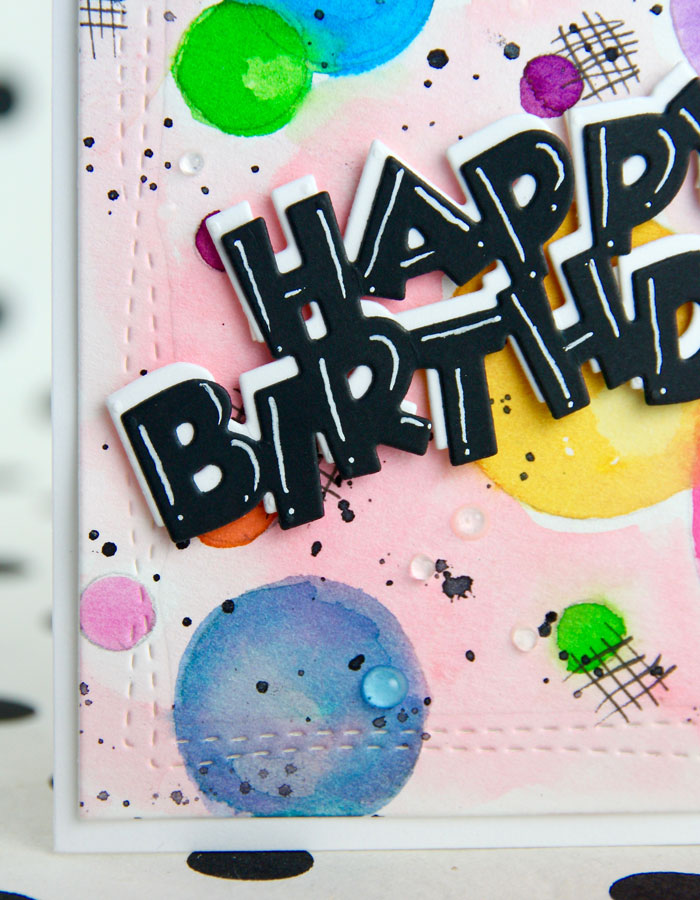
After everything was water colored, I splattered clean, clear water onto the panel using my brush. I waited a few minutes and blotted it dry. Doing this causes the ink to react to the water. When you blot it dry, it lifts a bit of color where the splatters were, giving a mottled look. Next, I splattered black McCaffery’s ink and added tic-tac-toe-like marks with my Mangaka pen. To finish the panel, I die-cut and embossed it using the largest die in the Avery Elle Wonky Stitches set.

With the panel complete, I mounted it onto a white card base. (On the yellow version, I first mounted the watercolor panel onto a slightly larger piece of glitter paper and then mounted both onto a white card base.)
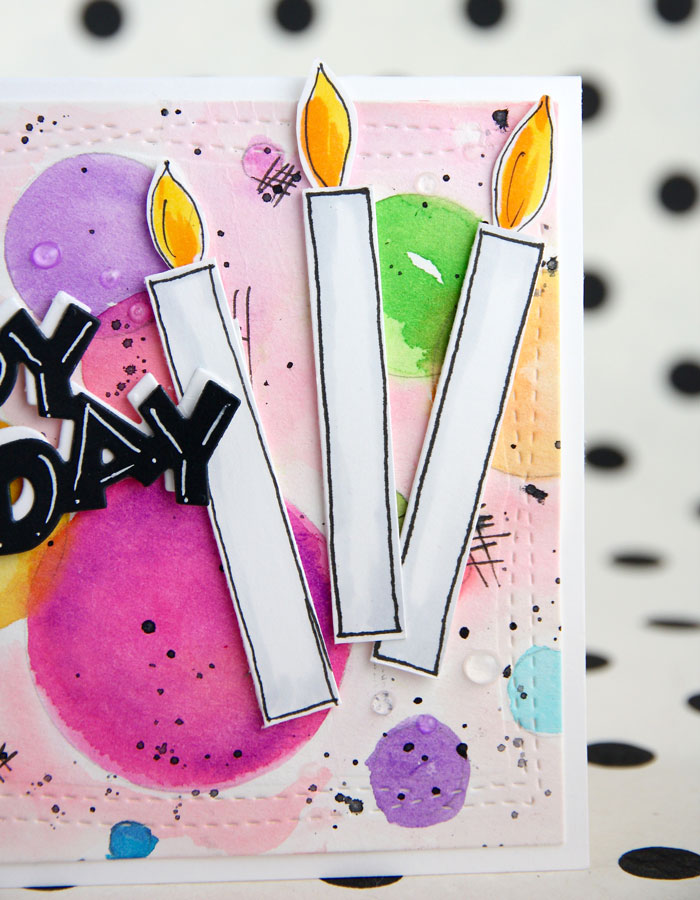
Next, I cut two ‘Happy Birthday’ sentiments, one white card stock and the other black card stock. I also cut three pieces of cardstock 3/8″ x 2″ for the candles. The ‘Happy Birthday’ sentiment was accented with white gel pen, then glued onto the white ‘Happy Birthday’, slightly offset for a shadow effect. The candles were outlined with the Mangaka pen, then highlighted with a C1 Copic marker.

Foam tape was applied to the back of the Happy Birthday and the candles, then attached to the card. A few Nuvo crystal drops were the final touch.
I hope you enjoyed this project. See you soon!

Supply List:
 White Gel Pen |
 Black Ink |
 Dimensional Tape |
 Strawberry Coulis Jewel Drops |
 Morning Dew Crystal Drops |
 01 Cartoonist Mangaka Pen |
 Copic Marker |
 Copic Marker |
 Copic Marker |
 Copic Marker |
 Silver Brush |
 Wink of Stella Brush |


