Sending Birthday Wishes
Hi Creative Friends,
I am sharing a new card design with a BEAUTIFUL floral frame from Spellbinders called Mirrored Floral Blooms press plate. You can either use hot foil or letterpress to imprint the design. If you were to letterpress then the Spellbinders BetterPress system is perfect, but today I used my Spellbinders Glimmer system and gold foil to imprint this gorgeous floral display.
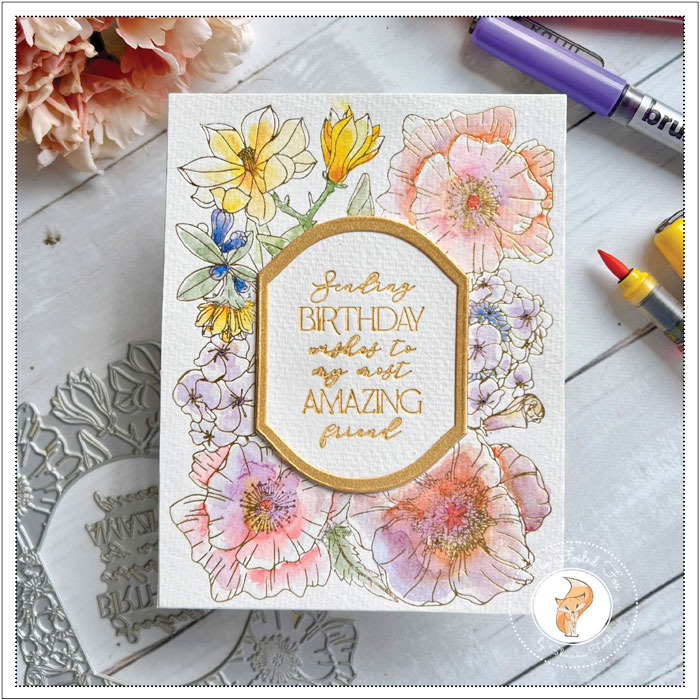
With this in mind, I began by using a piece of cold-pressed watercolor paper, the Mirrored Floral Blooms press plate, gold foil, and my Glimmer system, I hot-foiled the design. Since I was using cold-pressed watercolor paper, I used several paper shims so I would get a great impression. The impression turned out beautiful but in hindsight, the smoothness of hot-pressed paper maybe would have been better.
The panel was ready to paint. You could use any watercolor medium like traditional watercolor paints, Tombow dual pens, or in my case, I took out my Karin watercolor pens. These are magical pens in my opinion! They have great colors and you only need a few colors to paint the entire floral display.
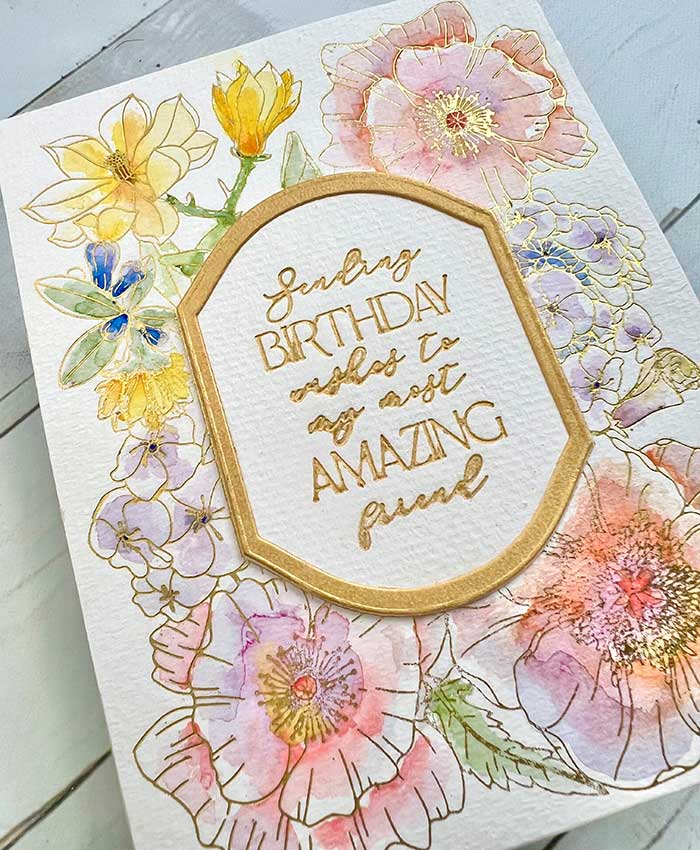
The technique I used to paint was to add a line of color where the shading would naturally be on the petals of each flower, then with a damp brush spread out the paint from there. This method creates delicate colors.
When the flowers were painted and dry, I cut out the panel using the largest of the dies in the Hero Arts Infinity die set. It cuts a perfect A2 size! I find that super useful to getting a perfect centered and trimmed panel.
The panel was mounted onto an alabaster cream cardstock card base.
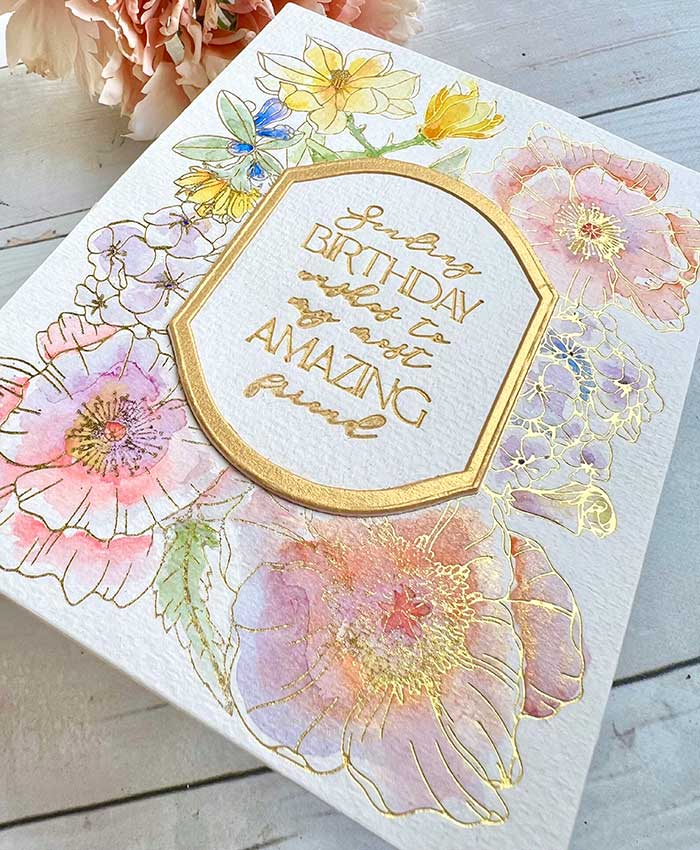
The Mirrored Arch Labels die set perfectly matches the arch in the panel. That said, I used two dies from the set and created an arched frame cut from Stardream metallic cardstock (see supply list).
Included in the press plate set is a lovely sentiment. I chose to use my BetterPress system to print it. I mounted the sentiment on the BetterPress platform, inked the stamp with Delicata ink, then ran the sentiment through my die-cutting machine.
Once the sentiment was printed, I cut it out using a Mirrored Arched die, then glued it to the center of the card front, then added the gold metallic paper frame I made earlier to complete the card.
Yay! the card was done and I am loving the result… I hope you do too! ♥
Goodies Used:
Sorry, the comment form is closed at this time.

April 25, 2024
Marianne Chapman
Your cards are so beautiful! The colors are gorgeous.
April 25, 2024
Shauna Todd
Thank you so much!