Hello Everyone,
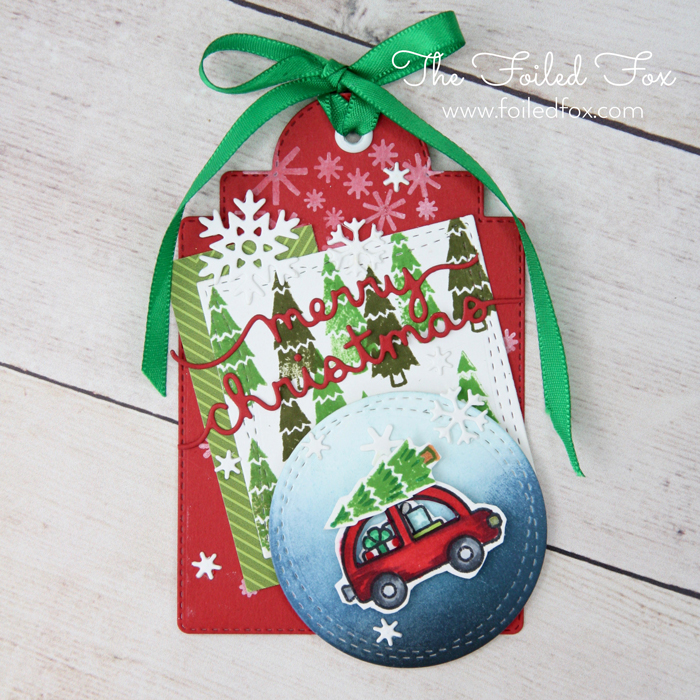
If you are like me, you are madly getting all your last minute gifts together. I am just about done but the one thing I am terrible about is wrapping. Every year I vow it won’t happen… but, too often there is a mad dash on Christmas Eve to get everything wrapped. This year I am trying my best to be ahead of the game, and along with that comes gift tags. I love gift tags, so here is a fun one to put together. This tag was the inspiration of my 5-year-old granddaughter. She went into great detail to explain just how she wanted it!

This tag starts with a gift tag base cut from Peppermint red card stock, using the PoppyStamps Stitched Main Street Tag die set, but any gift tag die will do.
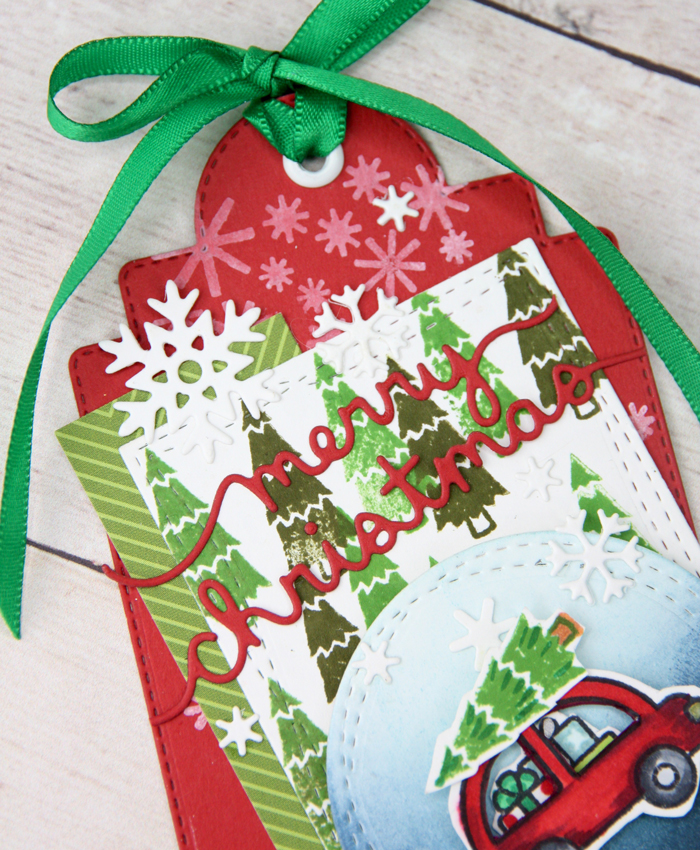
With white Picket Fence distress ink, little snowflakes were stamped on the red gift tag. Again, you can use any snowflake stamp for this. For ease, I stamped the whole red gift tag base in one fell-swoop by using the Neat & Tangled Falling Flakes stamp. This filled the gift tag base with snowflakes with one stamping – how cool is that!

Moving on, I randomly stamped tiny trees from the Lawn Fawn Home for the Holidays stamp set onto a small piece of white cardstock using Forest Moss and Mowed Lawn distress inks. Then cut out a square of the trees, using My Favorite Things Stitched Wonky Square Stax. By the way, be sure that you stamp enough trees to have one left over to put on top of the car!
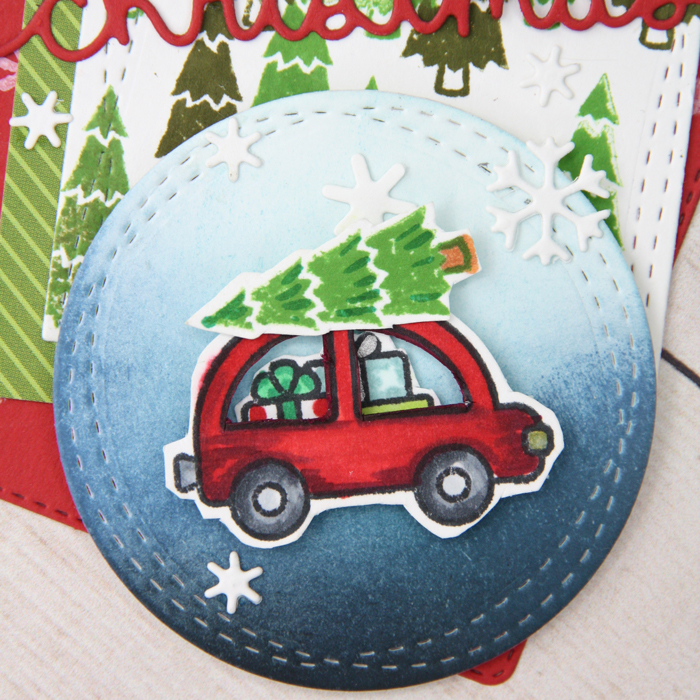
Then, I stamped the car and presents with Copic marker friendly, Memento Tuxedo Black ink and colored away with Copic markers. This is where you can make your car and gifts any color you want. But in case you want to know the colors used, there is a key (legend) below listing all the colors.

After the car and presents were colored, I cut out the car, its windows, and the presents, then mounted it onto a circle cut from the MFT Wonky Stitched Circles Stax. The circle was colored by using a blending tool and Faded Jeans and Tumbled Glass distress inks.
Now, all the pieces were put together by first layering the trees onto the tag base, with a little scrap of diagonal striped patterned paper tucked behind the trees for a bit of extra interest. The blue circle was positioned on top of the trees.
Then, with a little foam tape, the car with the presents peeking out through the windows of car was mounted on the circle-don’t forget the tree on top.
I had a few snowflakes already cut from another projects so I tacked them here and there and added the Merry Christmas sentiment by cutting out “Merry Christmas” from the Lawn Fawn Merry Christmas border die and added that on top of the trees.
For the finishing touched, I added a white rivet and a green bow.


Supply List:
 Fawn Home for the Holidays |
 Fawn Home for the Holidays Lawn Cuts |
 Tangled Falling Flakes |
 Gift Tag Die set |
 Stitched Wonky Circle Stax |
 Wonky Stitched Squares STAX |
 Fawn Mini Snowflakes |
 Fawn Merry Christmas Border Die |
 Paper |
 Solar White card stock |
 Fence Distress |
 Lawn Distress Ink |
 Moss Distress Ink |
 Jeans Distress Ink Pad |
 Glass Distress Ink |
 Black |
 Copic Marker |
 Copic |
 Copic Marker |
 Copic Marker |
 Copic Marker |
 Copic Marker |
 Copic Marker |
 Copic |
 Copic |
 Copic |
 Tape |


I love the mix of the wonky stitched circle(s) and squares. These dies are so usable for virtually any occasion!