Hello Creative Friends,
As you may have seen, we have oodles of new Penny Black goodies in our shop. Among these goodies is a collection of three big beautiful butterfly stencils and dies. I had a blast using the Aerial Butterfly.
I started with the butterfly, of course. The main attraction!
These butterflies are created by first stenciling on the parts, then the embellishments, and finally cutting it out with the matching die. When stenciling, I usually use a blending brush or dauber, and I will later, but for this butterfly, I wanted a little sparkle. So… I started by painting the two parts of the background of the butterfly instead of ink blending. I used the gorgeous mica powder inks by Lindy’s Stamp Gang- Alexandra’s Artist to apply the main background colors. Since I was using a stencil, I was very careful not to make the paint too wet and made sure I stayed inside the lines. This was to ensure that no paint oozed outside the lines!
I don’t very often use purples but this color was calling my name so I used Lara’s Wild Maive, then Karin’s Coral for the lower wings. It is nearly impossible to see the beauty of these inks in the pics but trust me, these mica powder inks are packed with sparkle and color! To embellish the butterfly, I used the stencils included and added dots to the lower wings and design to the upper wings with Faded Jeans distress ink. Then, closer to the center, I used Seedless Preserves distress ink. To make it super easy to get into the small areas, I used ink daubers (see supply list).
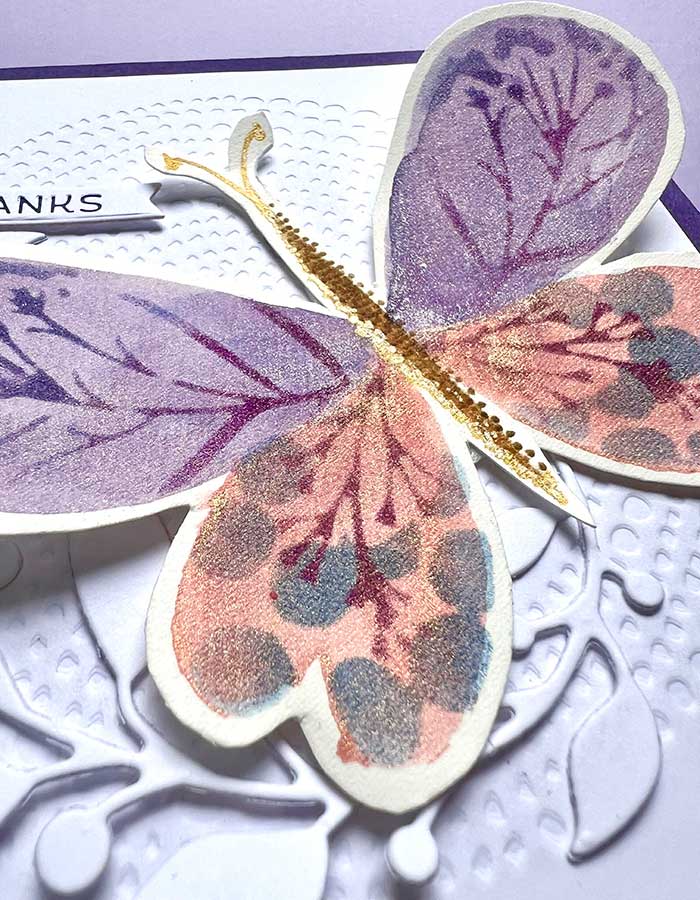
The body and antenna of the butterfly were first inks with Rusty Hinge, then the decorative dots were added using Ground Espresso. The butterfly was then cut out using the coordinating die.
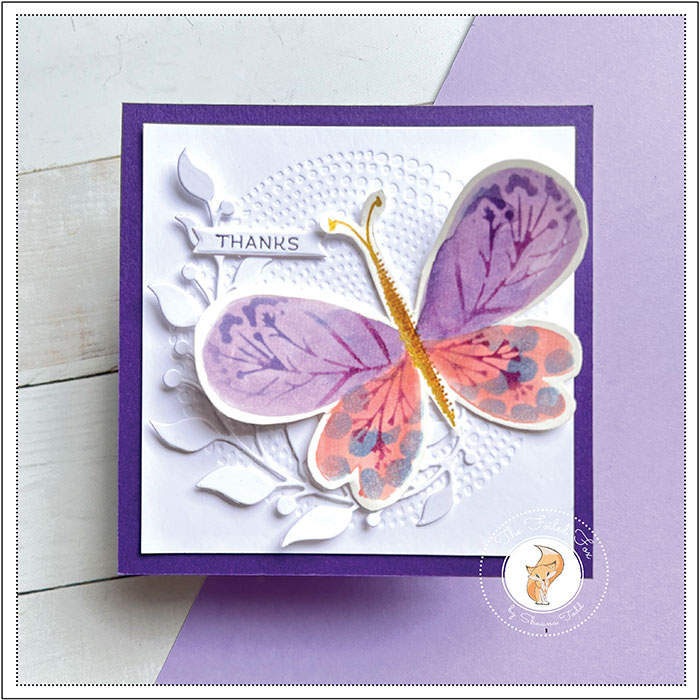
I created a 5×5″ white card base, then added a dark purple cardstock panel to cover the front.
Next, I embossed a 4.5×4.5″ white card stock panel using the Encircle embossing folder by Penny Black. I also cut out a spray of leaves using the Flourish die by Penny Black.
The white embossed panel was added to the front of the card base and the flourish and butterfly were added next. I used foam squares to pop the butterfly up a bit.
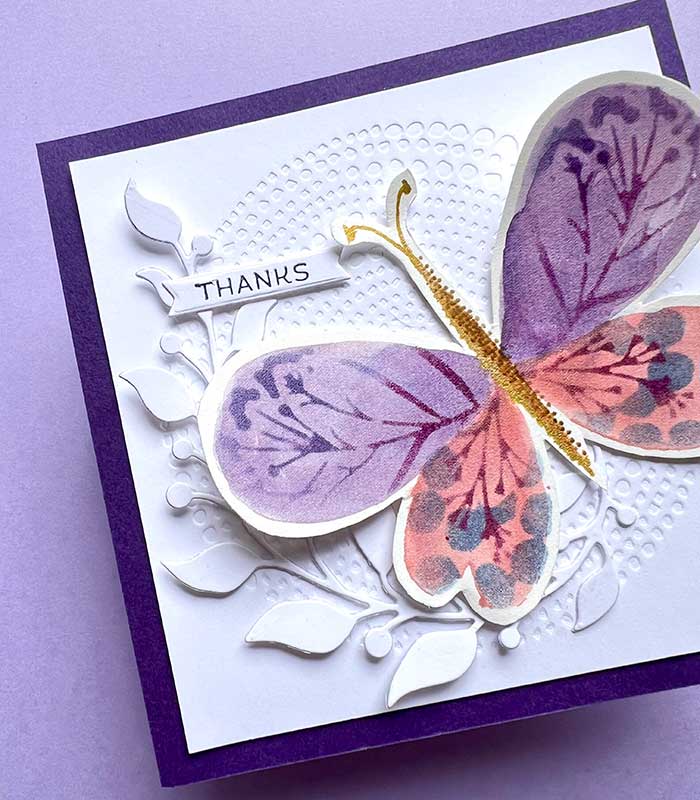
My last touch was the sentiment. Once again, I dipped into my stash of BetterPress letterpress sentiment strips I had made earlier. I am in love with the It’s Your Day press plate and die. In a snap, you can have a bunch of beautiful but simple sentiments perfectly cut out!
That completes my project for today. I hope it lit a sparkle of inspiration! ♥
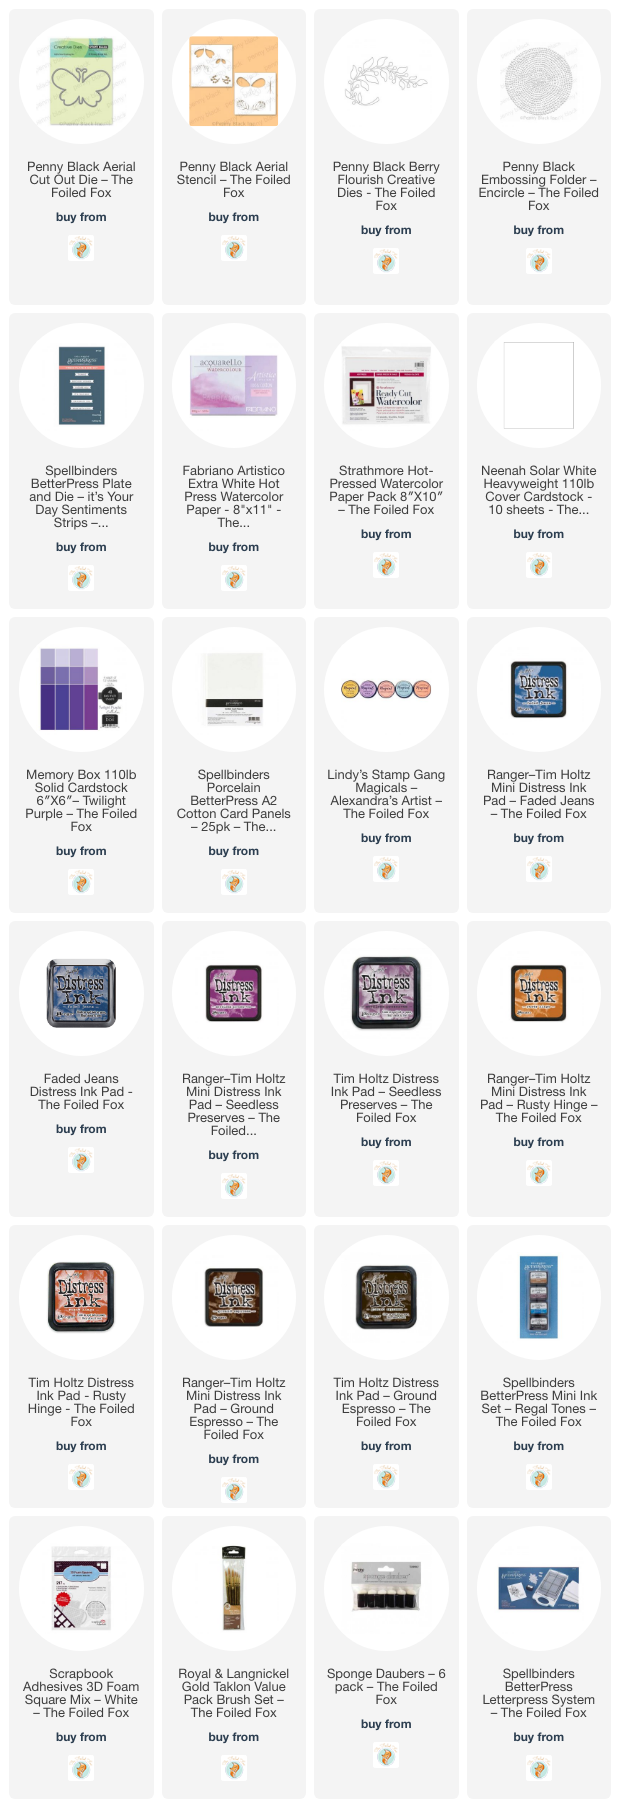
Goodies Used: