Hi Creative Friends,
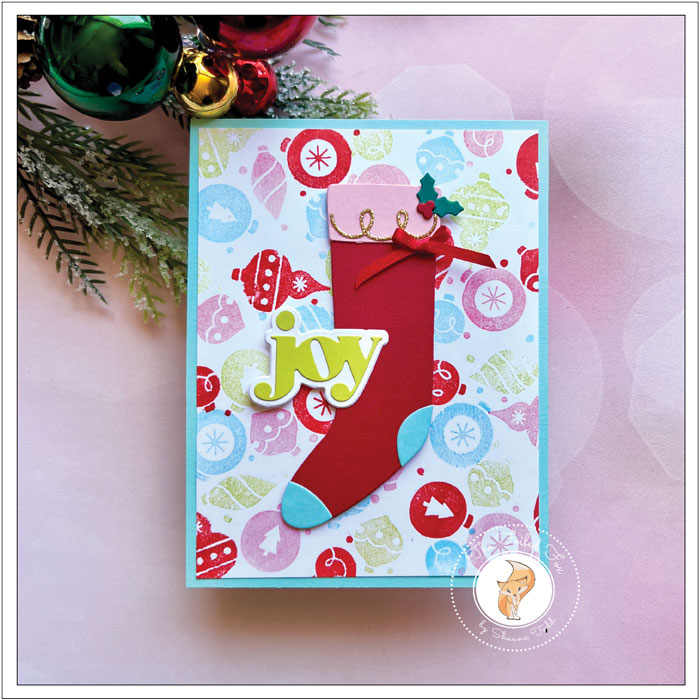
Today I am sharing a few brand-new goodies from Concord & 9th. In their latest release, they have the cutest stocking stamp and die set that you can decorate or stitch any way you like. The set is called Stocking Stamp & Stitch.
But before we get into the deets, I want to let you know that Foiled Fox is having a Fall sale on everything in our shop – YAY! You can save 15% off everything until the end of the day, Monday, September 18. Just use the code: 15FALL23. See all the details at the bottom of this post.
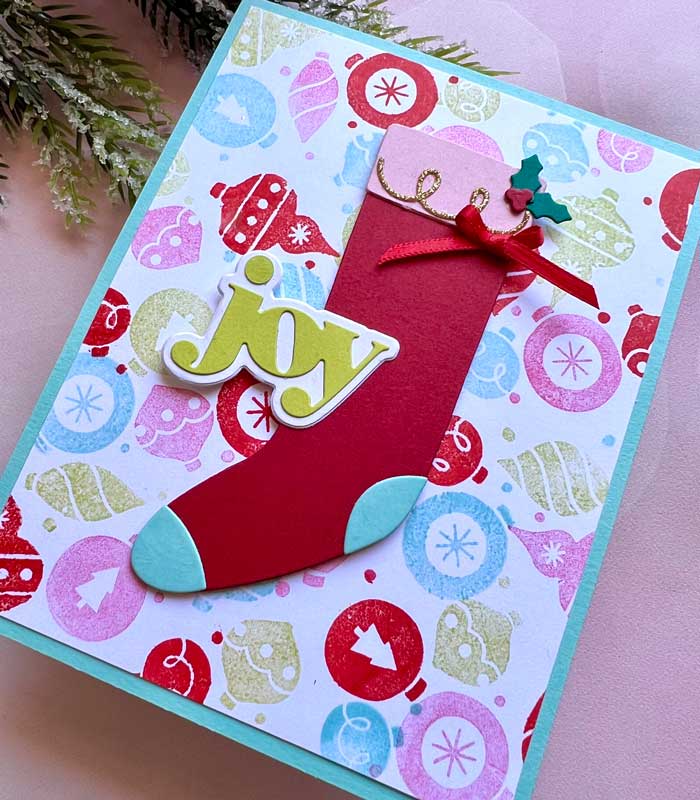
Ok, let’s get started on today’s project. First thing, I chose (I should say my daughter chose) the colors for the Ornament turnabout stamp. We were going for a retro look so the colors chosen were Poppy, Honeysuckle, Sprout, and Aqua Sky (see supply list below).
As you know with turnabout stamps, you stamp, then turn the paper and stamp again. You do this four times in total if you want a completely filled background. Also, turnabout stamps really require a stamp positioner so I mounted a square piece of white card stock that was the same size as the acetate guide inside the stamp set and the stamp. For turnabout stamps, I always start with a square piece of cardstock. Believe me… starting with a square makes it easy for the design to come out right. Then, if want or need a different size panel, you can trim from there.
With the background done, I started on the stocking. This stocking stamp and die set is awesome. It has all the elements for you to customize your stocking to your liking. For this project though, I only used the die set but I will be using the coordinating stamp for another project very soon!
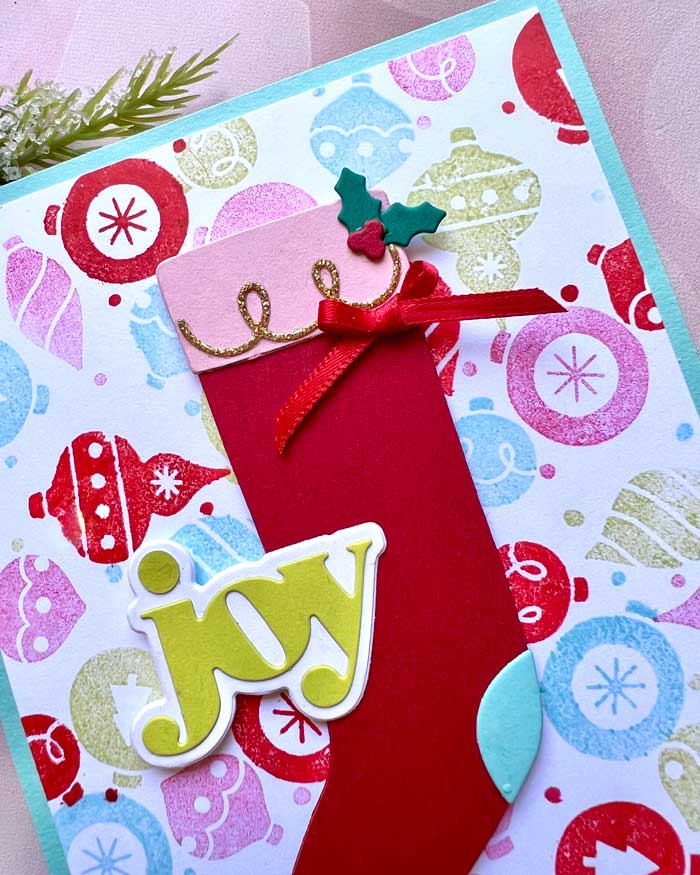
Using the matching cardstock from Concord & 9th’s paper pack, I cut out the pieces for the stocking. At the same time, cut out the word ‘JOY’ from the Holiday Sayings die set.
With everything ready to assemble, I mounted an Aqua Sky cardstock panel to my A2-sized white cardstock card base. Next, I trimmed and mounted the ornament background made earlier.
The stocking was assembled and then mounted on top of the card front using a few foam squares. The ‘JOY’ was added last to complete the card design.
Whew! The card is done and boy was it super easy to make. I love that there are endless color combinations and possibilities, making it a superstar stamp and die set in my book! Tell me what you think! ♥
By the way, don’t forget about the sale… go grab your favorites and save!

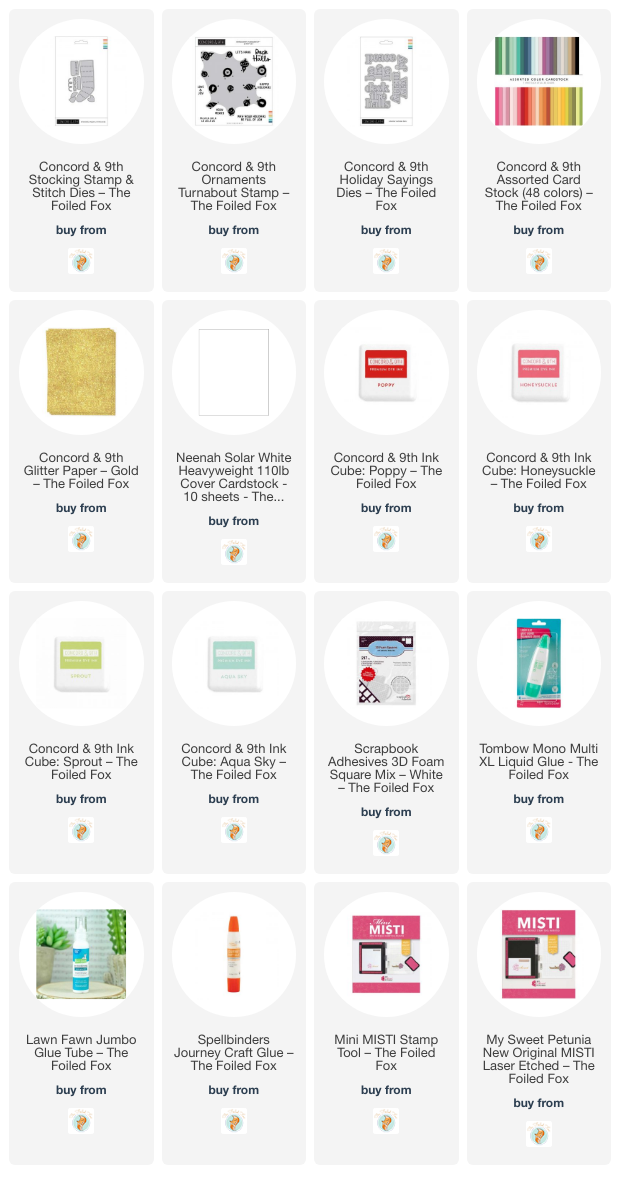
Goodies Used: