
Hi Creative Friends,
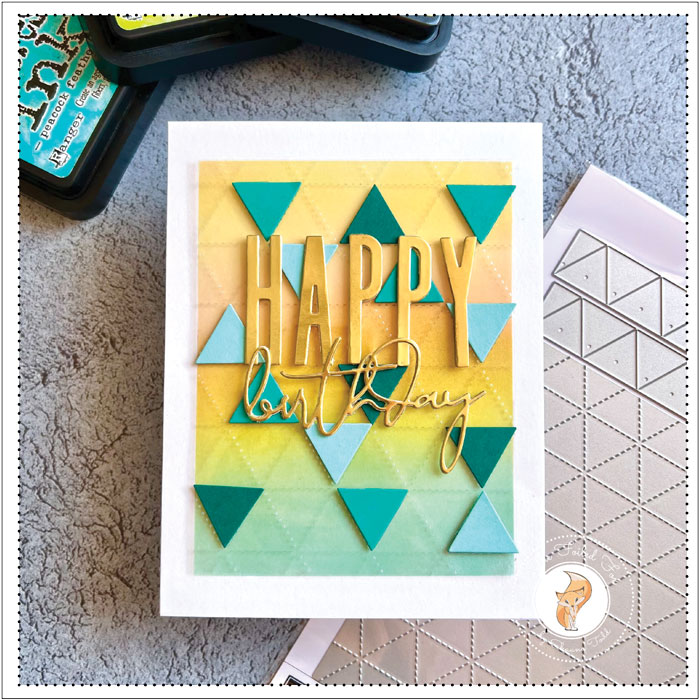
You may think I am crazy but I am having a blast making cards with a gradient-colored background and a clear plastic (or acetate) panel over the top. If you saw my last post, then you know I used texture paste over the clear plastic panel for that card design. This time, I embossed the plastic panel using the Concord & 9th Triangle Background cover plate to give the clear sheet a little pizazz.
My only regret is that the camera doesn’t do it justice – ugh! But, if you need a simple card that has a twist, this card design might be just the thing!
This one starts the same as the duo of card designs I showcased last time (if you missed it, click here), with a Bristol card panel and a few distress inks. This panel was 4.5″x6″.
Like before, I placed the panel in my stamp positioner and taped it down using a low tack tape like Best Ever Craft Tape by Spellbinders or Purple Tape. I use my stamp positioner so I can use the grid on my Misti pad and tape off a 1/4″ all the way around and it has the added bonus of now being portable so I can move it around if I need to.
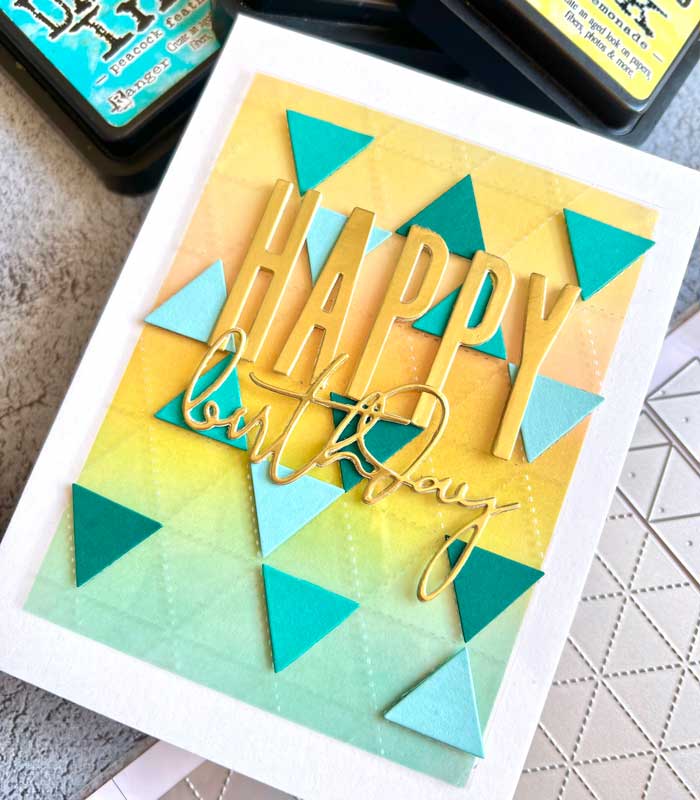
To continue to create a gradient of color, I first blended on Squeezed Lemonade distress ink, then followed it with a stripe of Dried Marigold, Twisted Citron, and Peacock Feathers. When the blending was done, I removed the tape to reveal a lovely white border, then attached it to the front of my white card stock card base.
Next, I embossed a smaller piece of clear plastic using the Triangle Background die by Concord & 9th and ran it through my die-cutting machine. The clear plastic sheet in the supply list is very stout so it is perfect for this sort of thing.
I also selected three coordinating colors of blue-green colored paper from the Concord & 9th paper pack. This pack is wonderful for this because it not only has all the paper that is color matched to their inks but it has an array of colors that you can select from that work well together. I cut out triangles from each of the colors using the included die in the Triangle Background set.
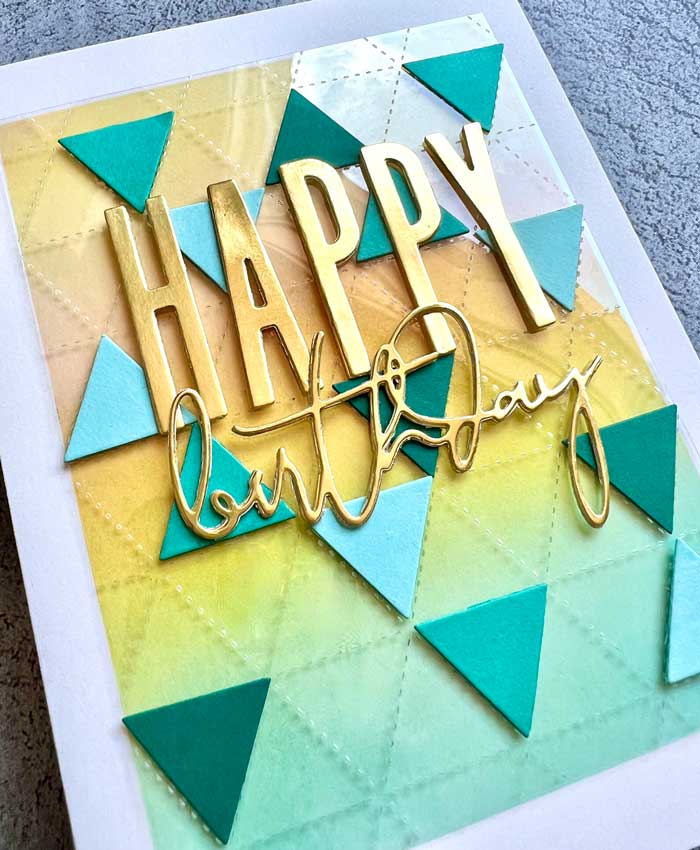
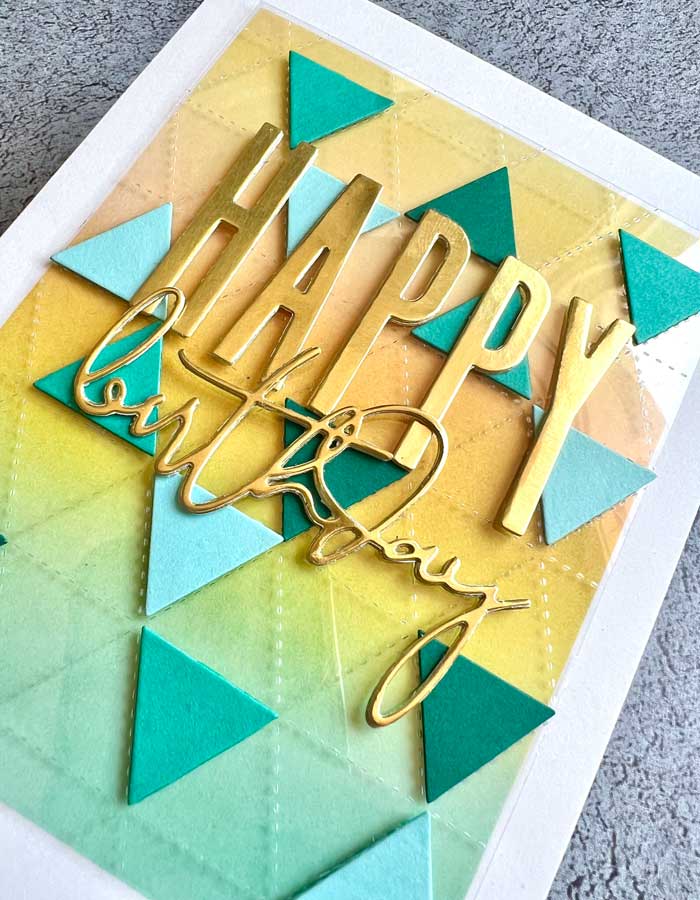
Next, I randomly glued some triangles onto the plastic sheet. Foam squares were placed on the back of the embossed plastic sheet where the triangles were, then the plastic panel was adhered to the top of the card front.
Three sets of gold foil H A P P Y letters were cut using the All The Letters die set (see supply list), then tacked and glued together to complete the picture. A script birthday was cut from gold foil paper, using the Yana’s Layered Script dies, all the letters and sentiment were attached to the front.
That’s it for today. Thanks a bunch for joining me today. Next time, we have a very special video introducing the brand-new Betterpress by Spellbinders… so stay tuned!! ♥
Goodies Used:

Amazing card, Shauna! I’m such a visual learner, I wish you’d share a video of the process!
Thanks for your kind words. I will have to do another project and film it so you can see the steps.