Hi Creative Friends,
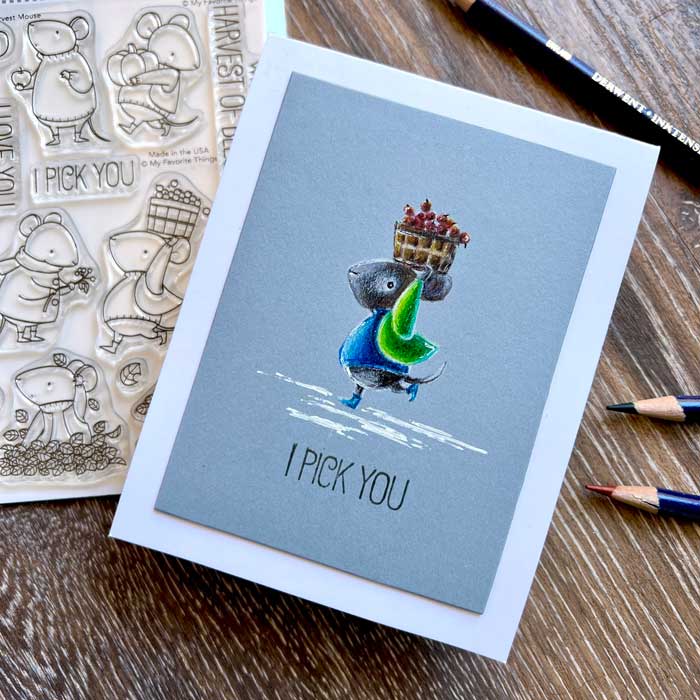
I had so much fun with today’s project. First of all, I finally used the MFT Harvest Mouse stamp and die set. I have been in love with this set since it was first released. These adorable little mice are in the cutest poses. The mouse with the bushel basket is so awesome, I decided on him for my subject.
Then, to color him, I chose Derwent Inktense colored pencils on a colored background. I was inspired by Jennifer Rustioni who is an amazing talent! She often uses colored pencil on a colored background and I just love the look!
One more thing before we jump into the card design, we are excited to announce a sale on all My Favorite Things stamps, dies, or stencils in our shop. More info is at the bottom of this post but just so you know the discount code is: 15MFT822.
Now, let’s get started… I chose a Candy Buttons cardstock panel and stamped the mouse using Lawn Fawn Yeta white ink. This gave me a clear impression of the stamp but when I am finished with all the coloring with my pencils, the stamped lines will be completely invisible.
From there, I began coloring with a white colored pencil first. In fact, the white pencil was my friend all through the coloring as it is what will give the appearance of light reflecting off the mouse and his clothing.
I colored most of the mouse and all the front half of his clothes with the white pencil first. Then, carefully selected a light grey pencil and colored the front very lightly, then slowly graduating to a darker grey toward his ear and back. As you color the grey on his face, be sure to keep a light glow around his eye and mouth otherwise you won’t be able to make them out.
By the way, keep a pencil sharpener nearby as you will want to keep a sharp point to your pencils as you color!
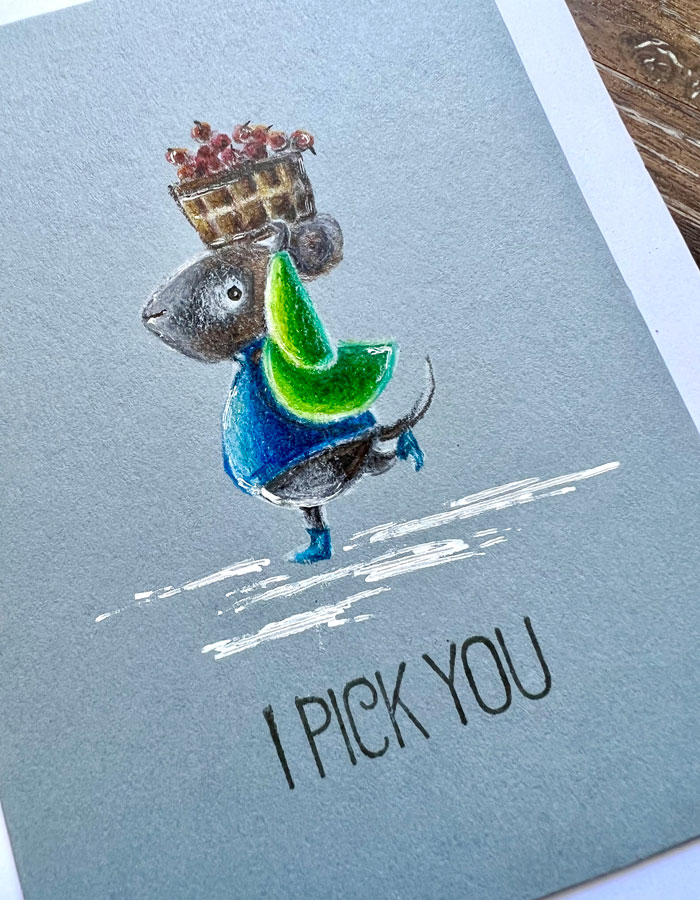
I continued coloring his clothes. I used a few blue pencils for his shirt and shoes, and green for his jacket. I followed the same procedure by coloring with my white pencil first in the front part, then coloring over the white with a light blue or green pencil. I kept adding deeper colors as I worked toward the back.
Using the same technique on the basket, I used a few deep yellow pencils and a variety of browns. For the apples, I used oranges and reds.
When the coloring was done, I added a few white pen lines and sharpened up the eye and mouth with a black Micron Pigma pen. To anchor the cute mouse to the panel, I brushed on some white lines below the mouse using Dr. Ph Martin Bleedproof white ink, then stamped the sentiment using Versafine Black Onyx ink. The sentiment was included in the stamp set.
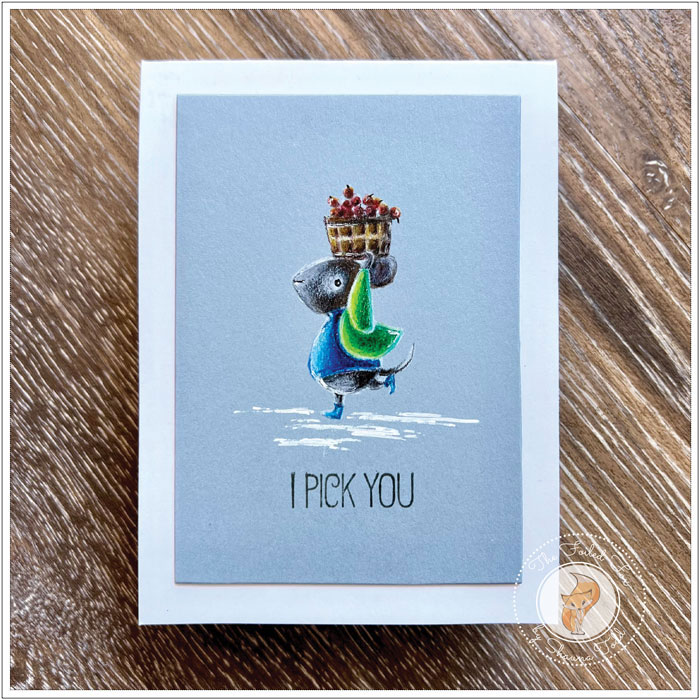
To finish the card, the mouse panel was attached to the front of an A2 white card stock card base. I just love this simple but sweet card design. ♥
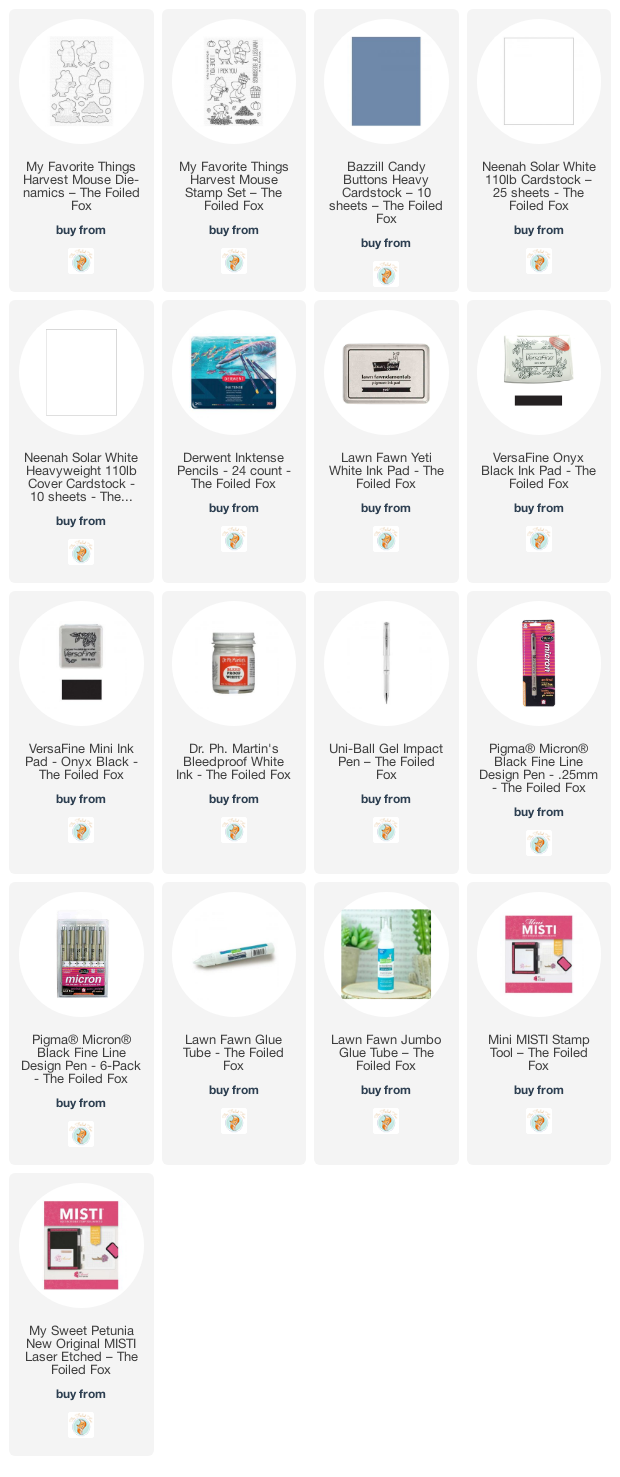
Goodies Used: